The Key to Chalkboard Lettering


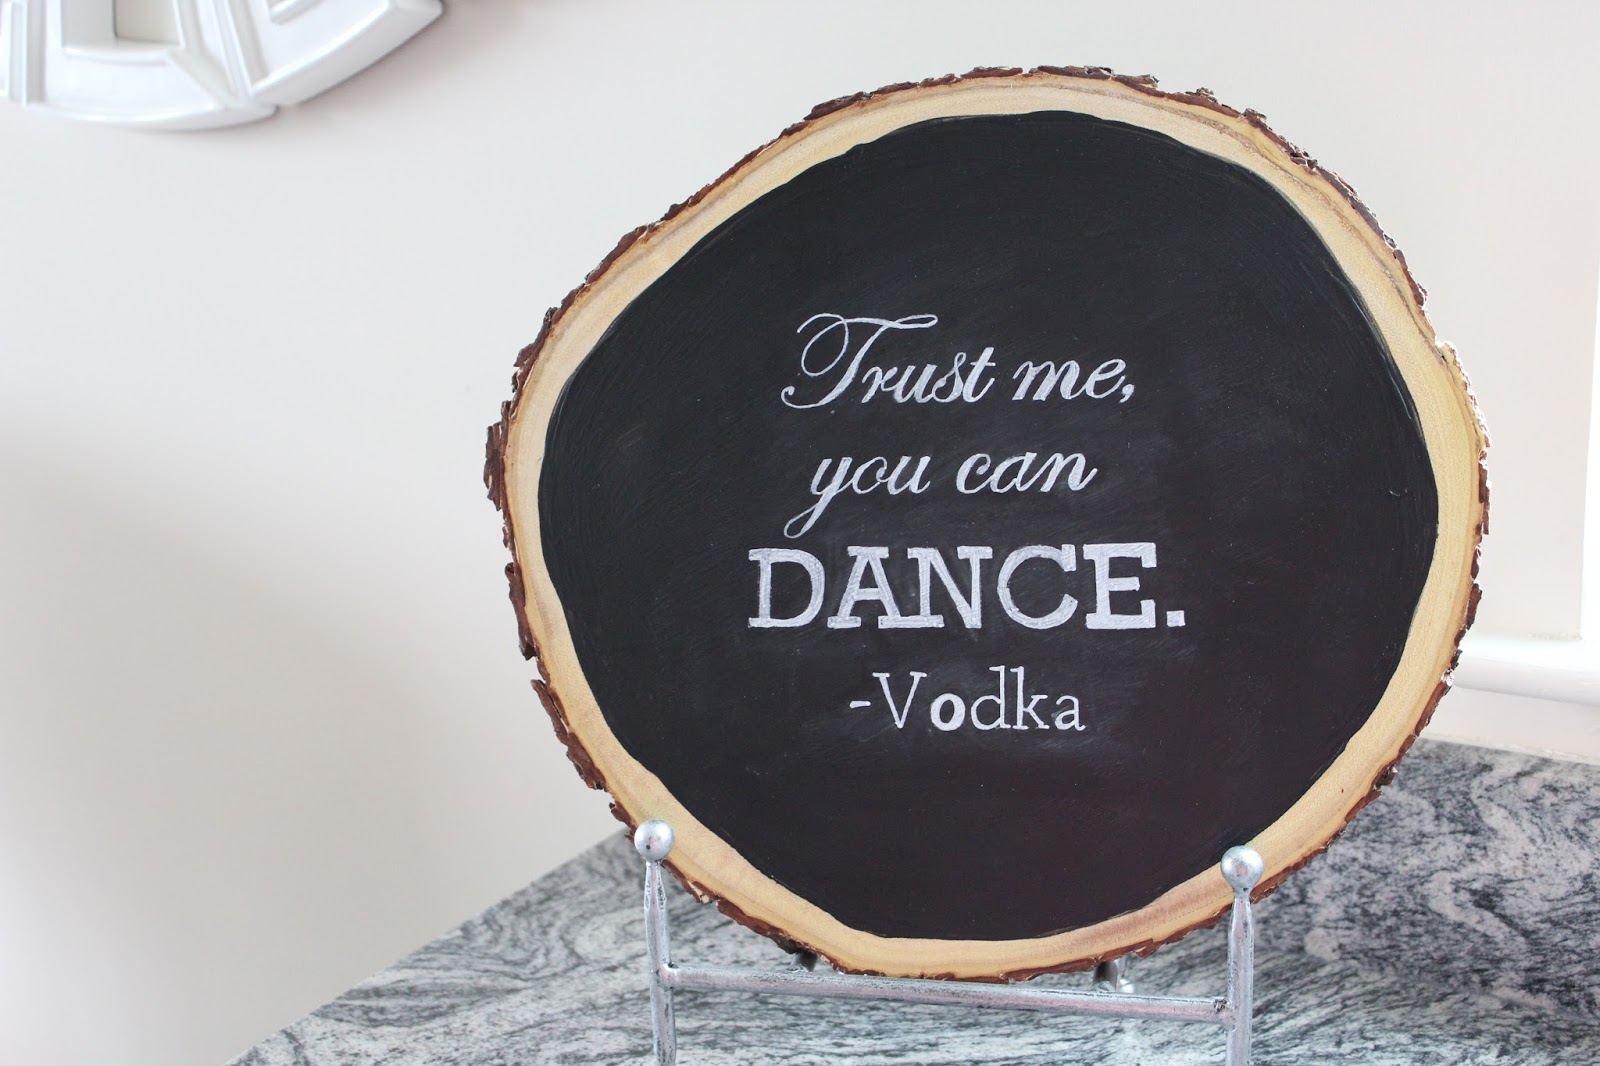
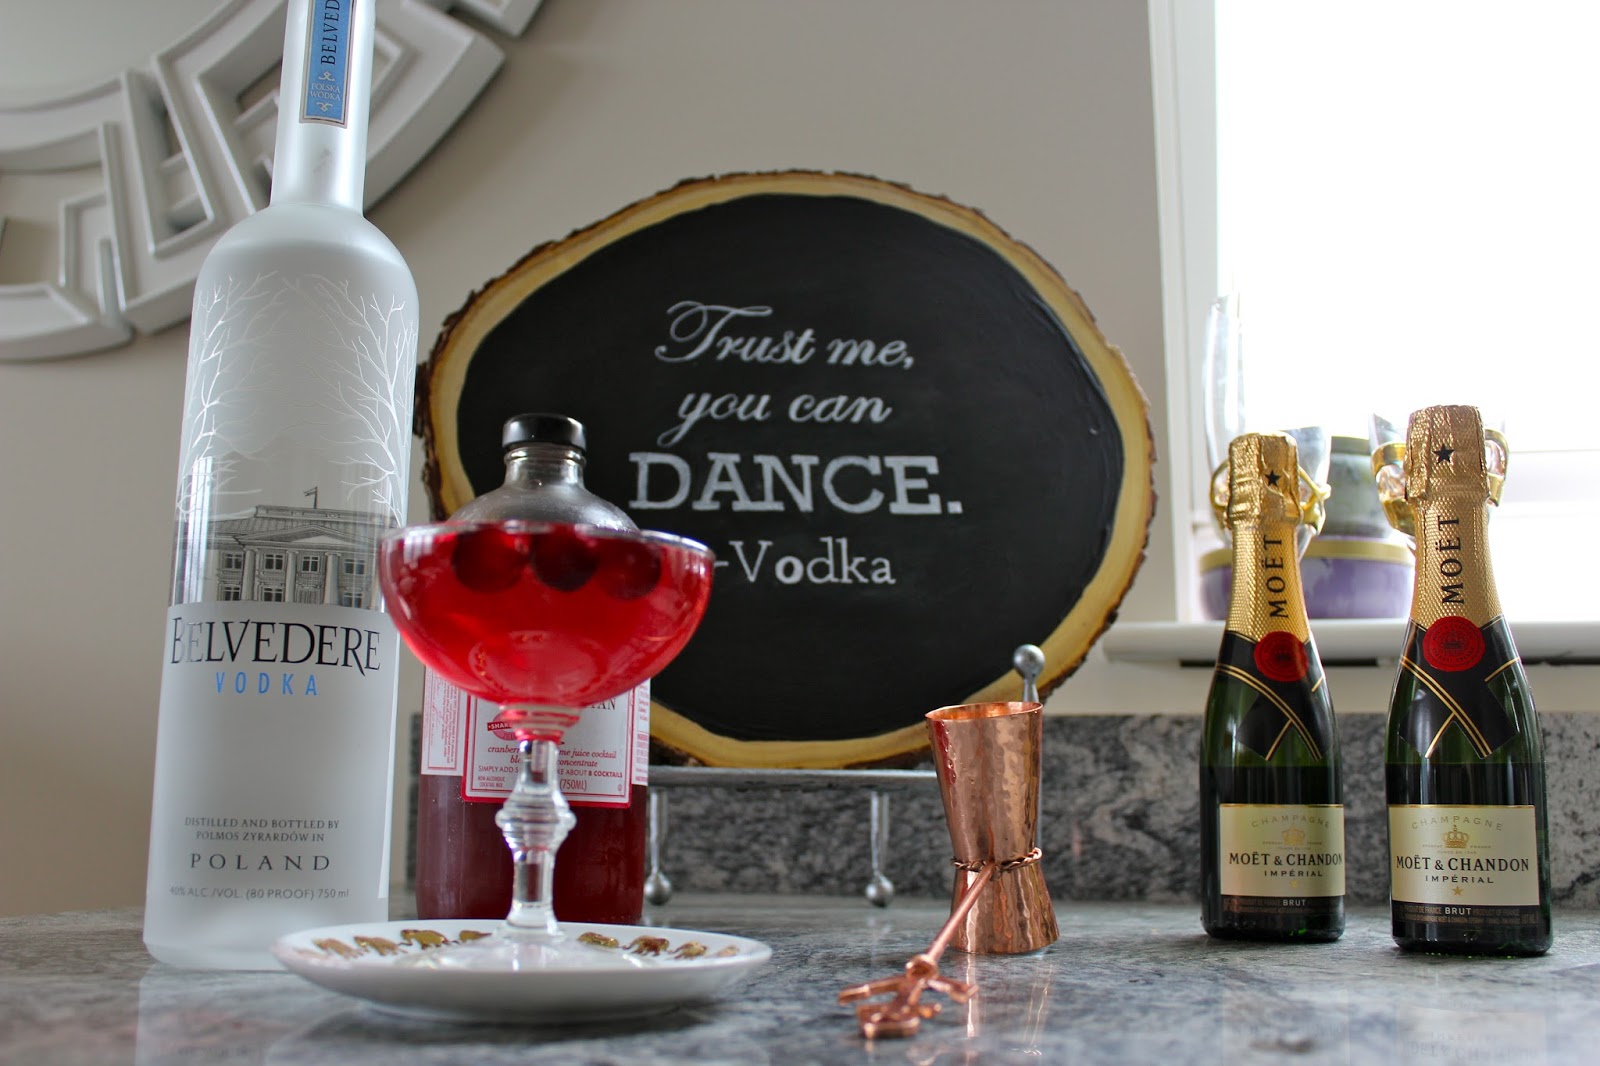
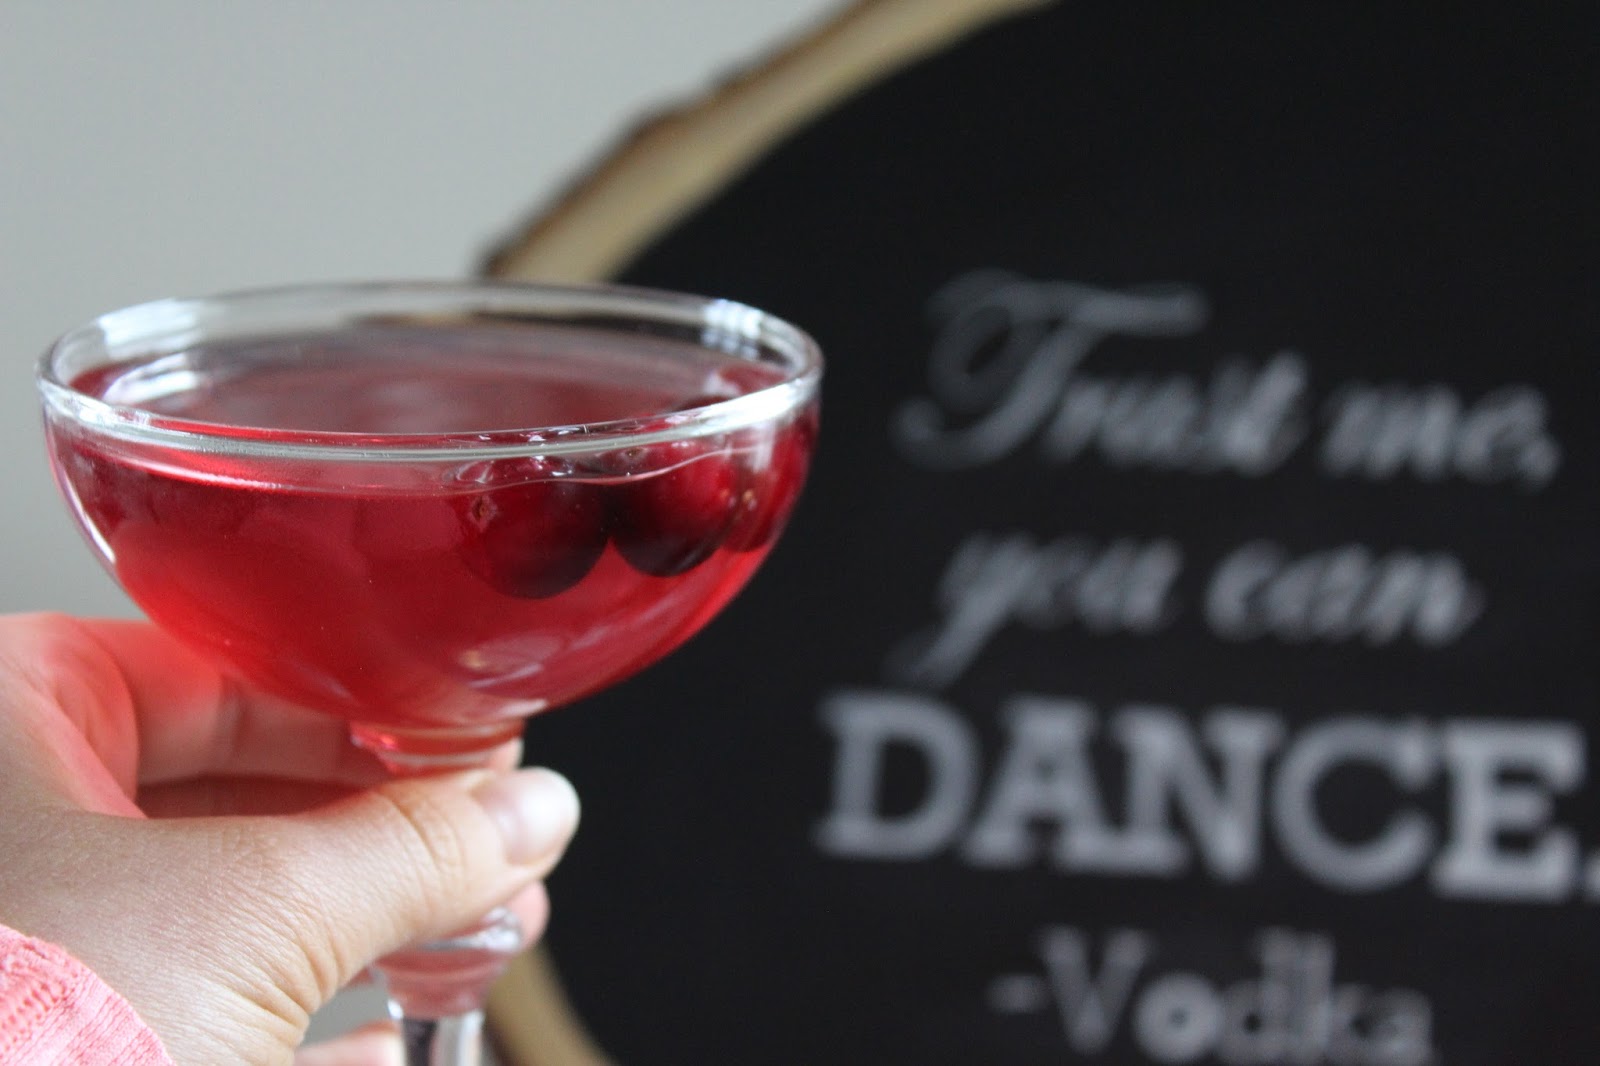
I have wedding planning on my mind and rather than booking the photographer or band, creating this bar sign seemed far more important #priorities. I am so excited to share more of my wedding DIY ideas with you over the next year. There are so many great ways to decorate on a budget in order to save for the more important things on your special day.
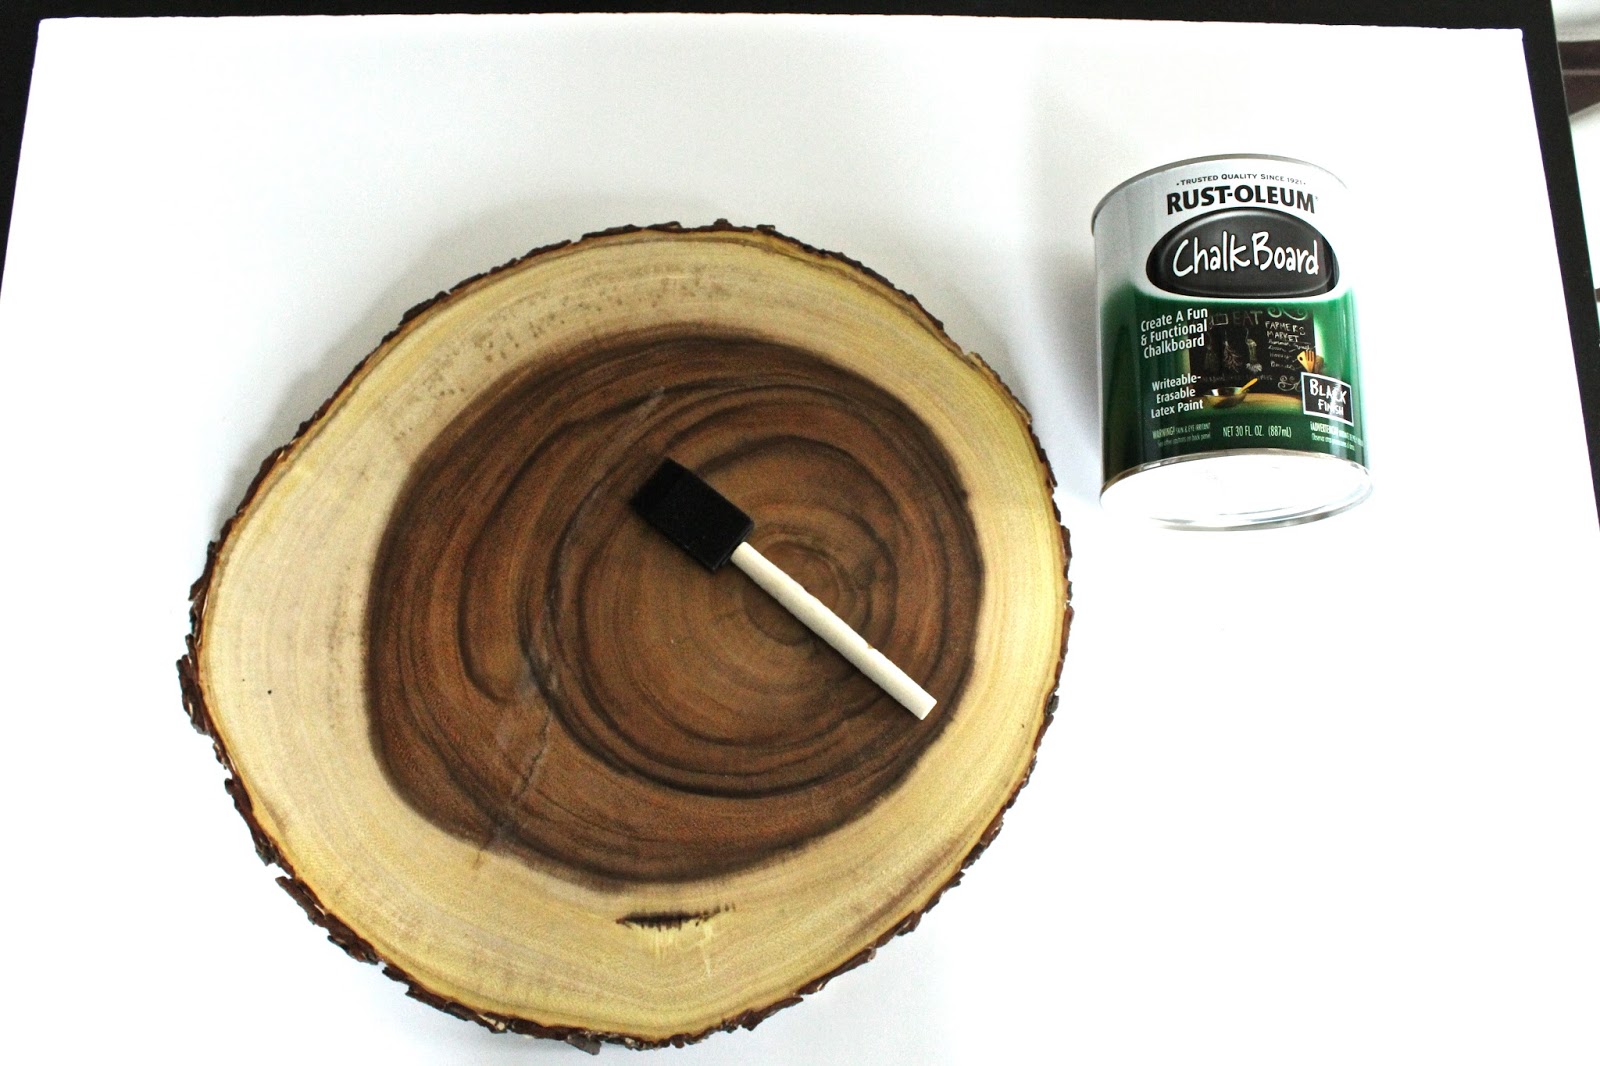
Materials:
Tree stump slice
- I got mine from HomeGoods, but Target has this one.
White chalk
Liquid chalk pen
Pencil
Tape
Black chalk paint
Sponge brush
Printout of your lettering/phrase
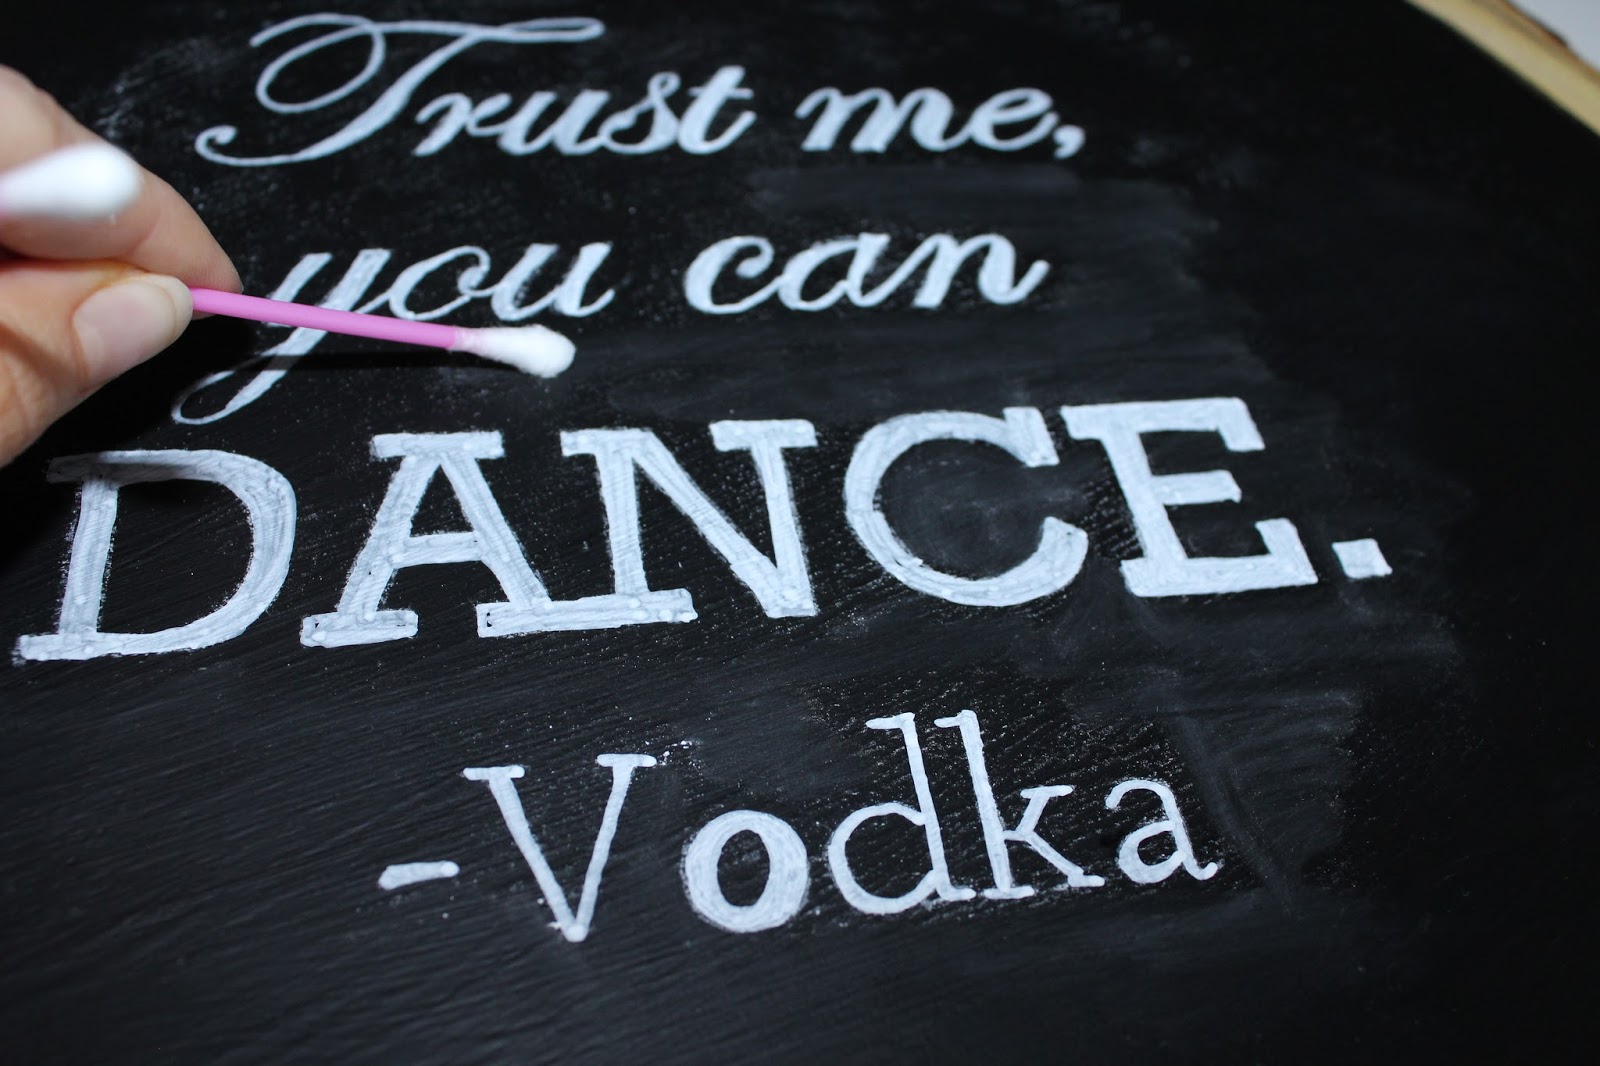
Q-tips
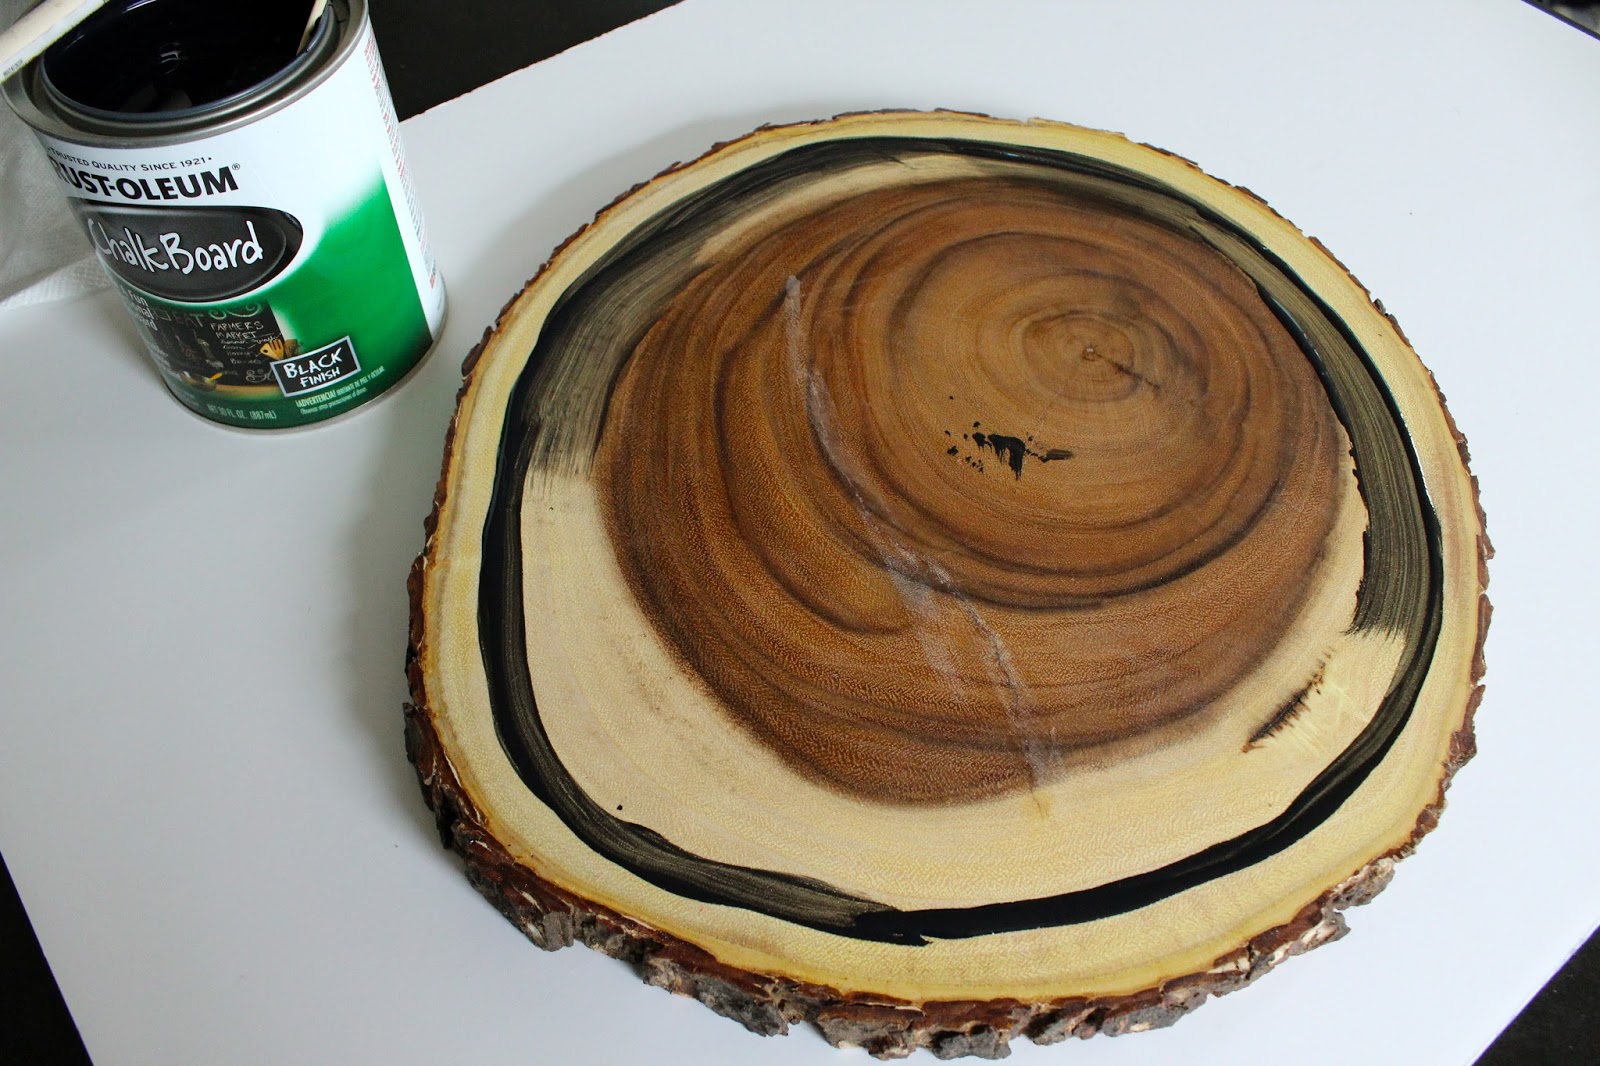
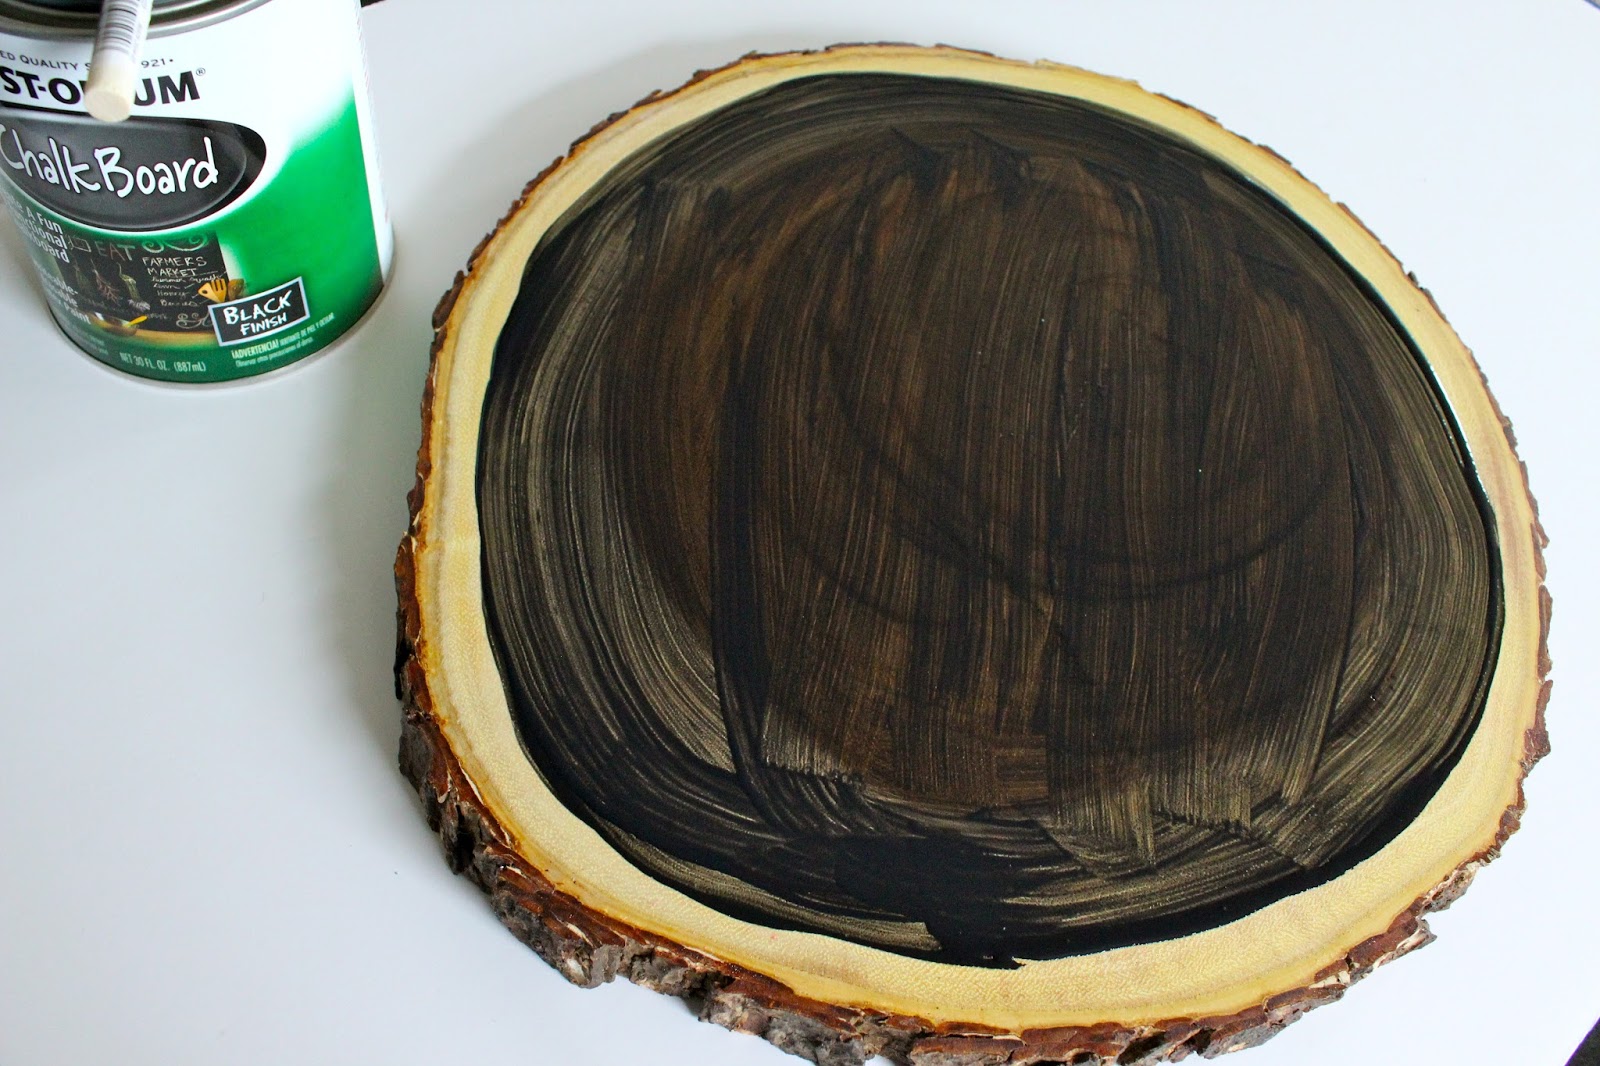
- Use your sponge brush and chalk paint to outline the circle on the wood slice. Fill in with even strokes.
- Repeat Step 1 two more times. I allowed each layer of paint to dry for approximately 10-15 minutes.
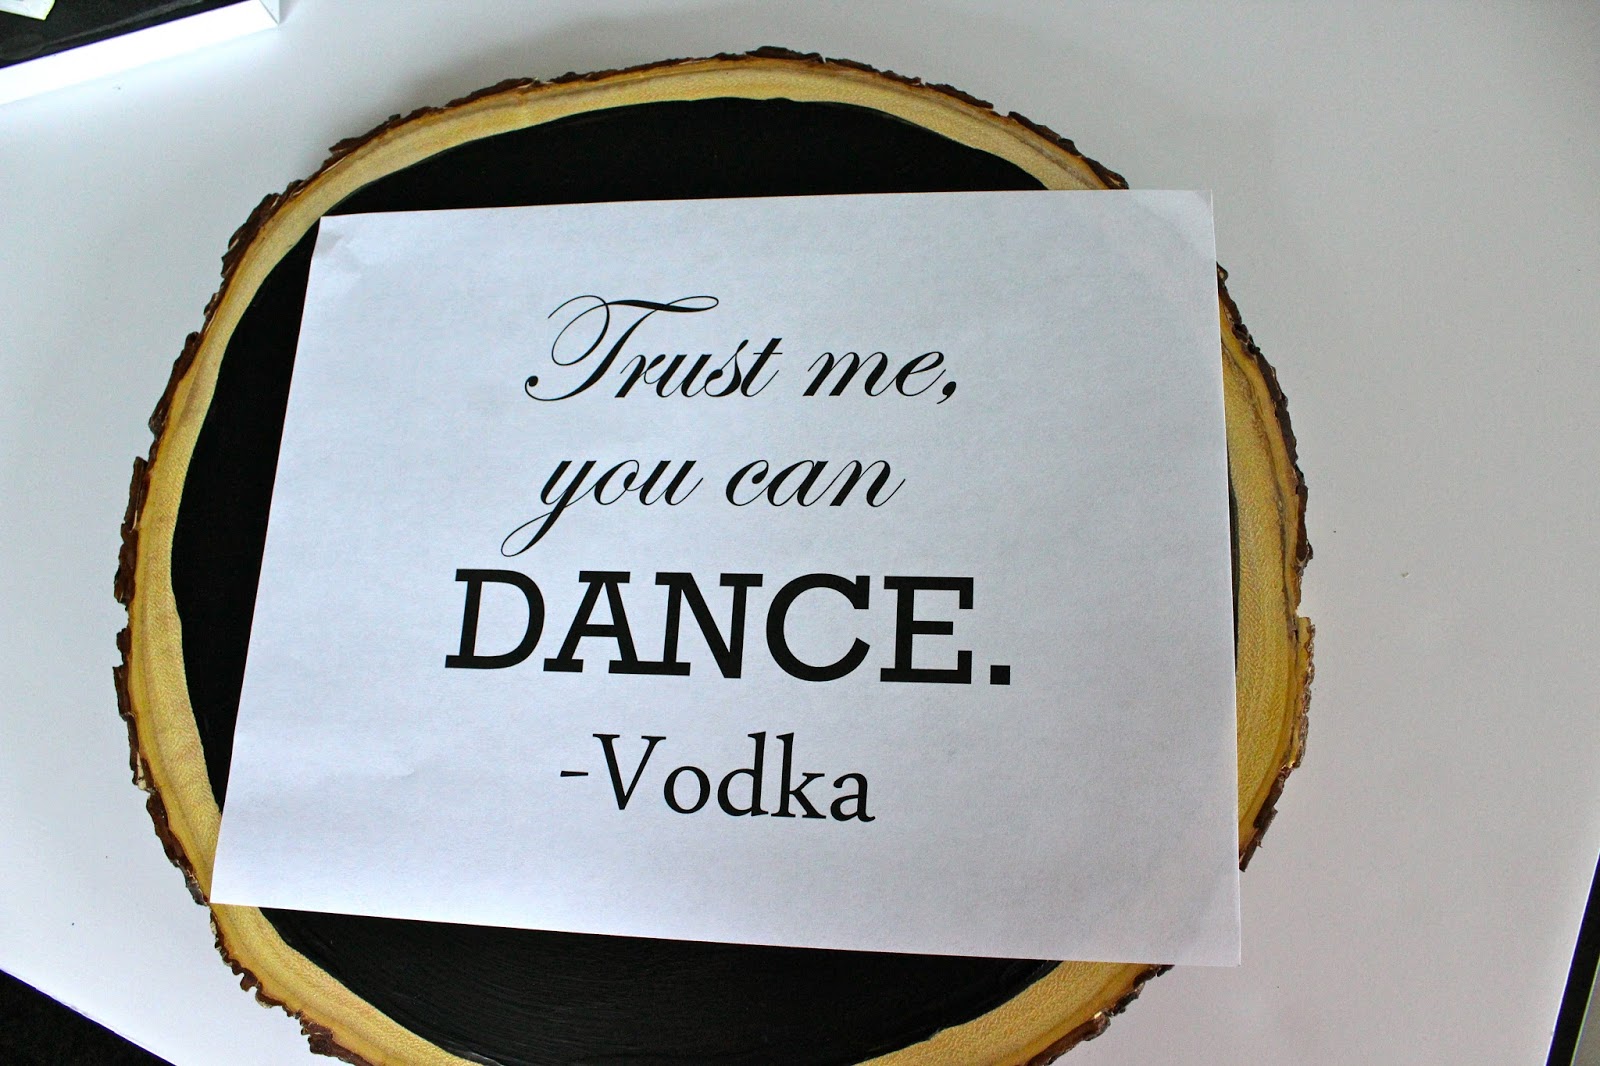
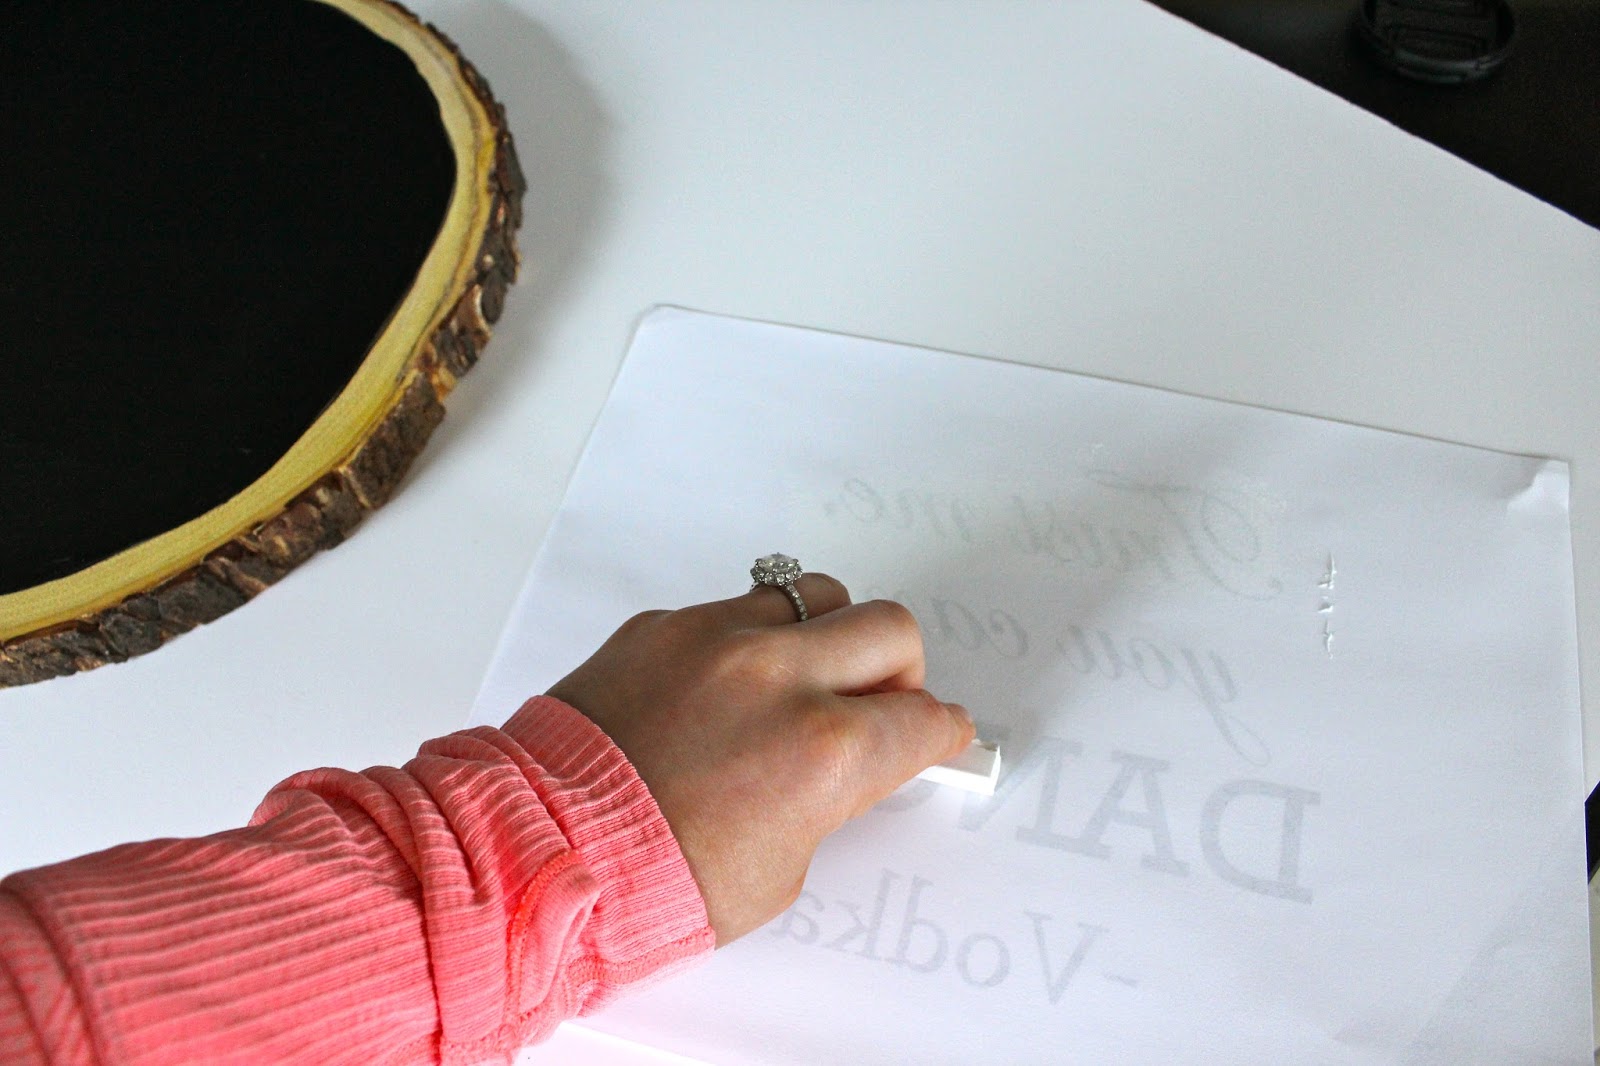
- Turn your printout over and cover the back of the paper with chalk.
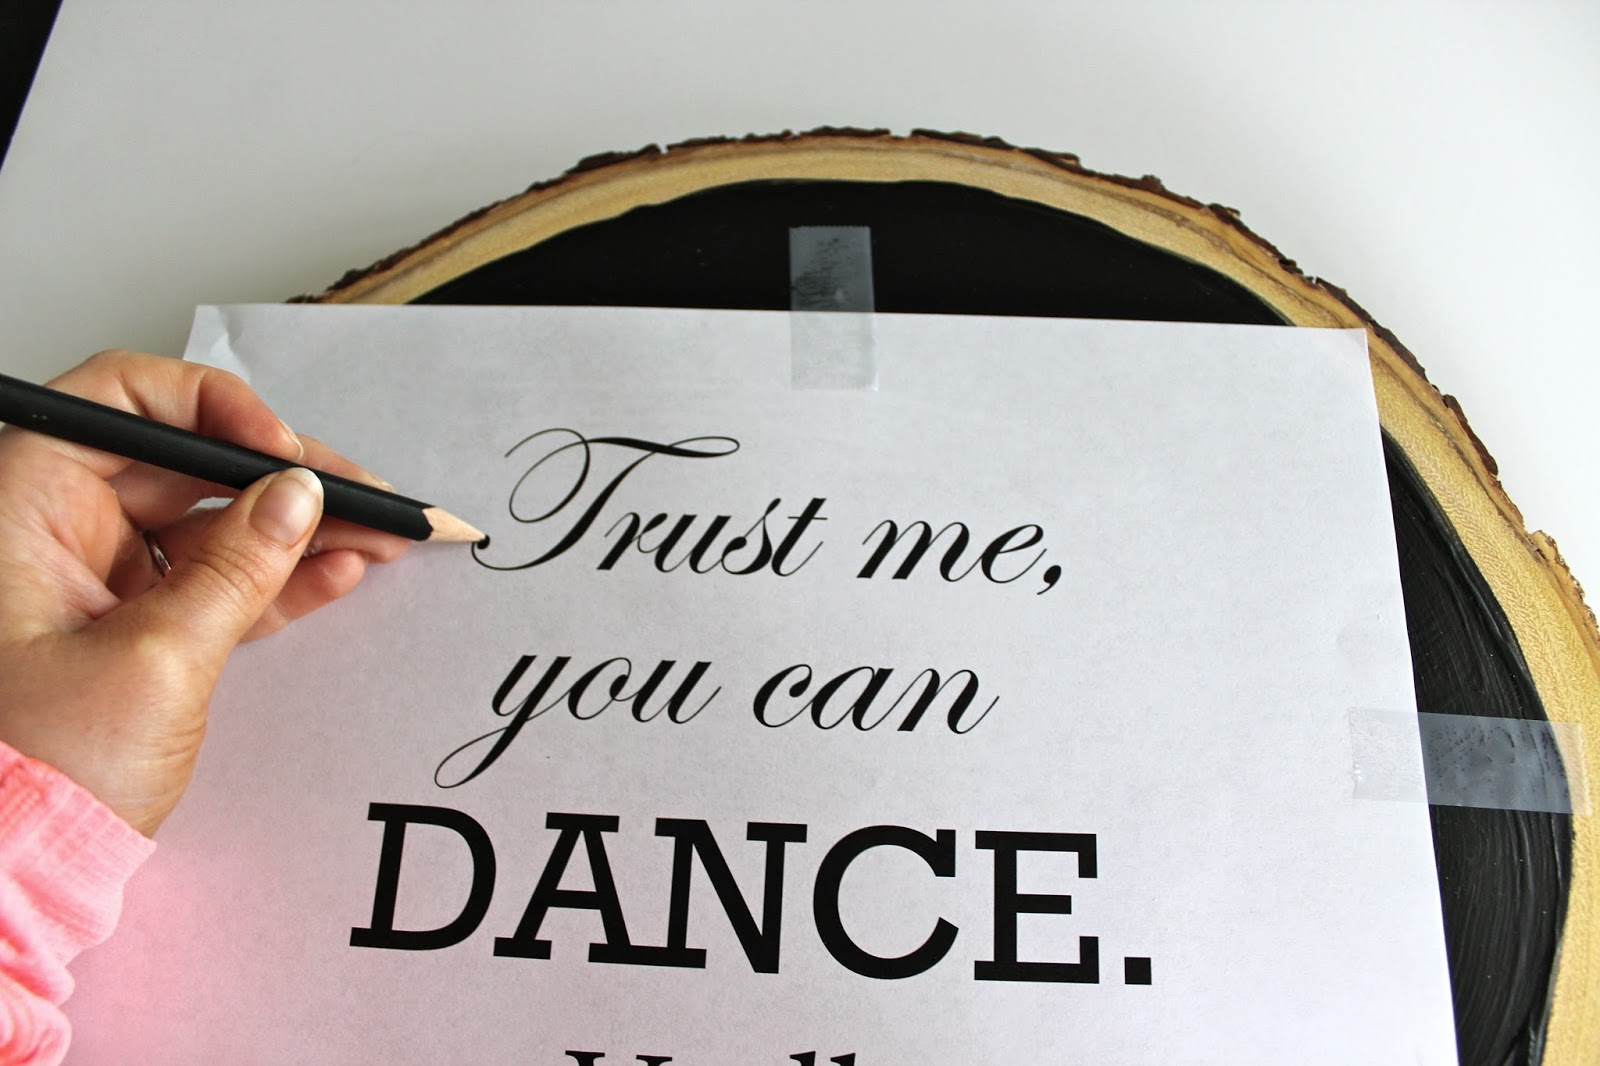
- Position your printout on the chalkboard as desired and tape it down.
- Using your pencil, trace around each letter.
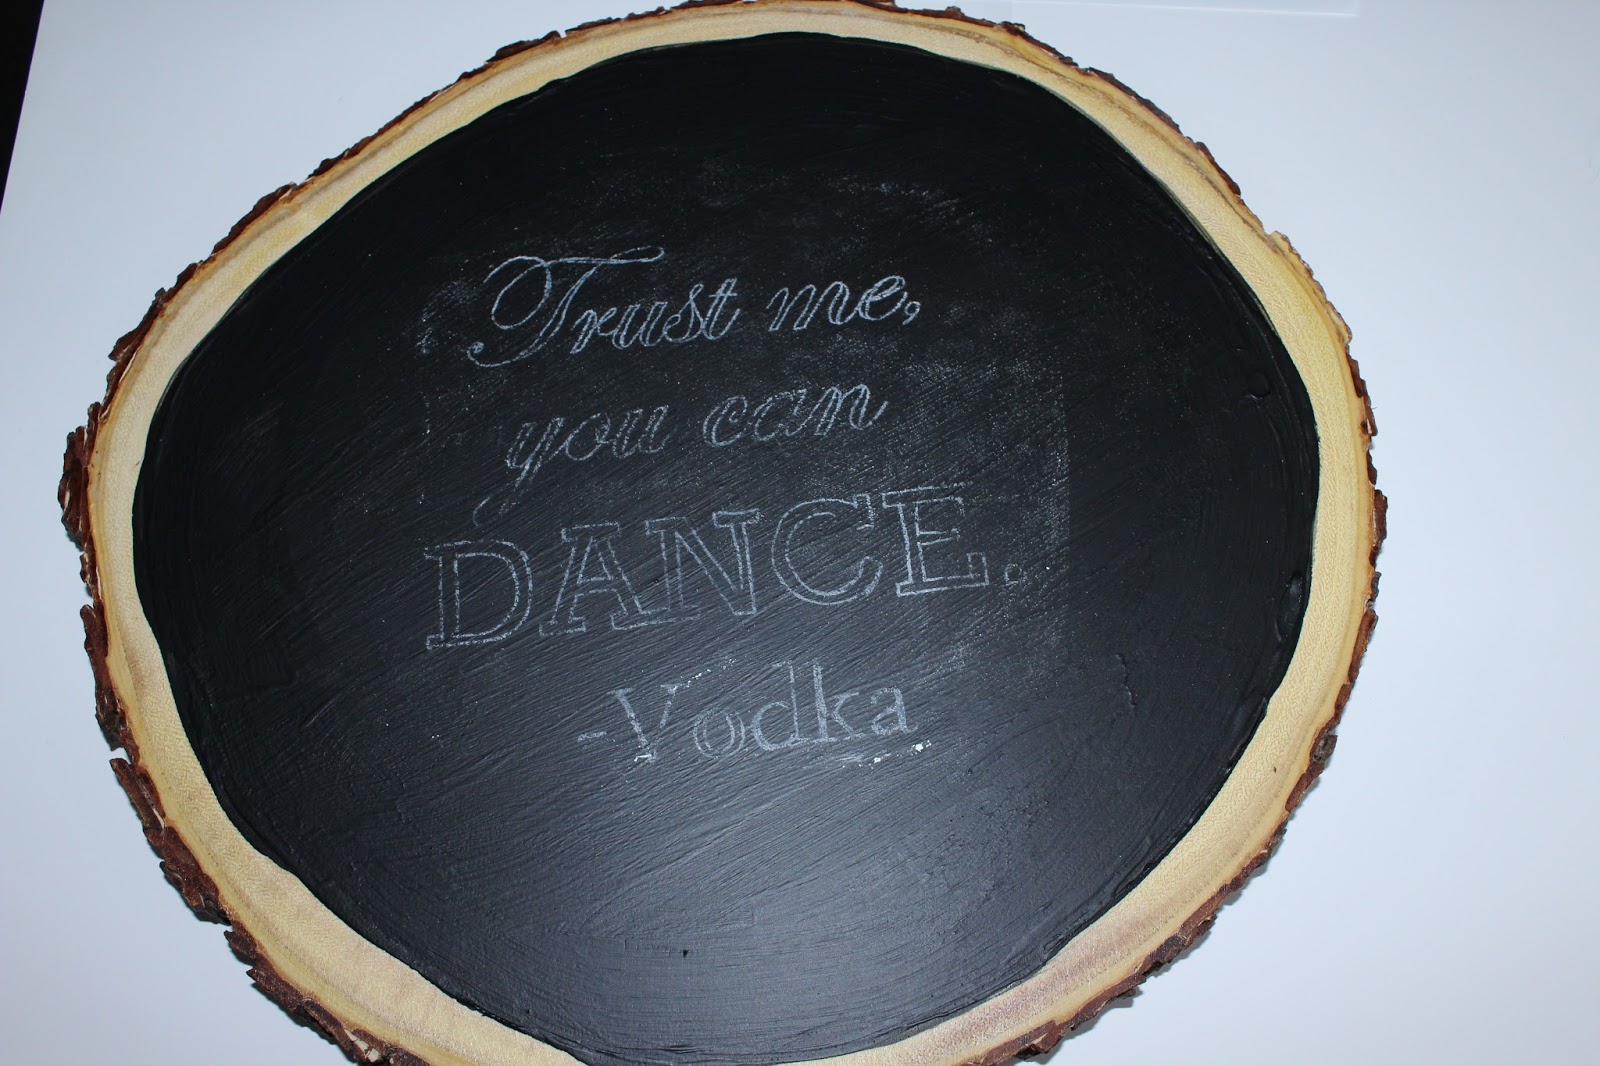
- Remove the printout. You should be left with a faint outline of your lettering/phrase.
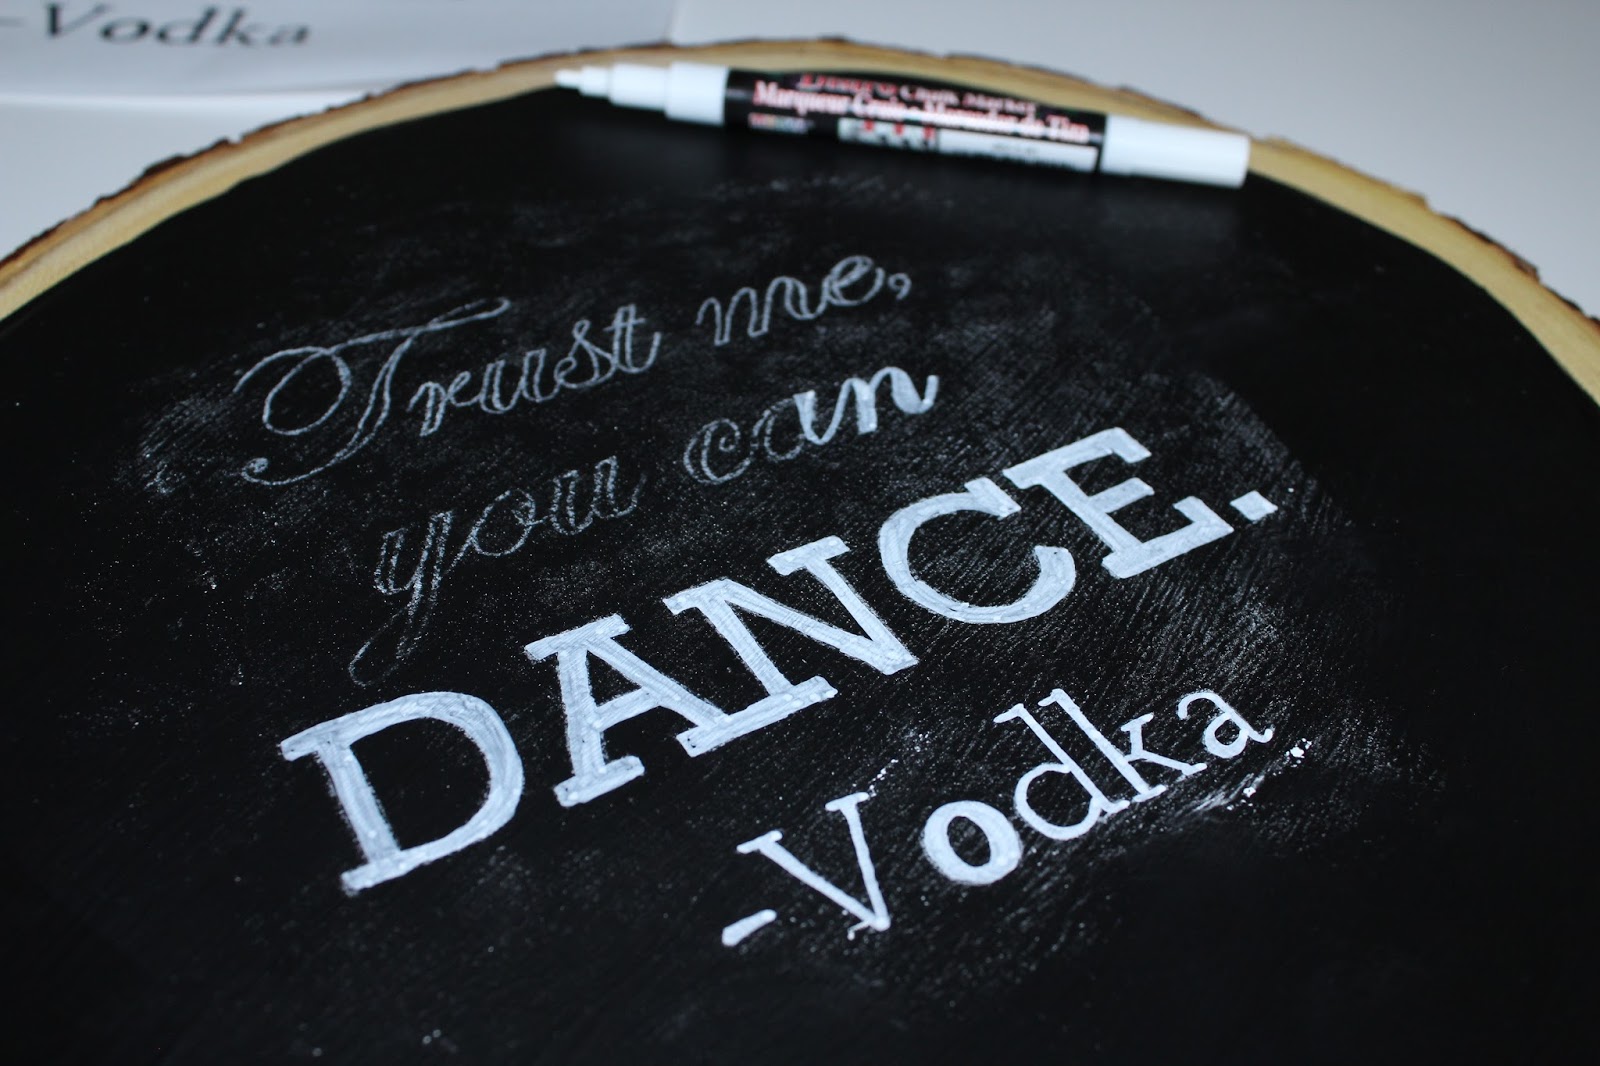
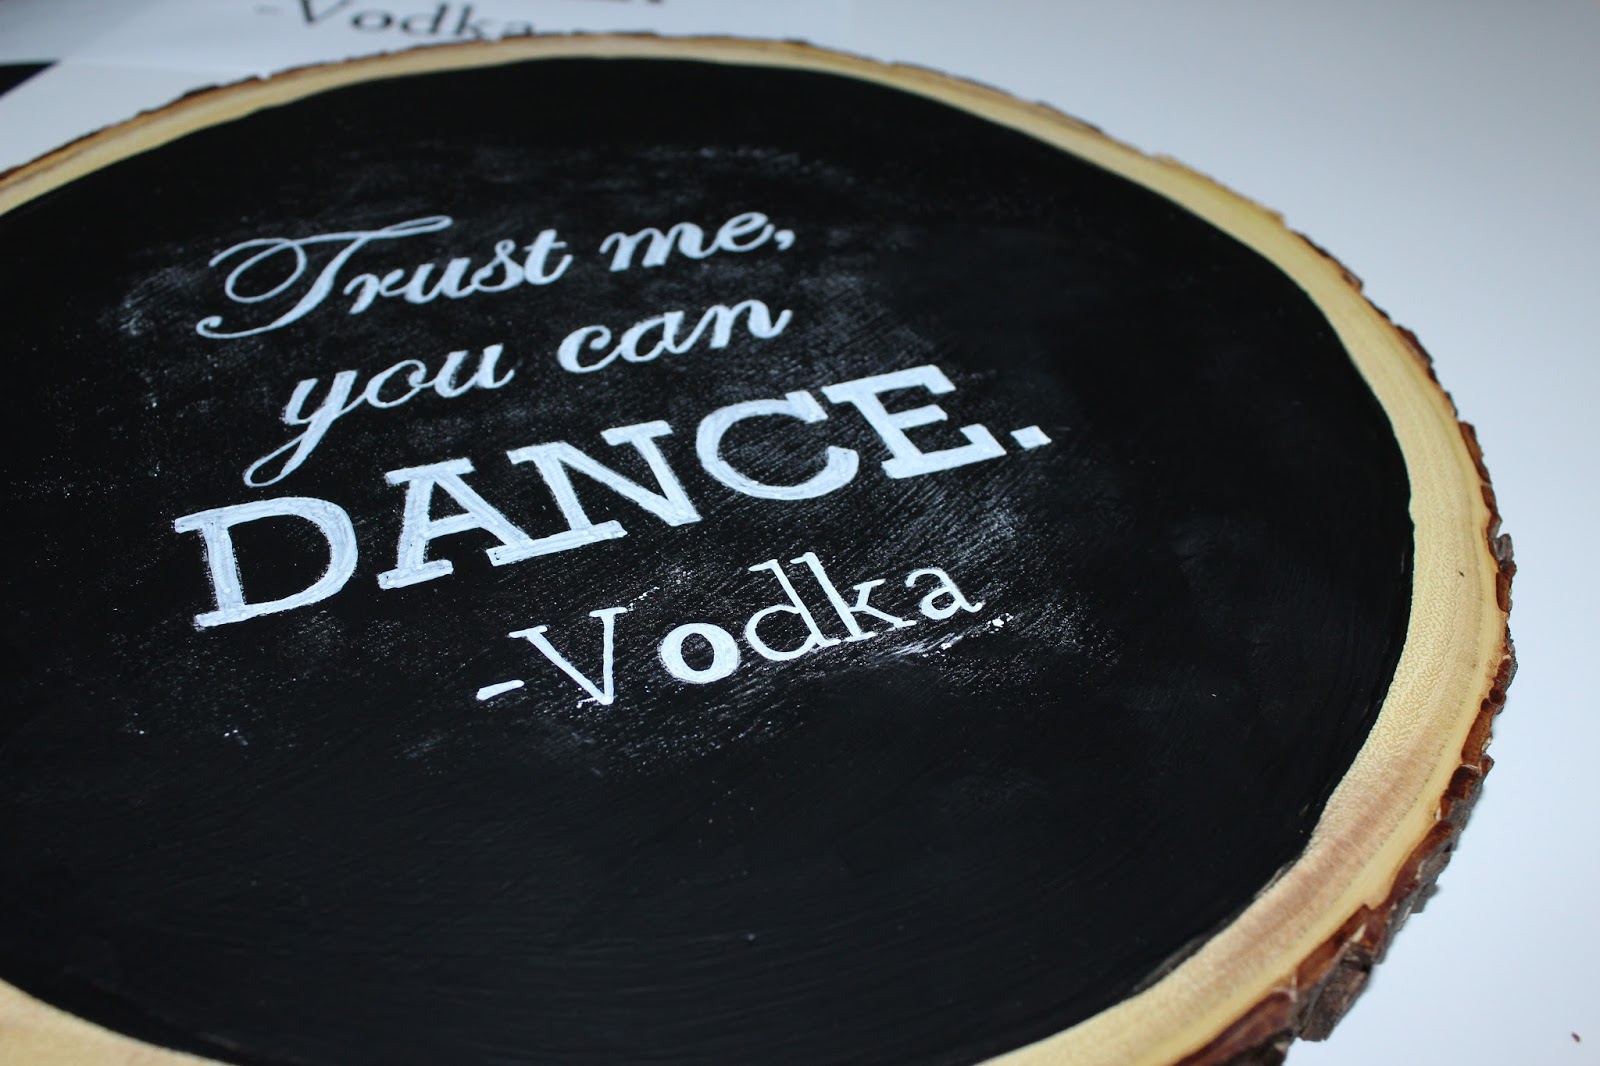
- Use your liquid chalk pen to trace over the outline.
- Use dry Q-tips to rub off all excess chalk. Don't worry about rubbing it over the liquid chalk lettering, as it won't smudge. Only water will remove the liquid chalk.
Comments on this post (1)
Muchas gracias. ?Como puedo iniciar sesion?
— kpndrqkkzd