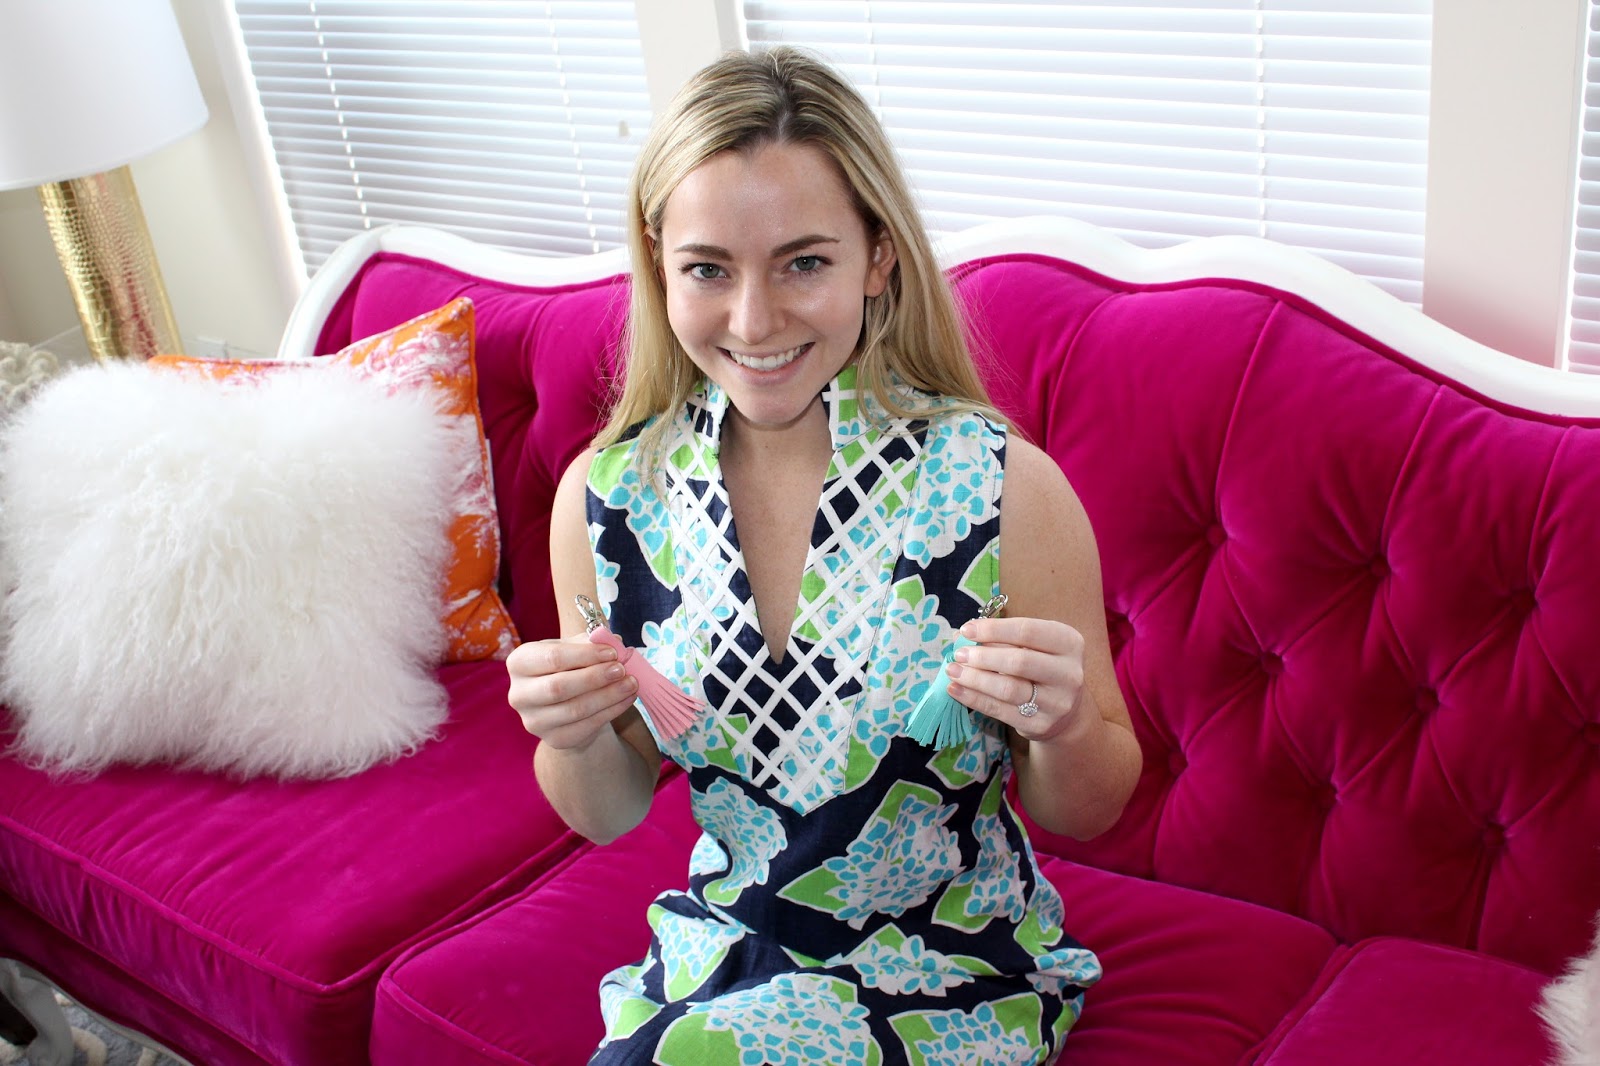
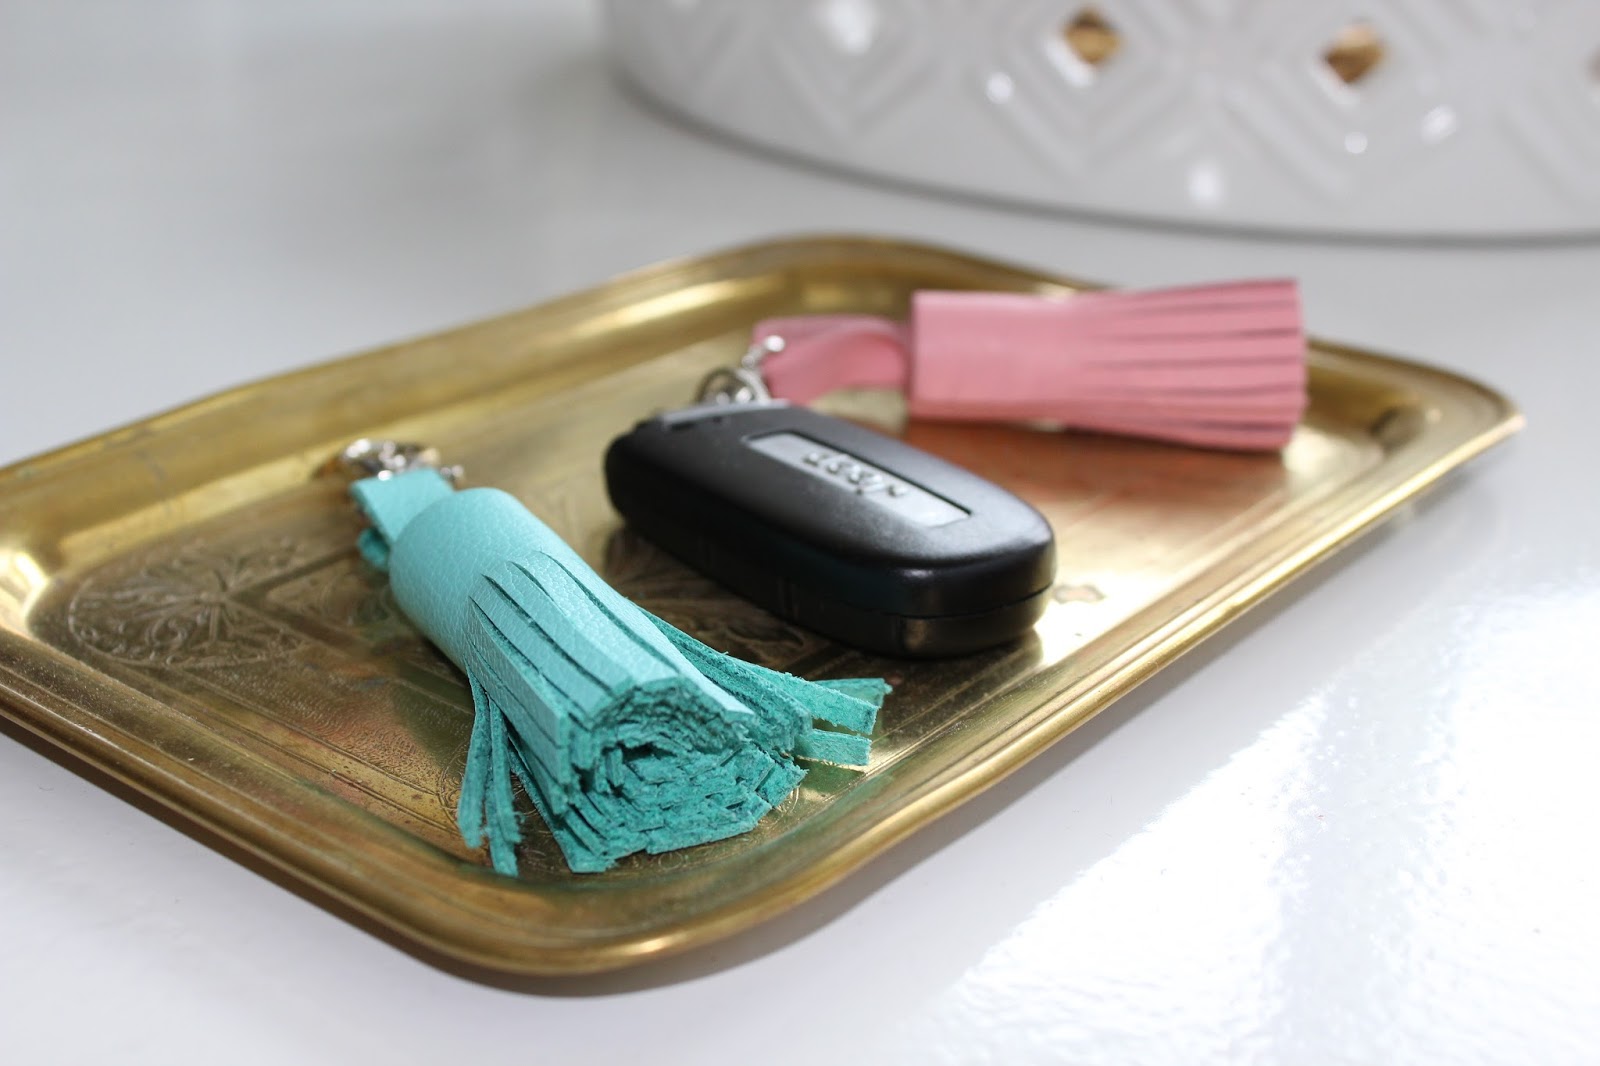
The Tassel Trend


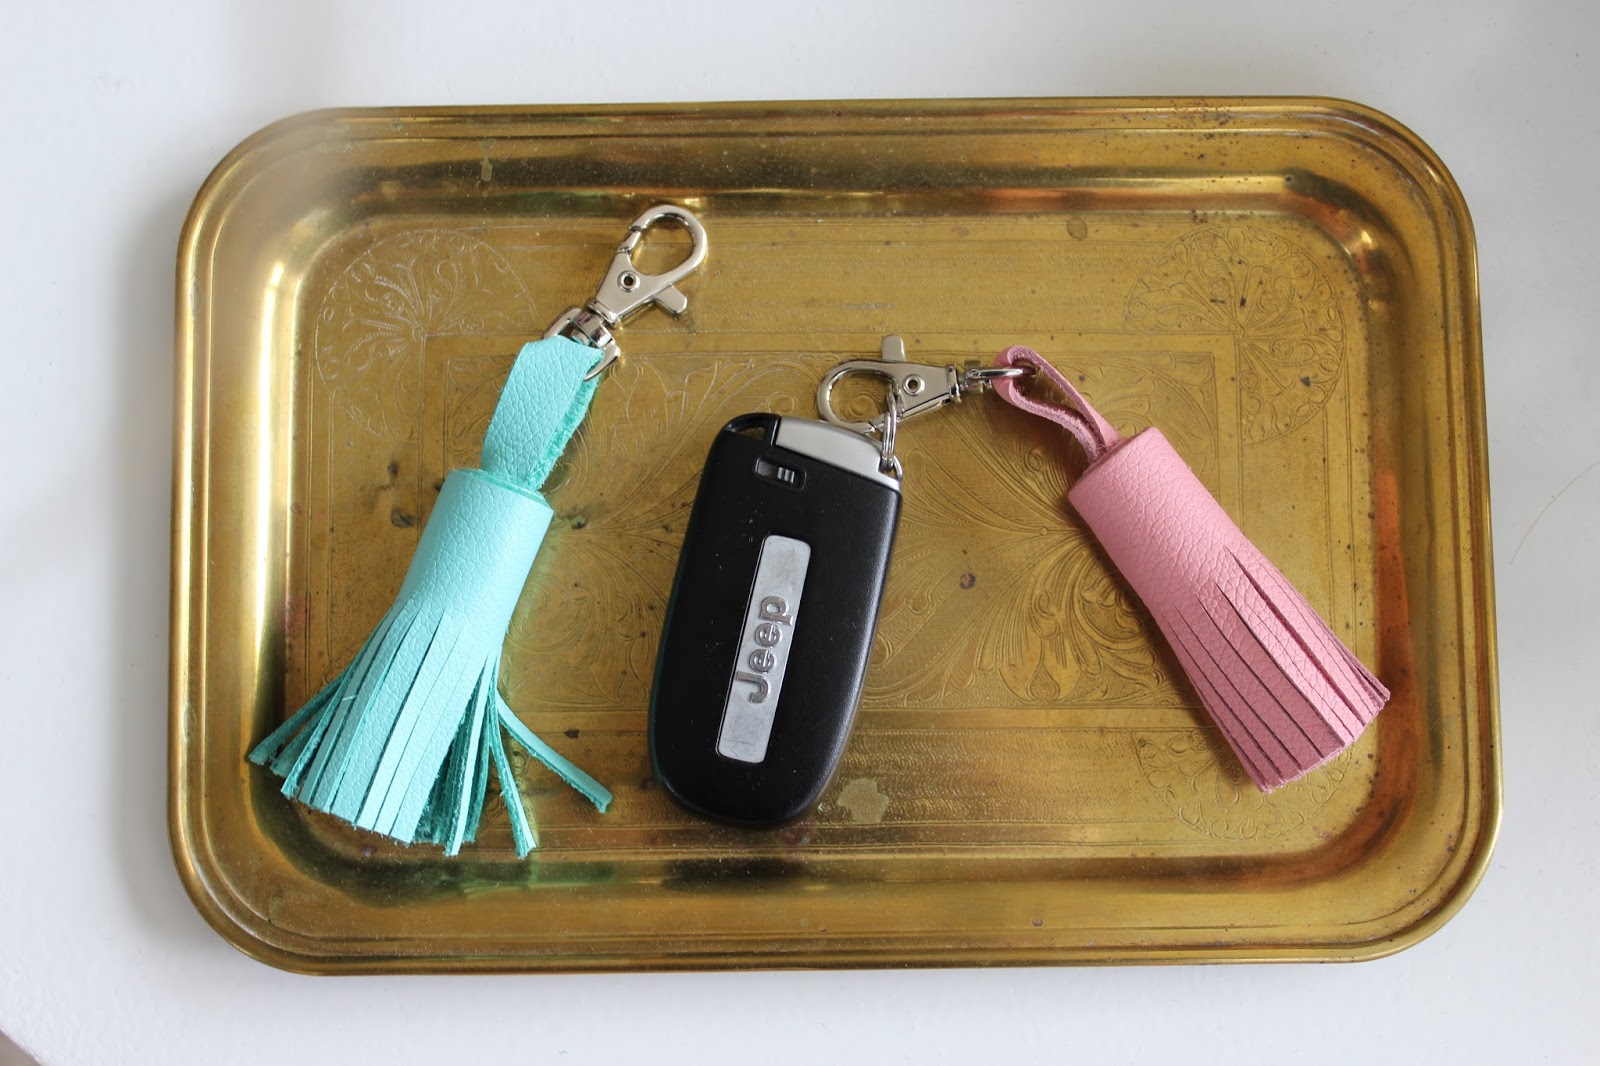
It's about time you ride in style and up your key chain game. If you haven't noticed, tassels are kind of a big deal right now. From necklaces to purses to scarves, tassels are everywhere. Once you make one of these key chains, you will certainly be addicted. They turn out so stinkin' cute that you won't want to give any of them away. You have been warned - this DIY may create key chain hoarding tendencies. :)
I learned how to make these tassels by reading a bunch of blogs and watching some videos. I would have to say that Damask Love is really the one who nailed it. She is amazing and a super talented DIY/craft blogger that I follow. Make sure to check her site out!
Don't feel like making a key chain, but want one? I am now accepting orders. Shoot me an email with your order (color, quantity, etc.) and I will be happy to make you however many you would like!
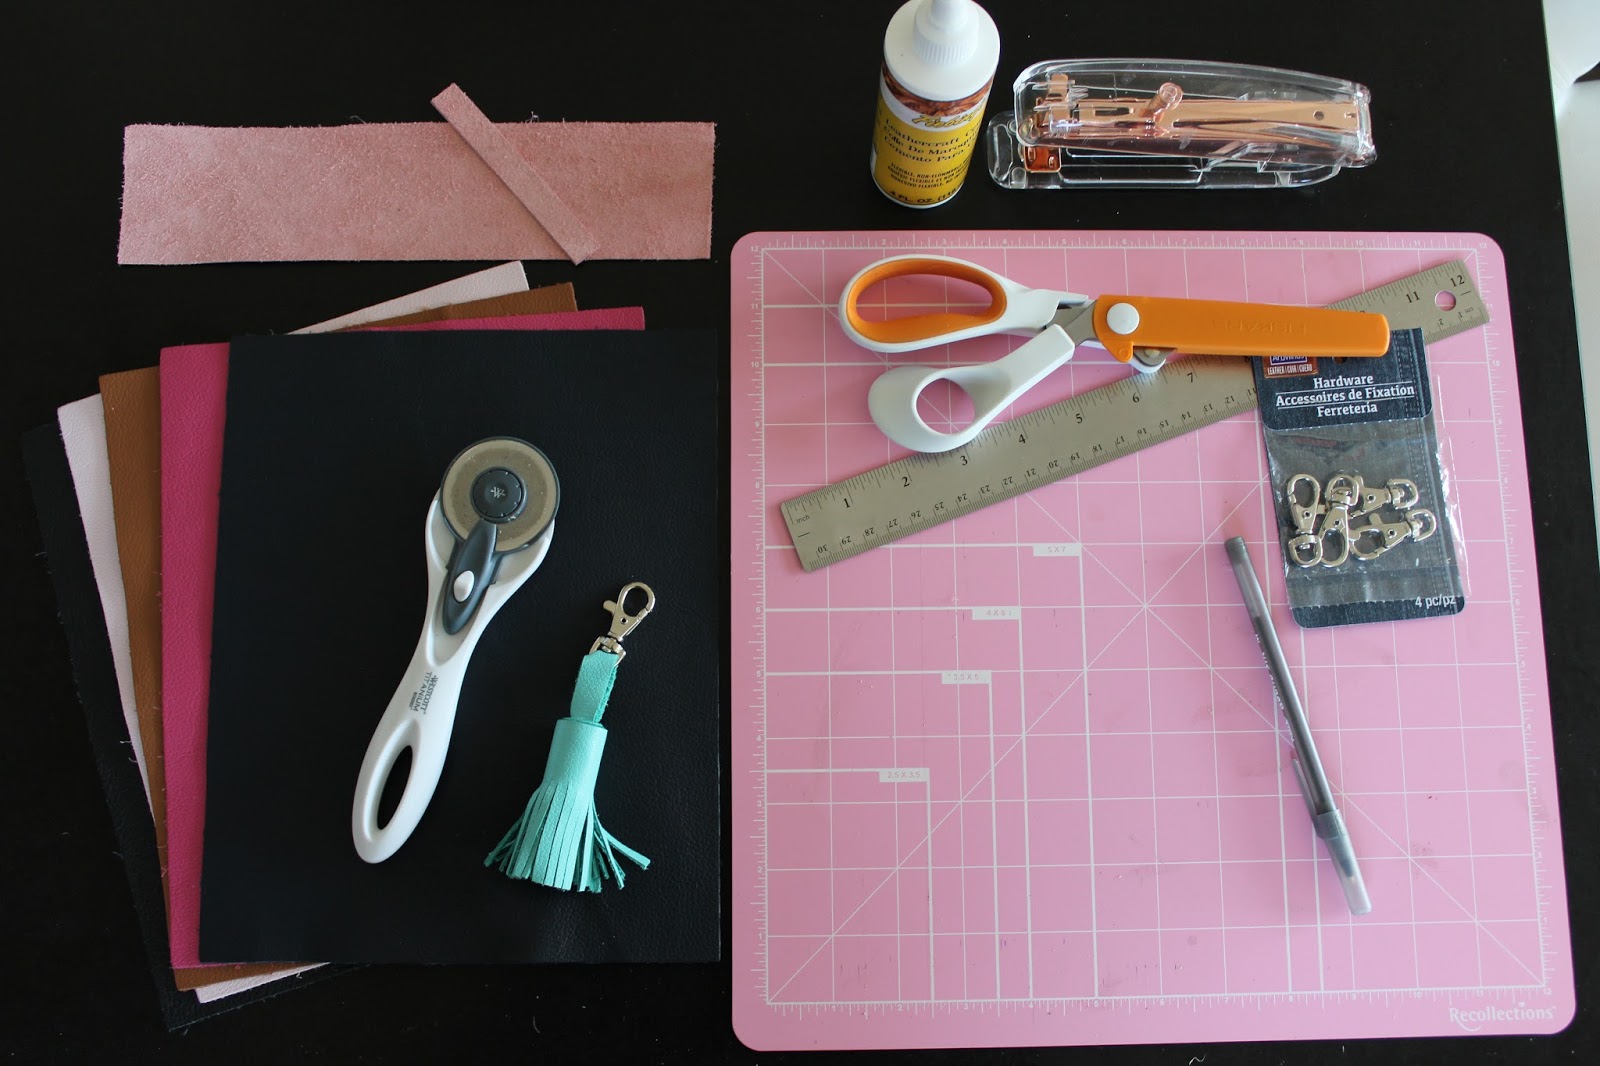
Supplies:
8"x 10" Leather sheet - I order all of my leather from PeggySueAlso
Scissors
Stapler
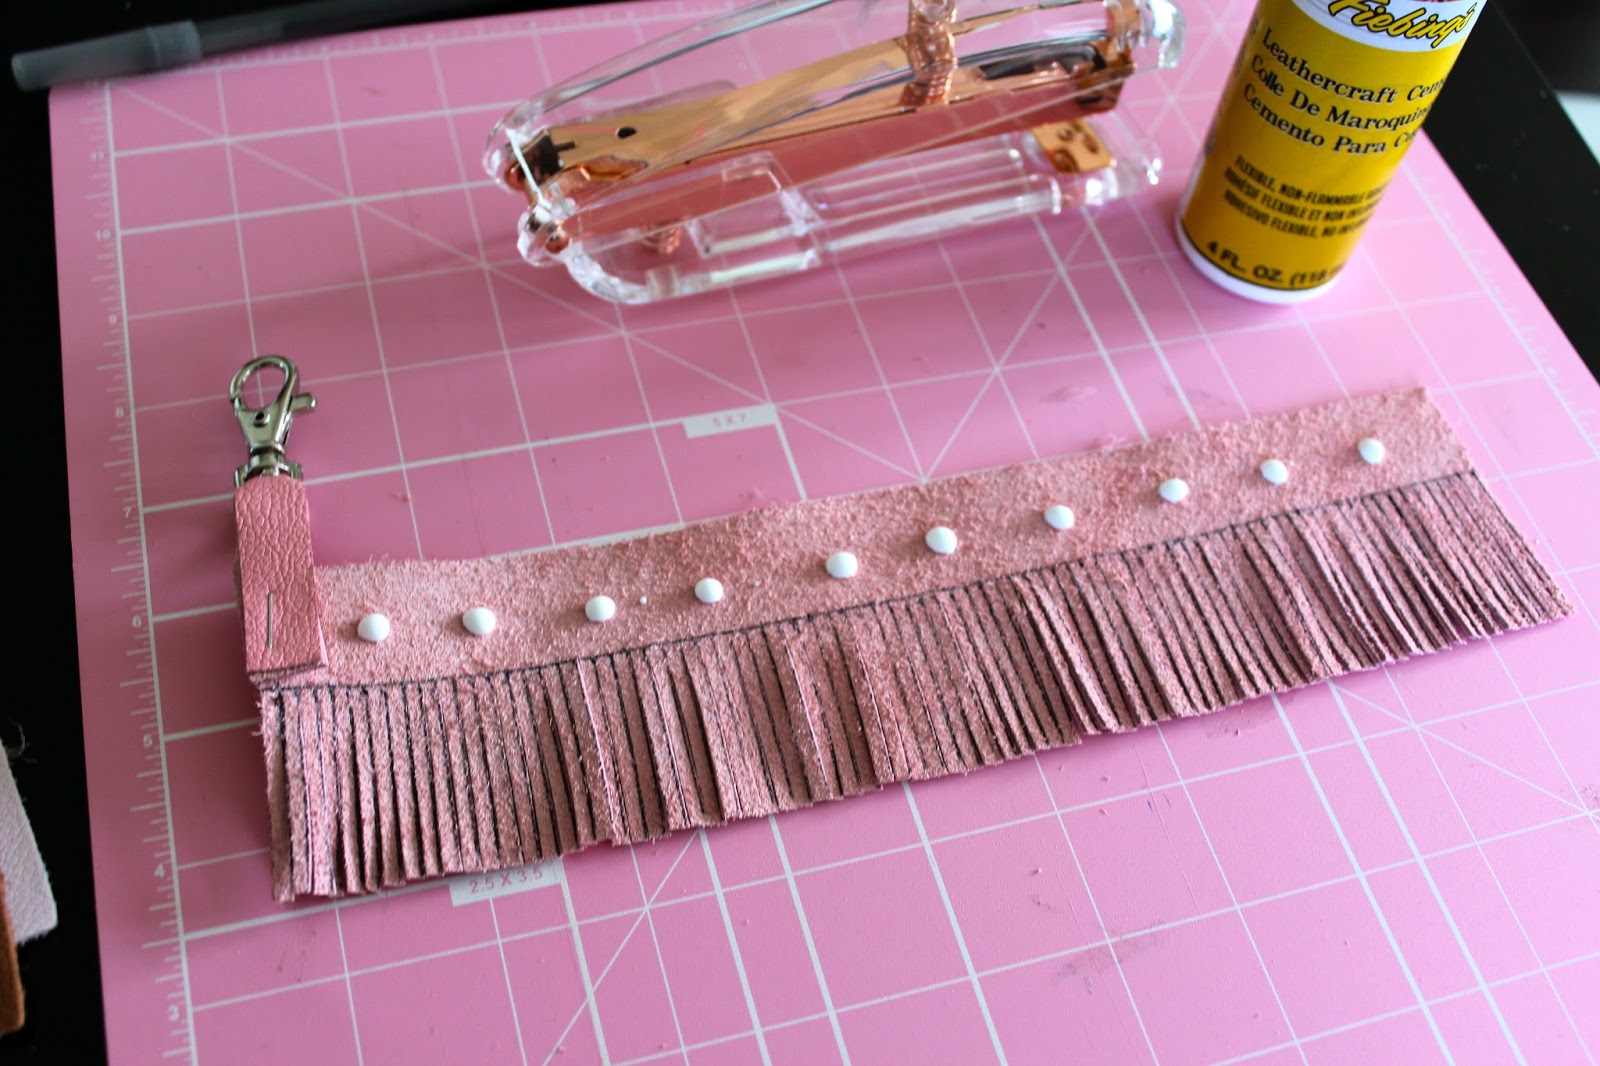
Leather cement
Ruler
Rotary cutter
Snap hooks
Pen
Details:
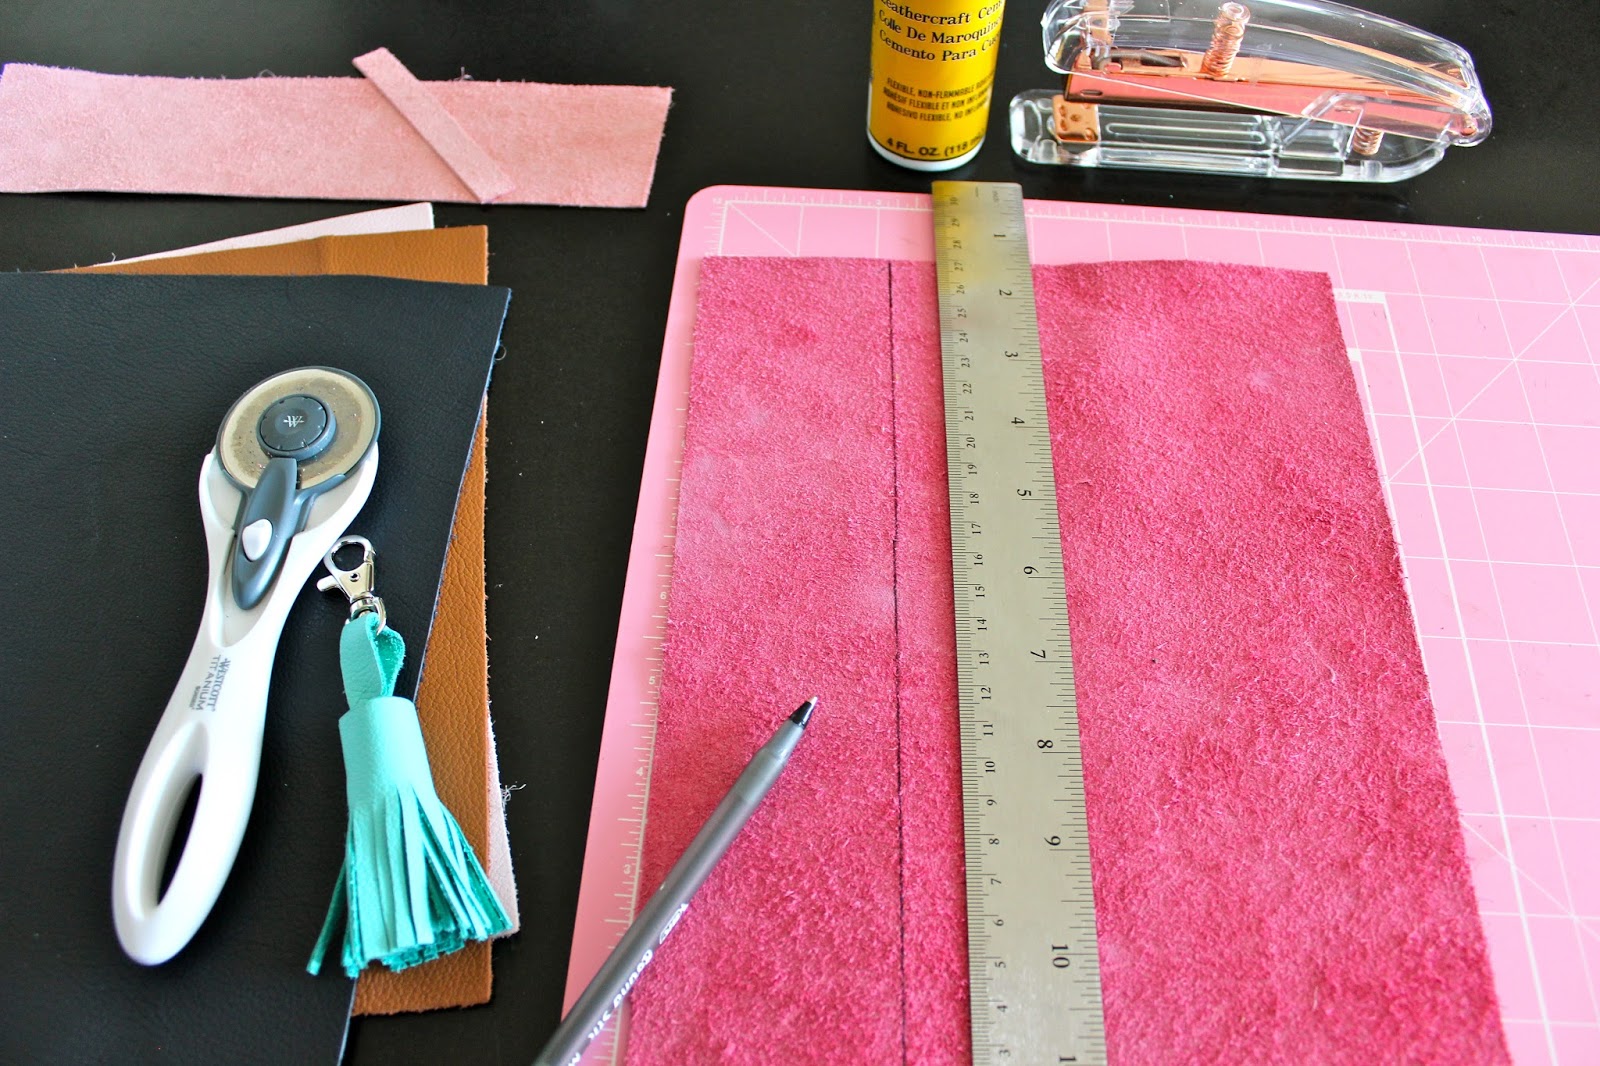
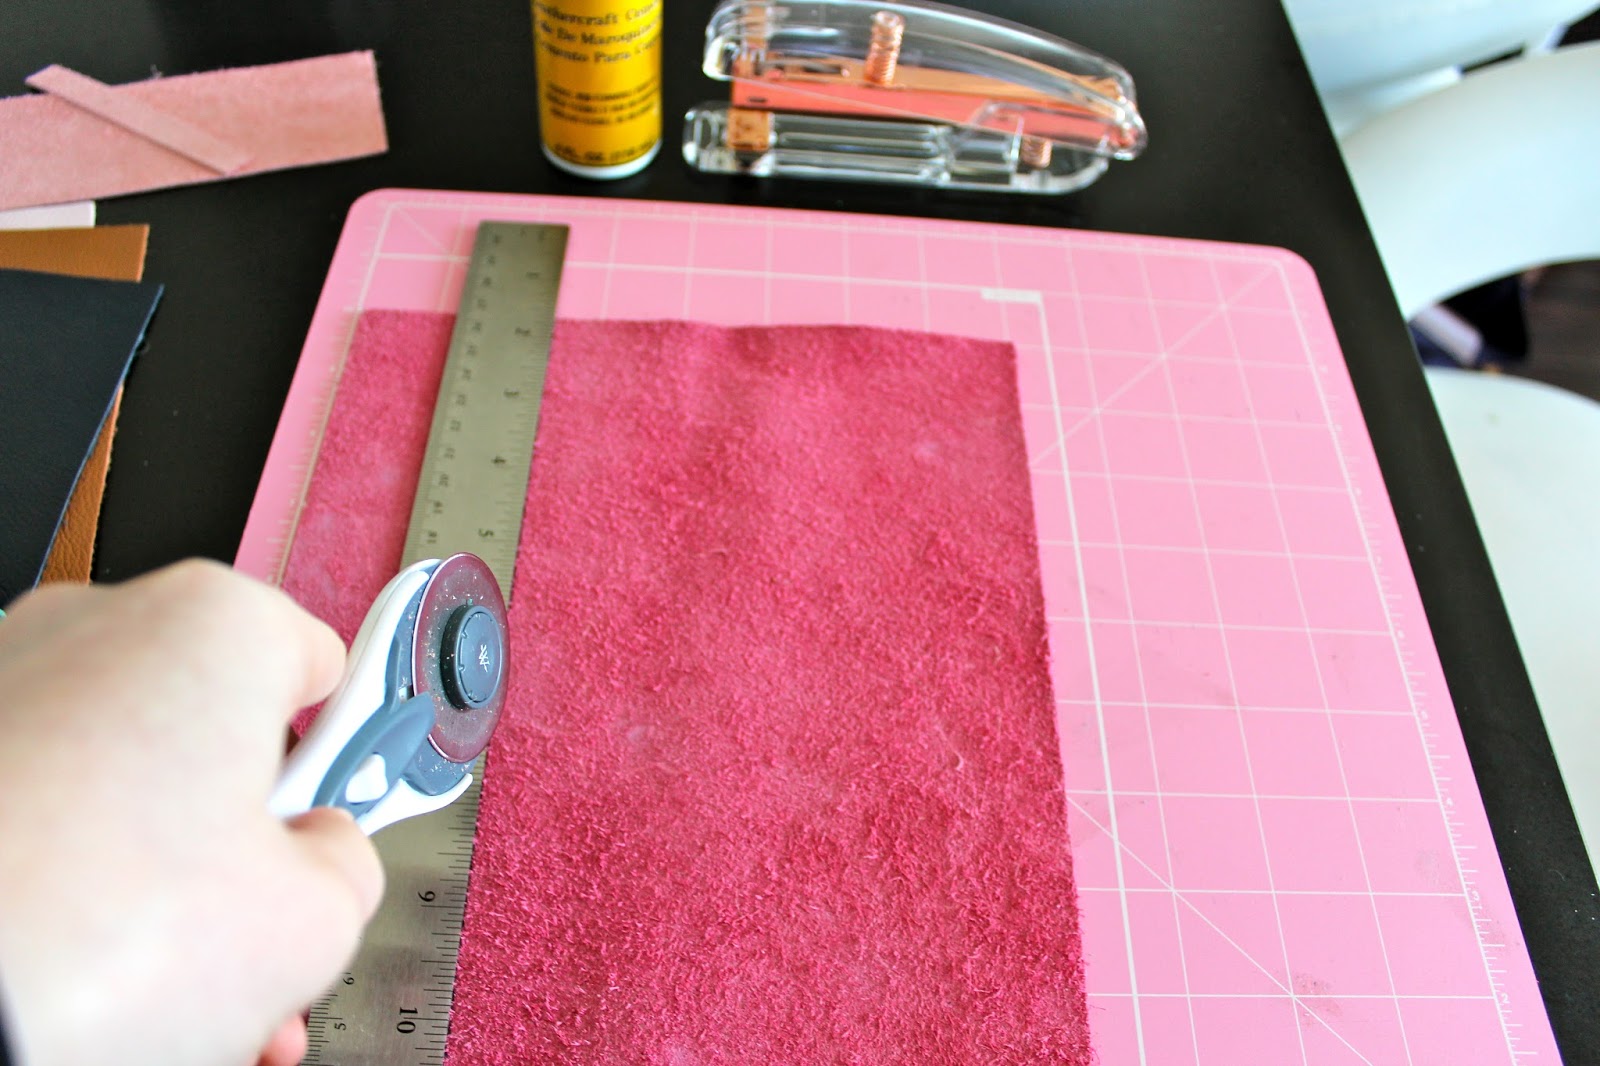
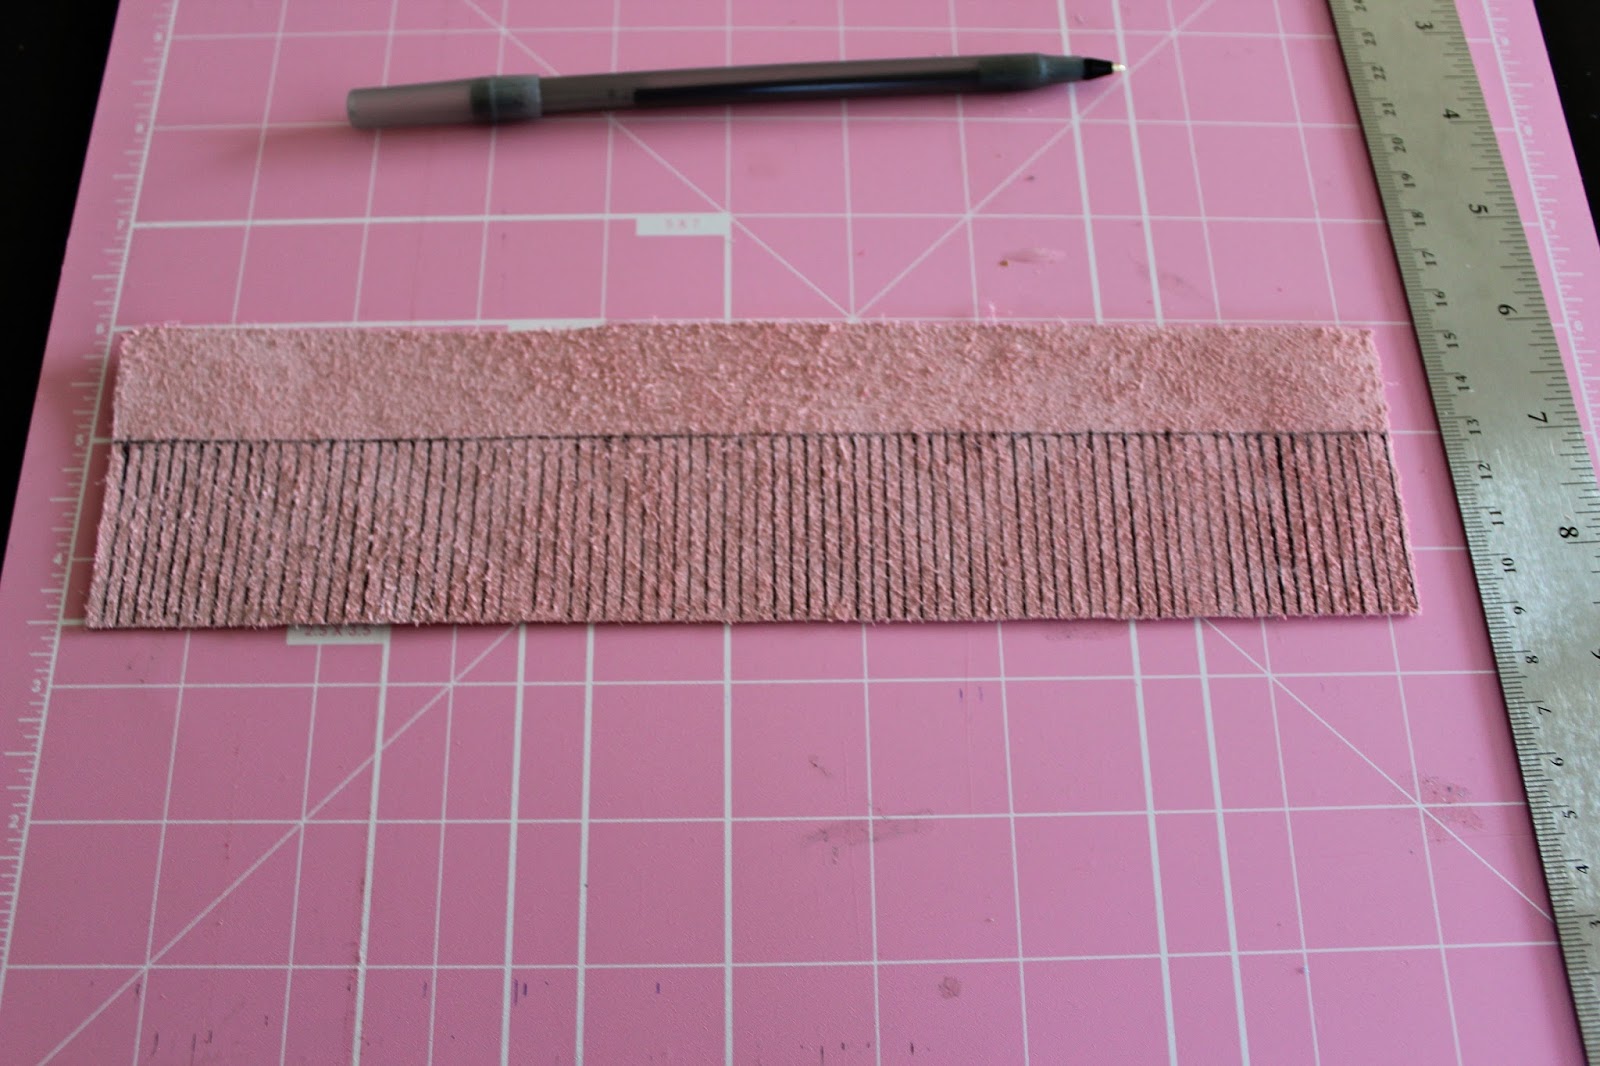
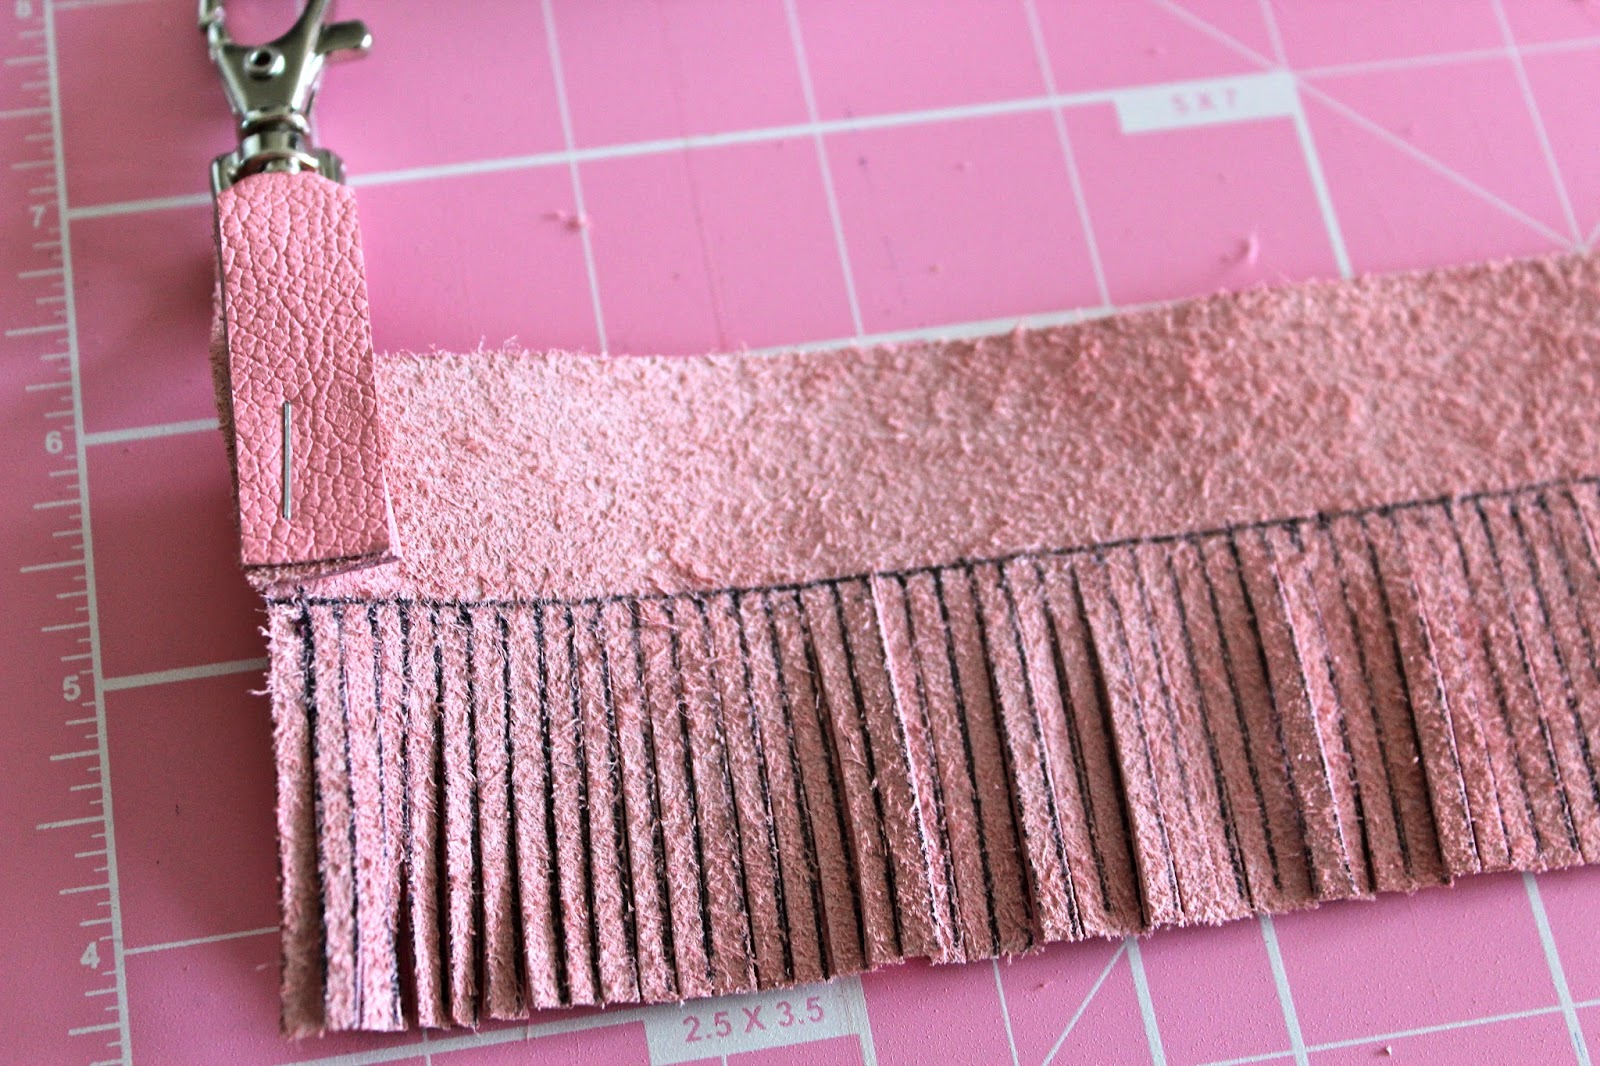
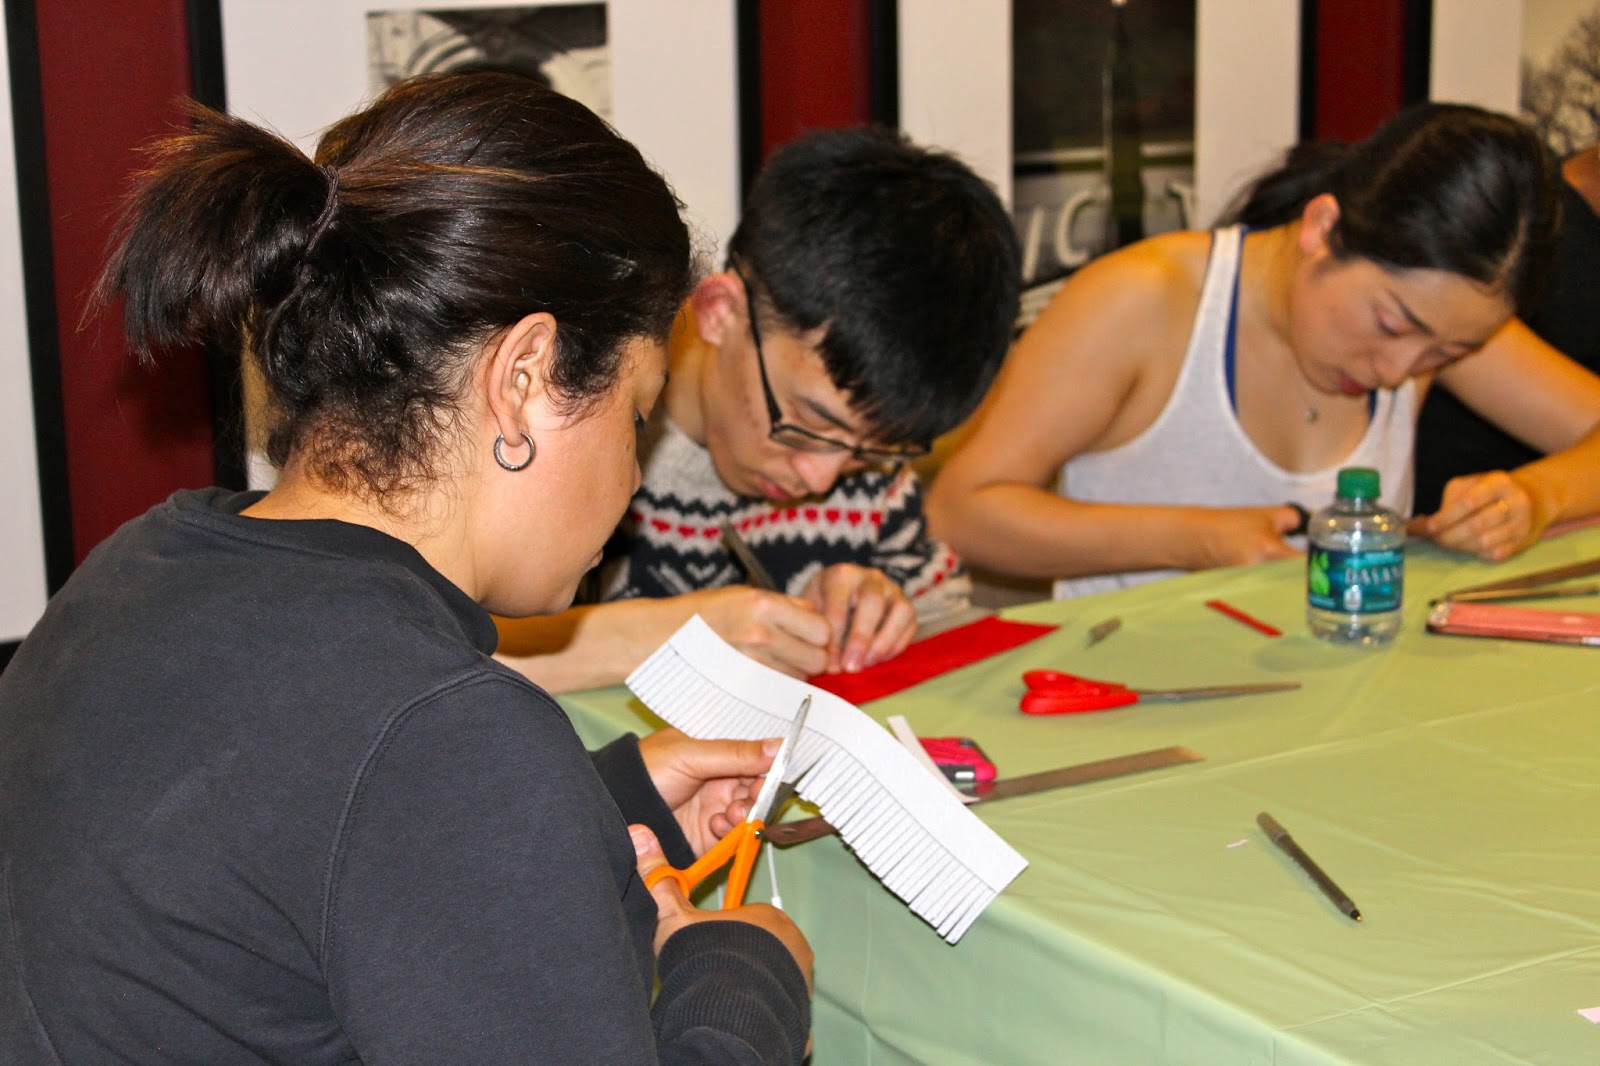
- Measure and cut a 2.5" x 10" strip of leather with your rotary cutter.
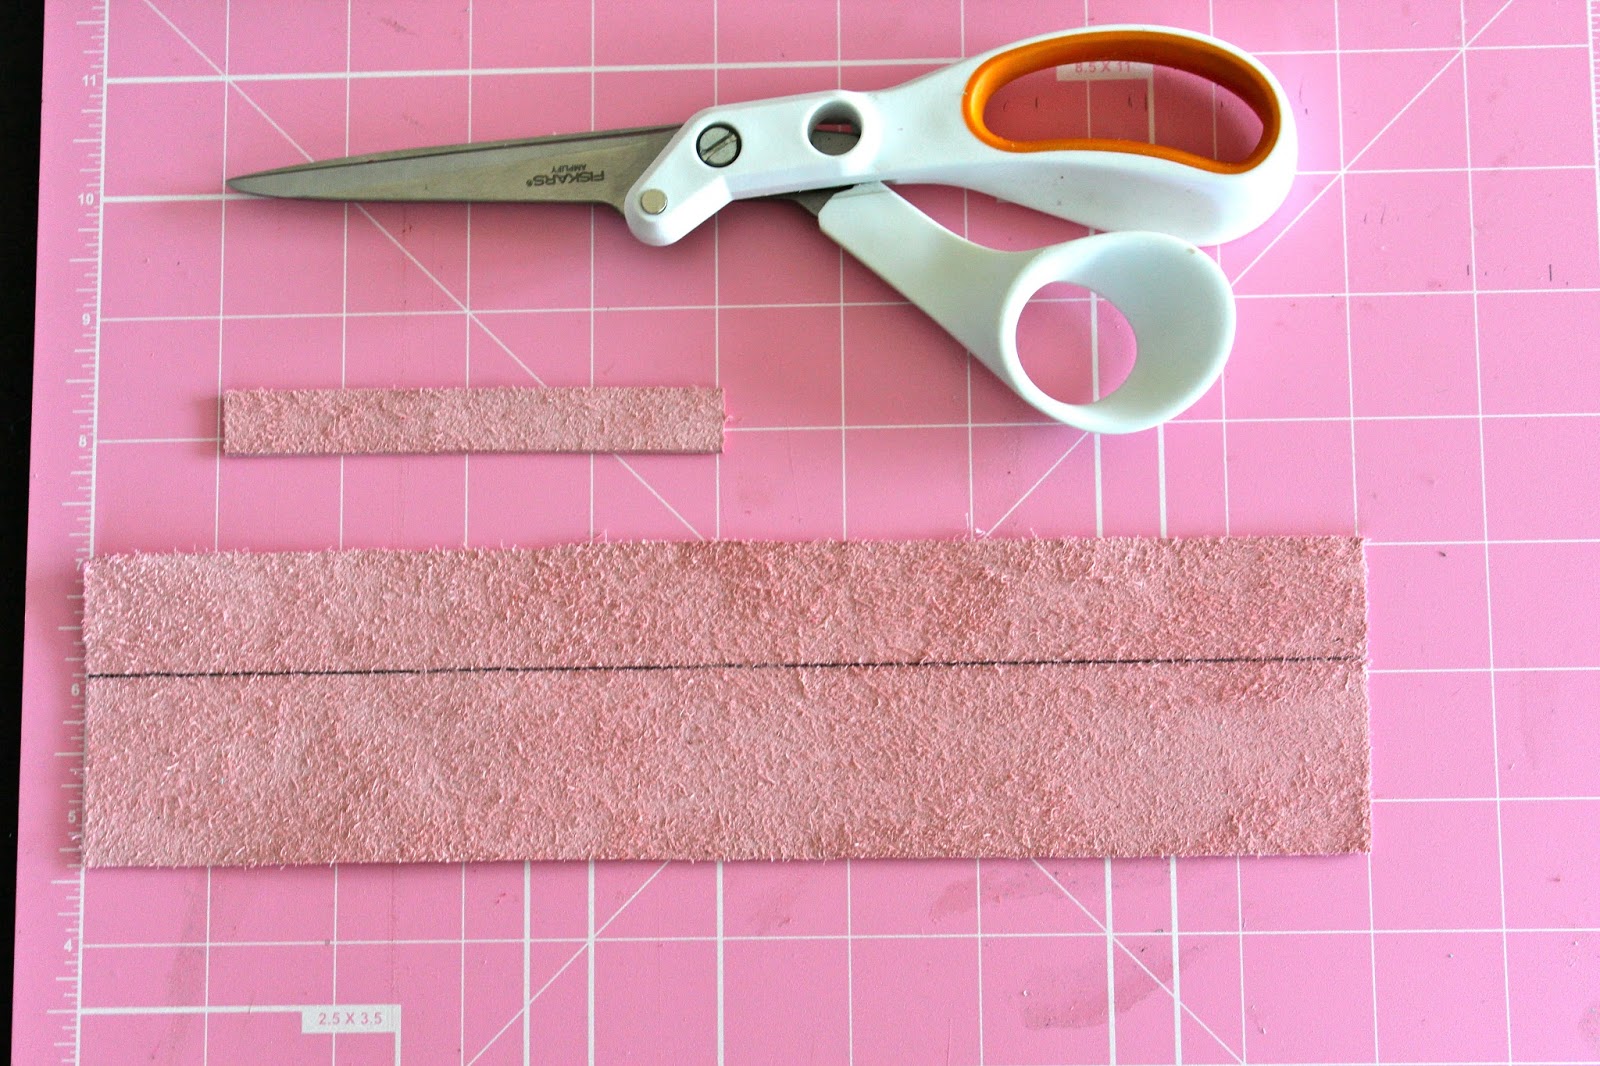
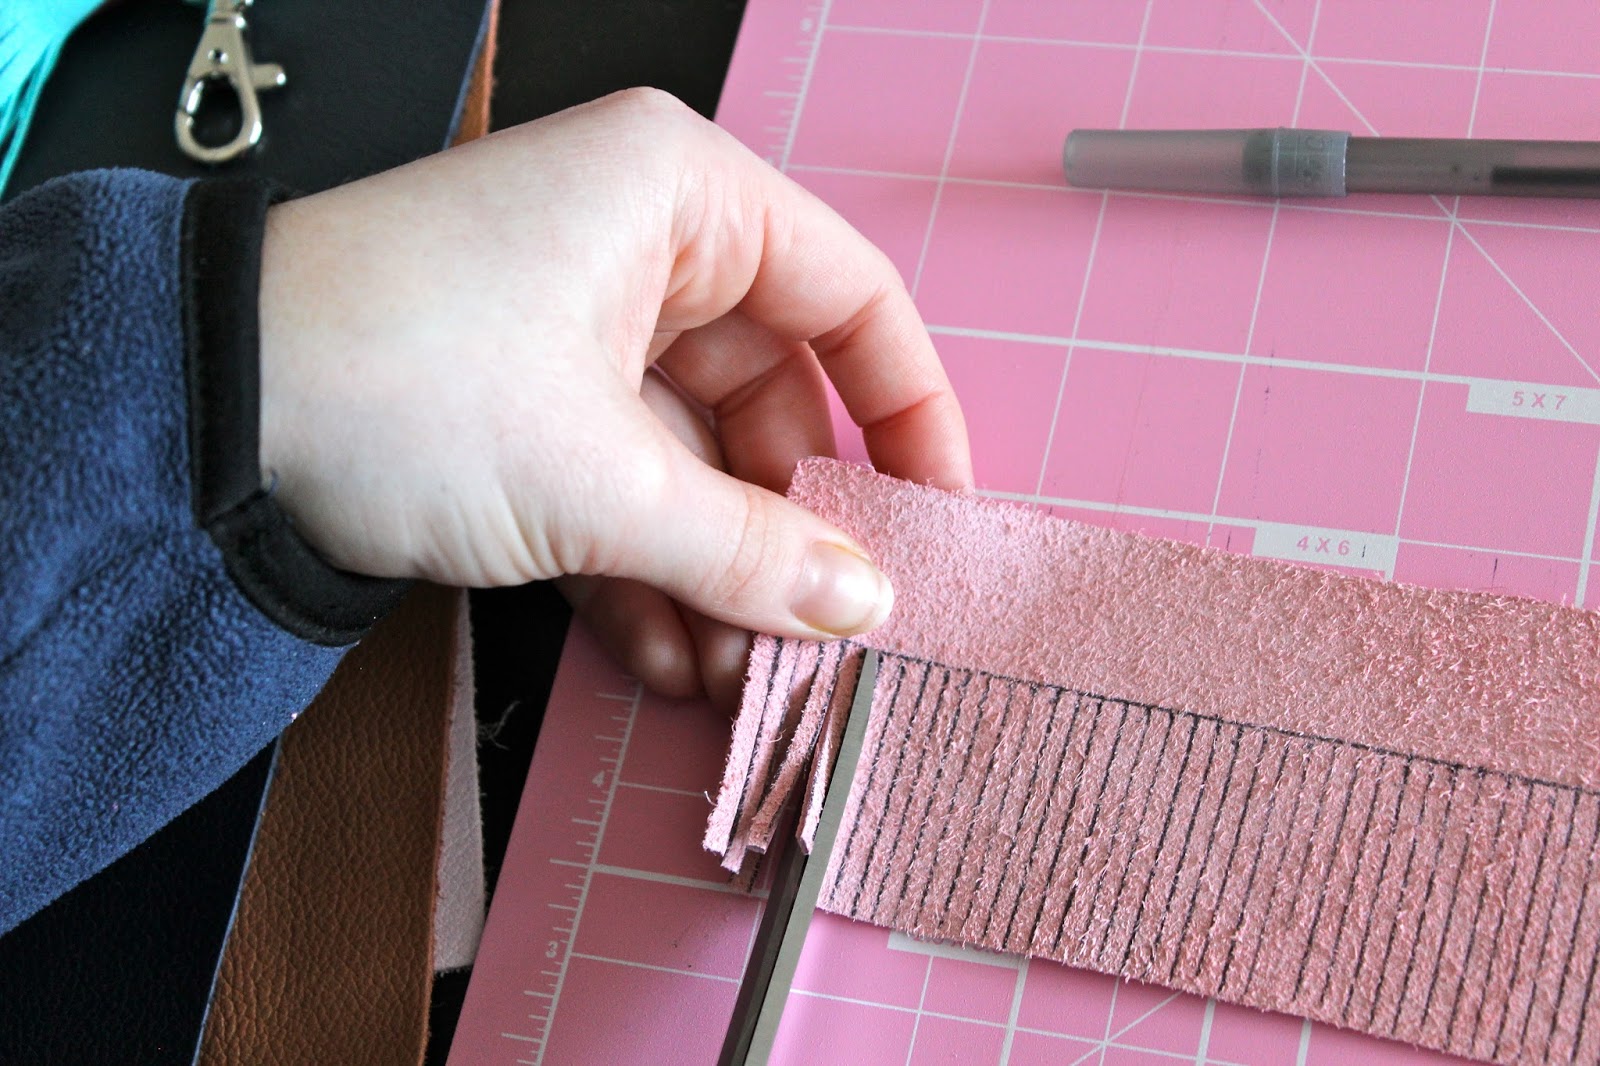
- Measure and cut a .5" x 4" strip of leather with your rotary cutter/scissors.
- On your 2.5" x 10" piece of leather, measure 1" down from the top and draw a horizontal line.
- Use your ruler to measure and mark 1/8" fringe (each fringe piece is about 1/8" x 1.5"). You don't have to measure every single fringe piece if you don't want to. It can be somewhat monotonous, so feel free to eyeball the measurements.
- Use your scissors to cut each fringe piece up to the 1" horizontal line.
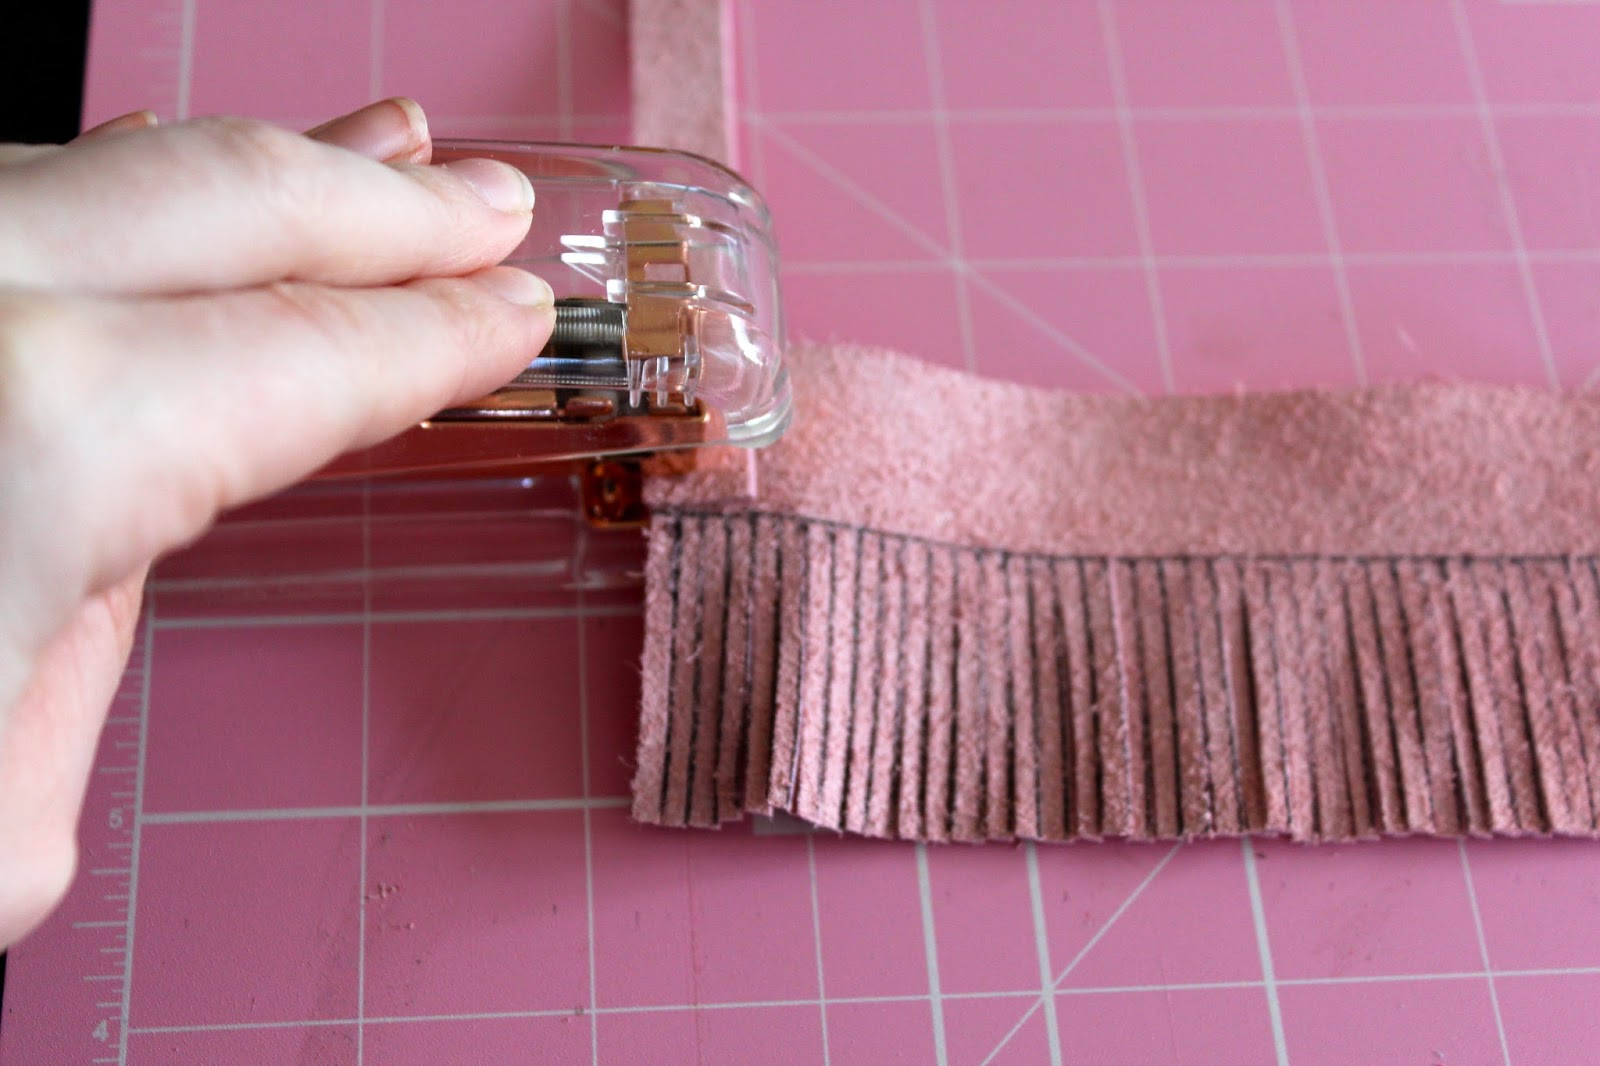
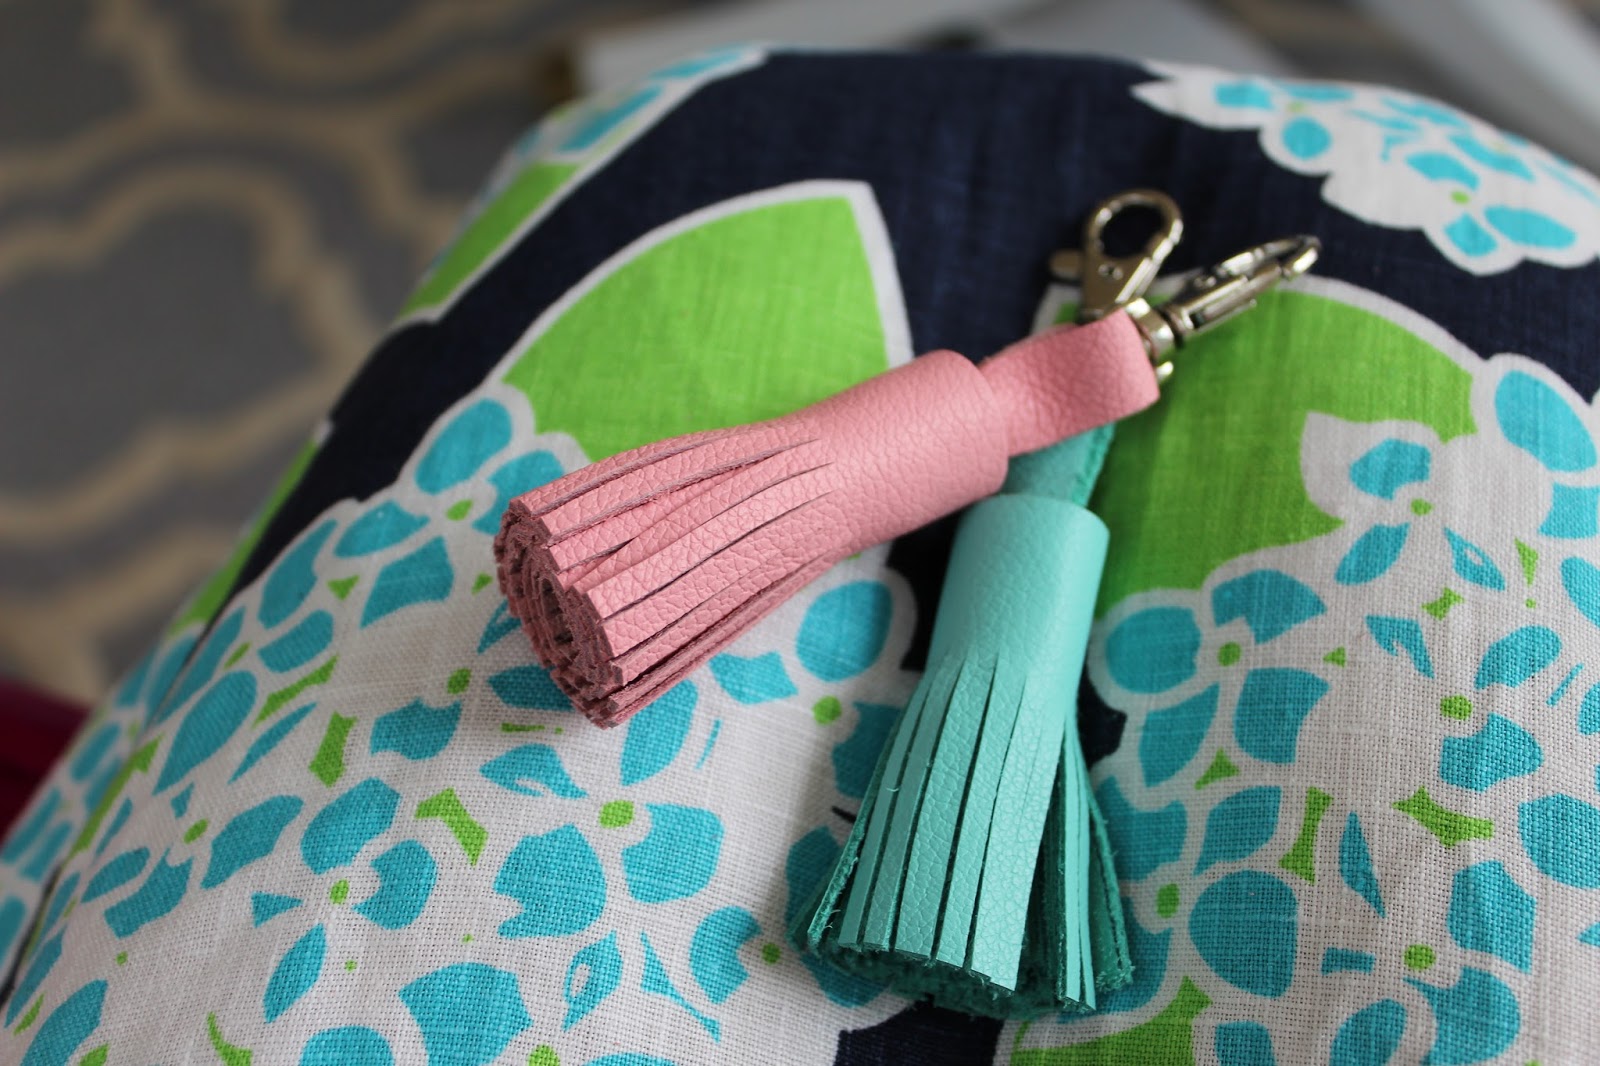
- Attach the .5" x 4" piece of leather to the left edge of the fringed leather strip with a stapler.
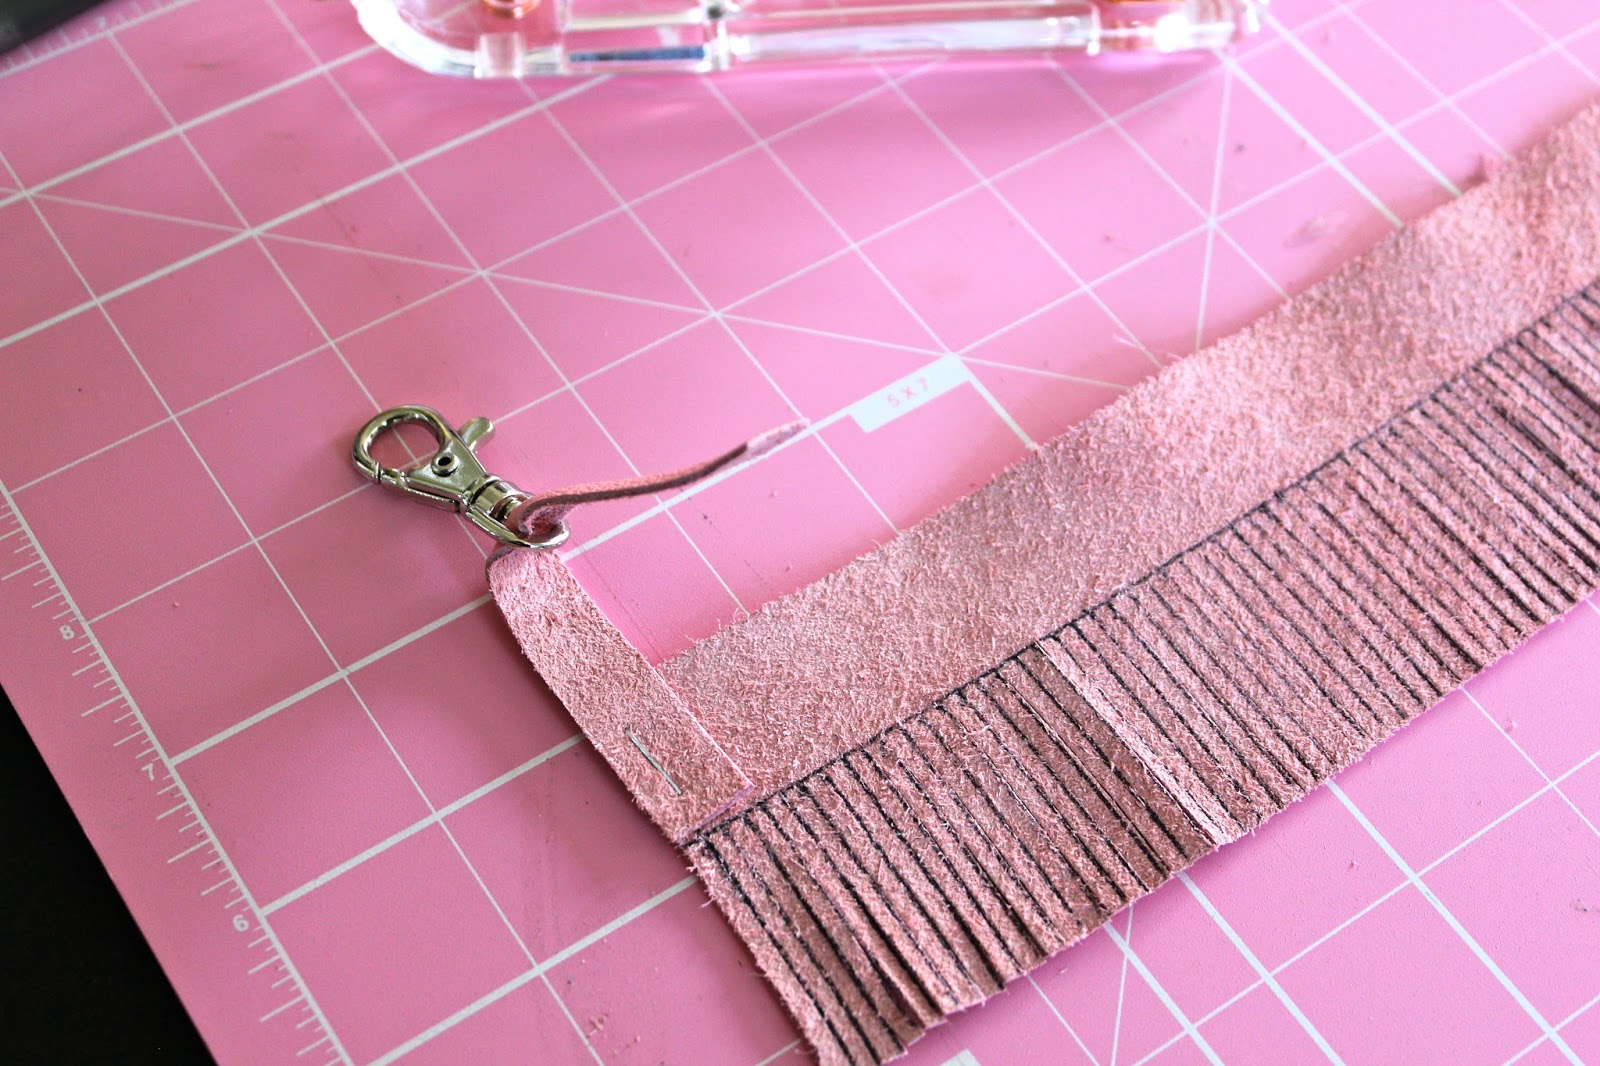
- Loop the .5"x 4" piece of leather through the snap hook and secure to the left hand corner of the fringed leather strip with the stapler again.
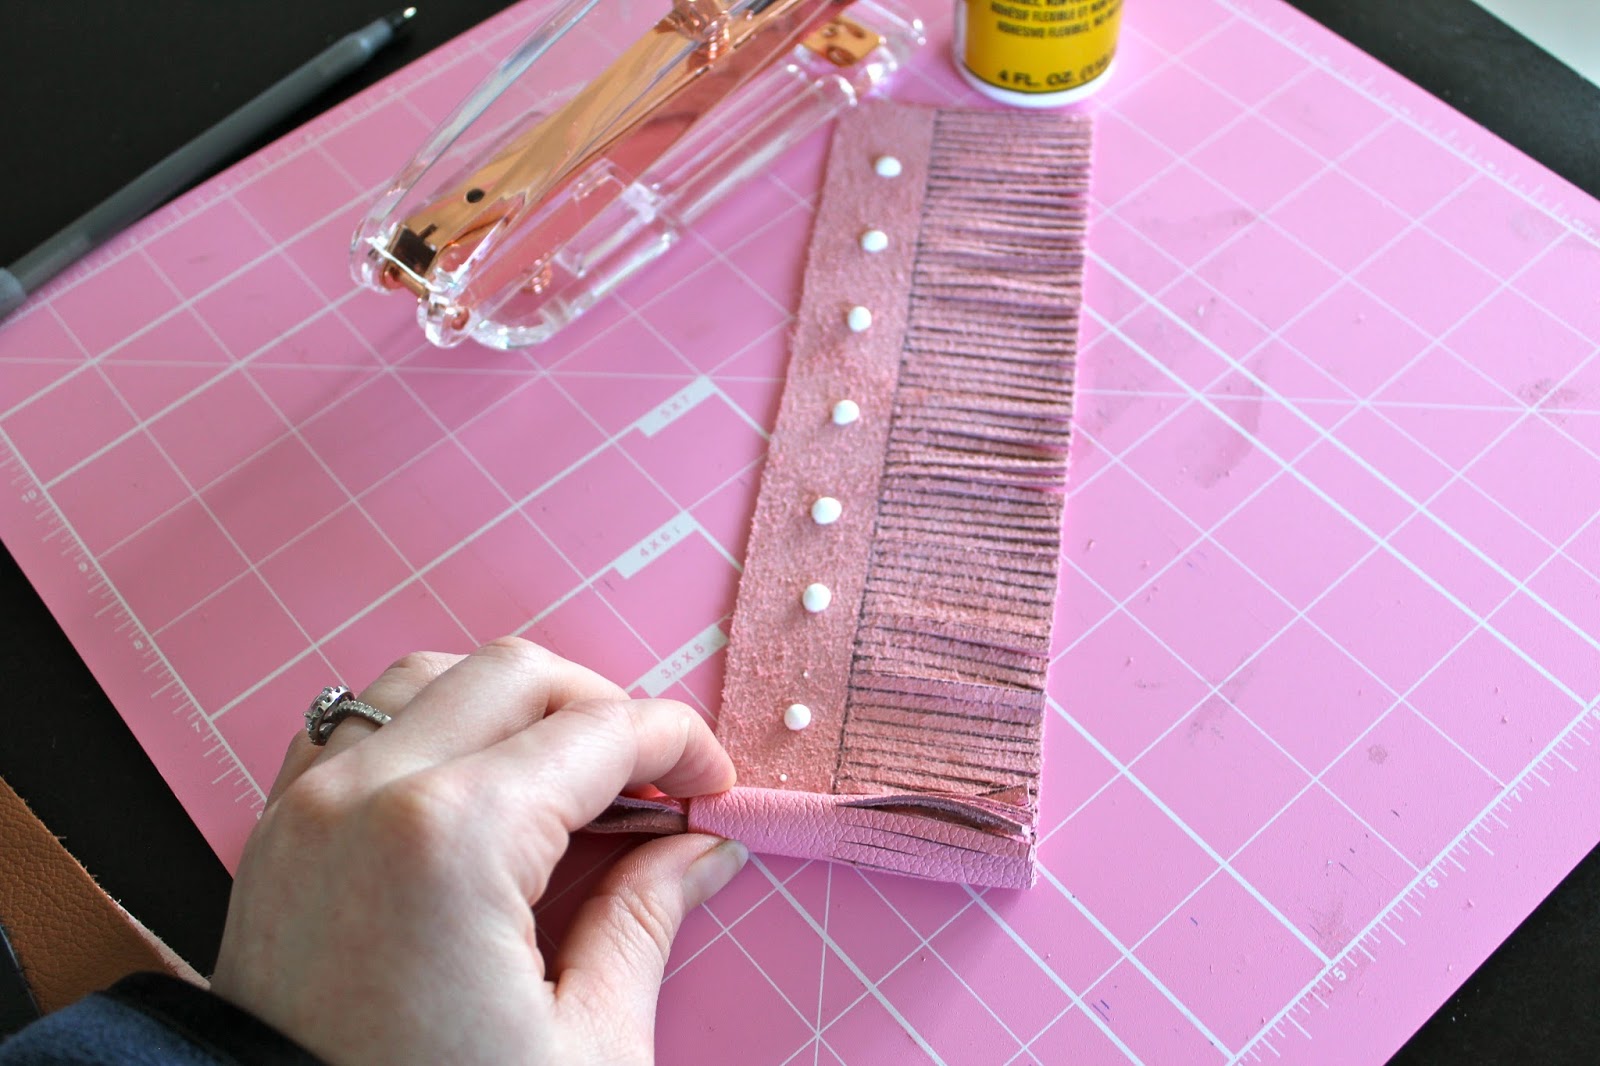
- Apply dabs of leather cement about 1" apart along the top of the fringed leather strip.
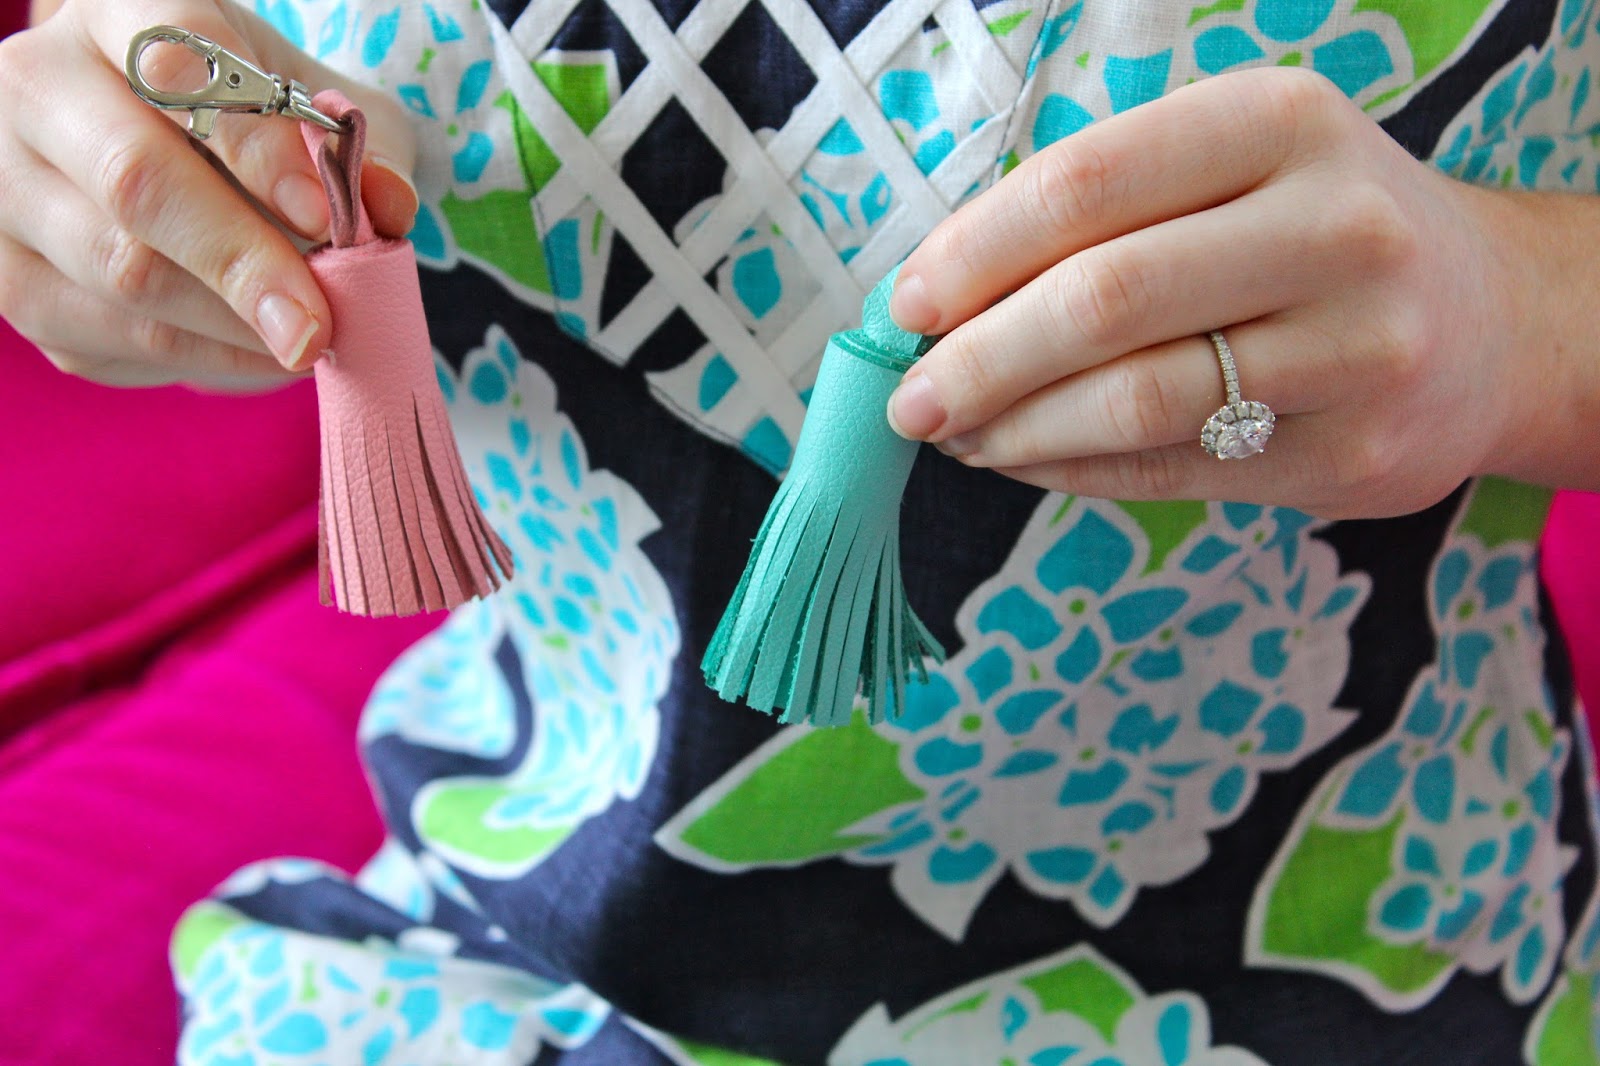
- Tightly roll your tassel and hold firmly together for about one minute.
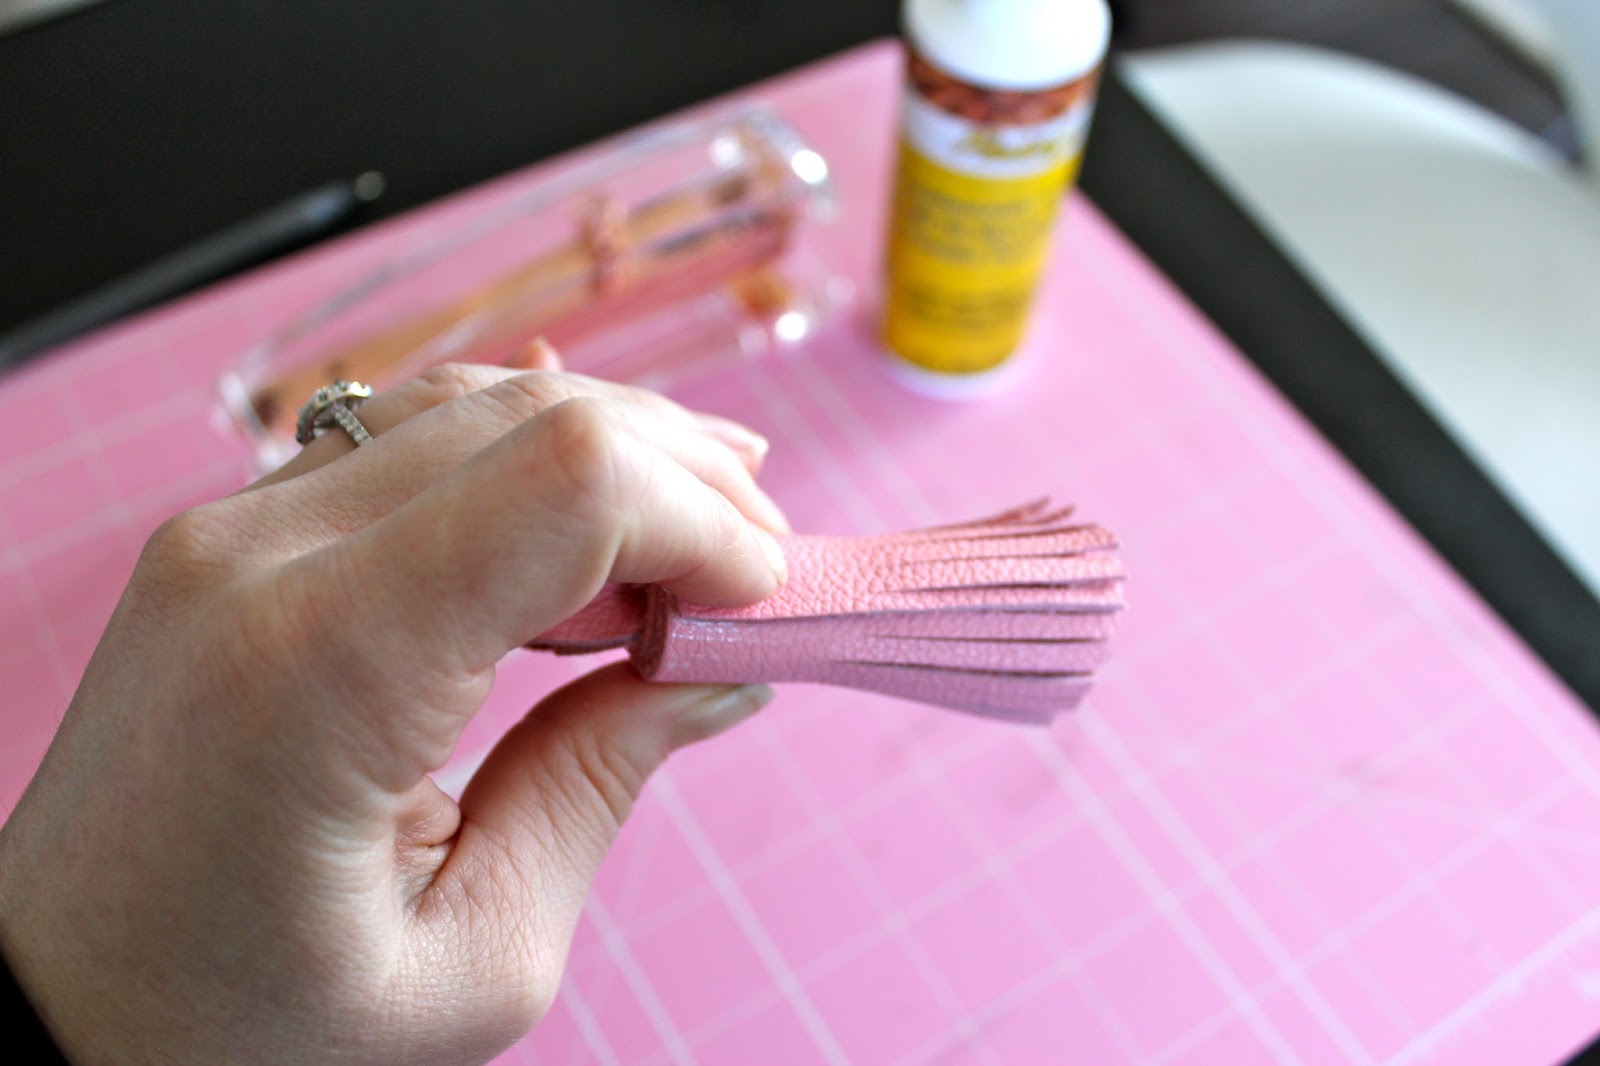
- Apply a small amount of leather cement to the top of the tassel to ensure adhesion.
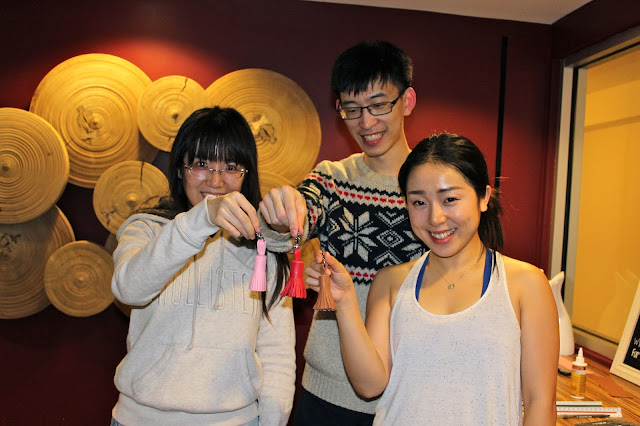
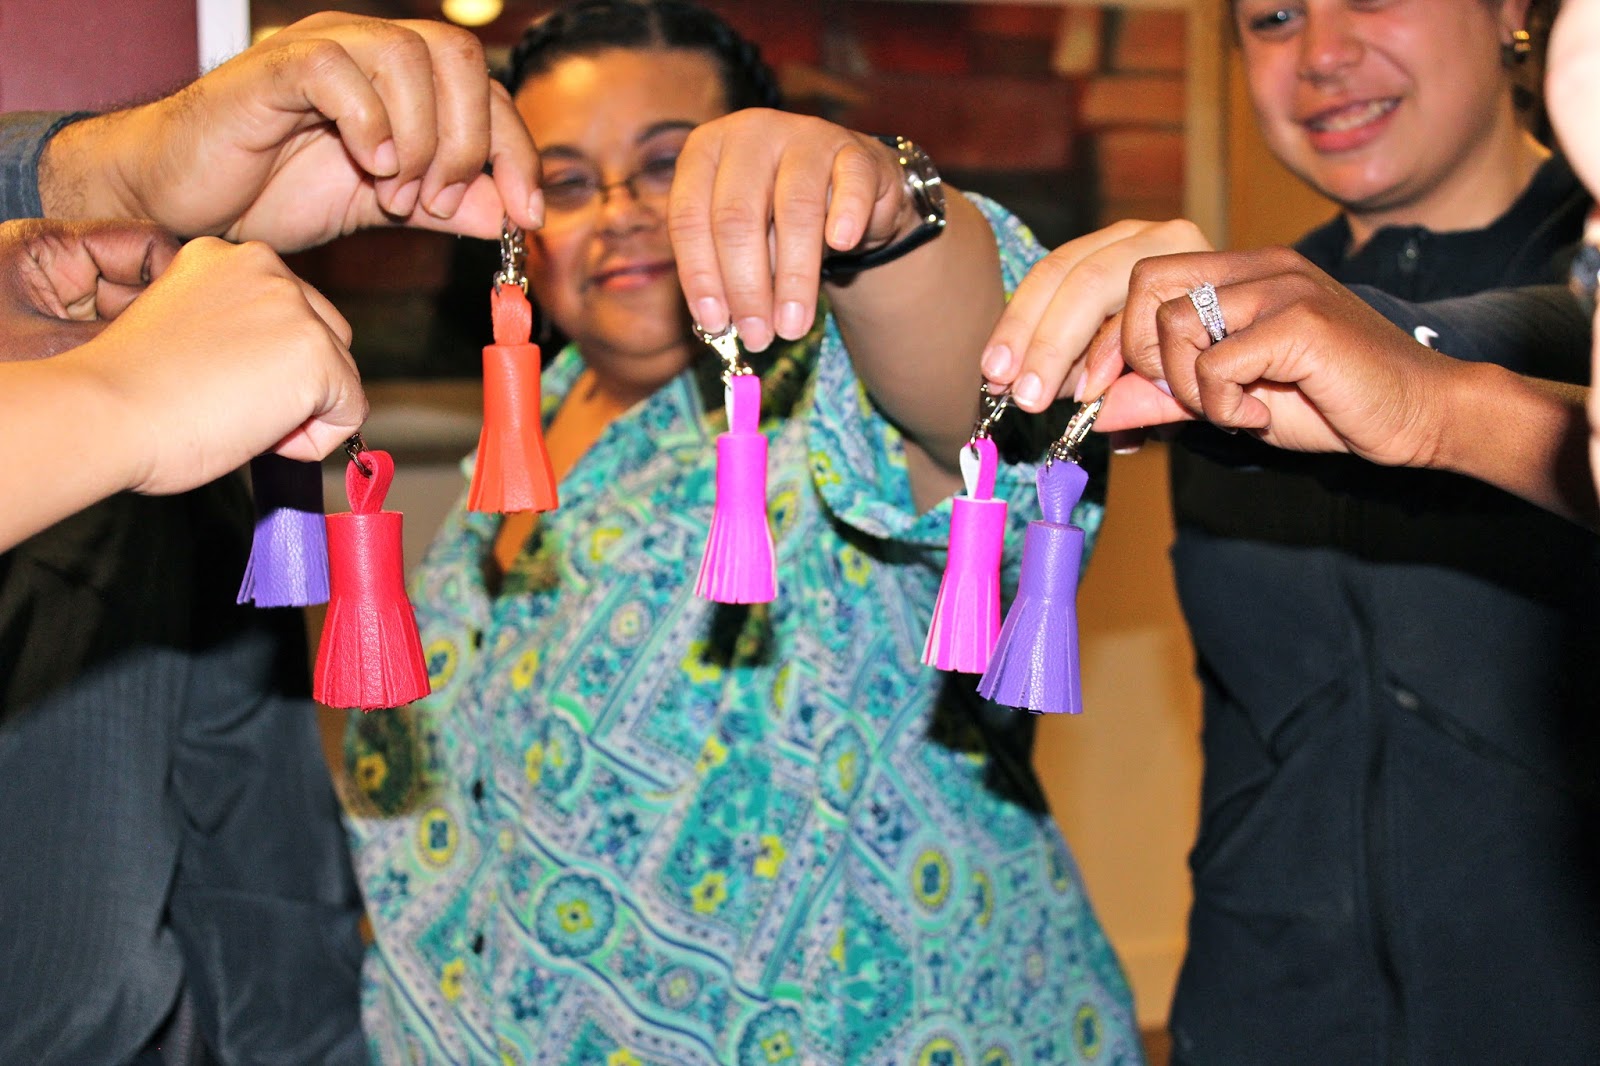
I recently taught a DIY class on this craft in Silver Spring.
Below are photos of some of my students and their creations!
Leave a comment