Wedding Details DIY - Social Media


Wedding details have been on my mind A LOT recently (only 135 days to go - YAY!) and I thought it was about time that I share some DIY decor ideas with you. There truly are SOOOO many budget friendly decorations that you can make on your own!
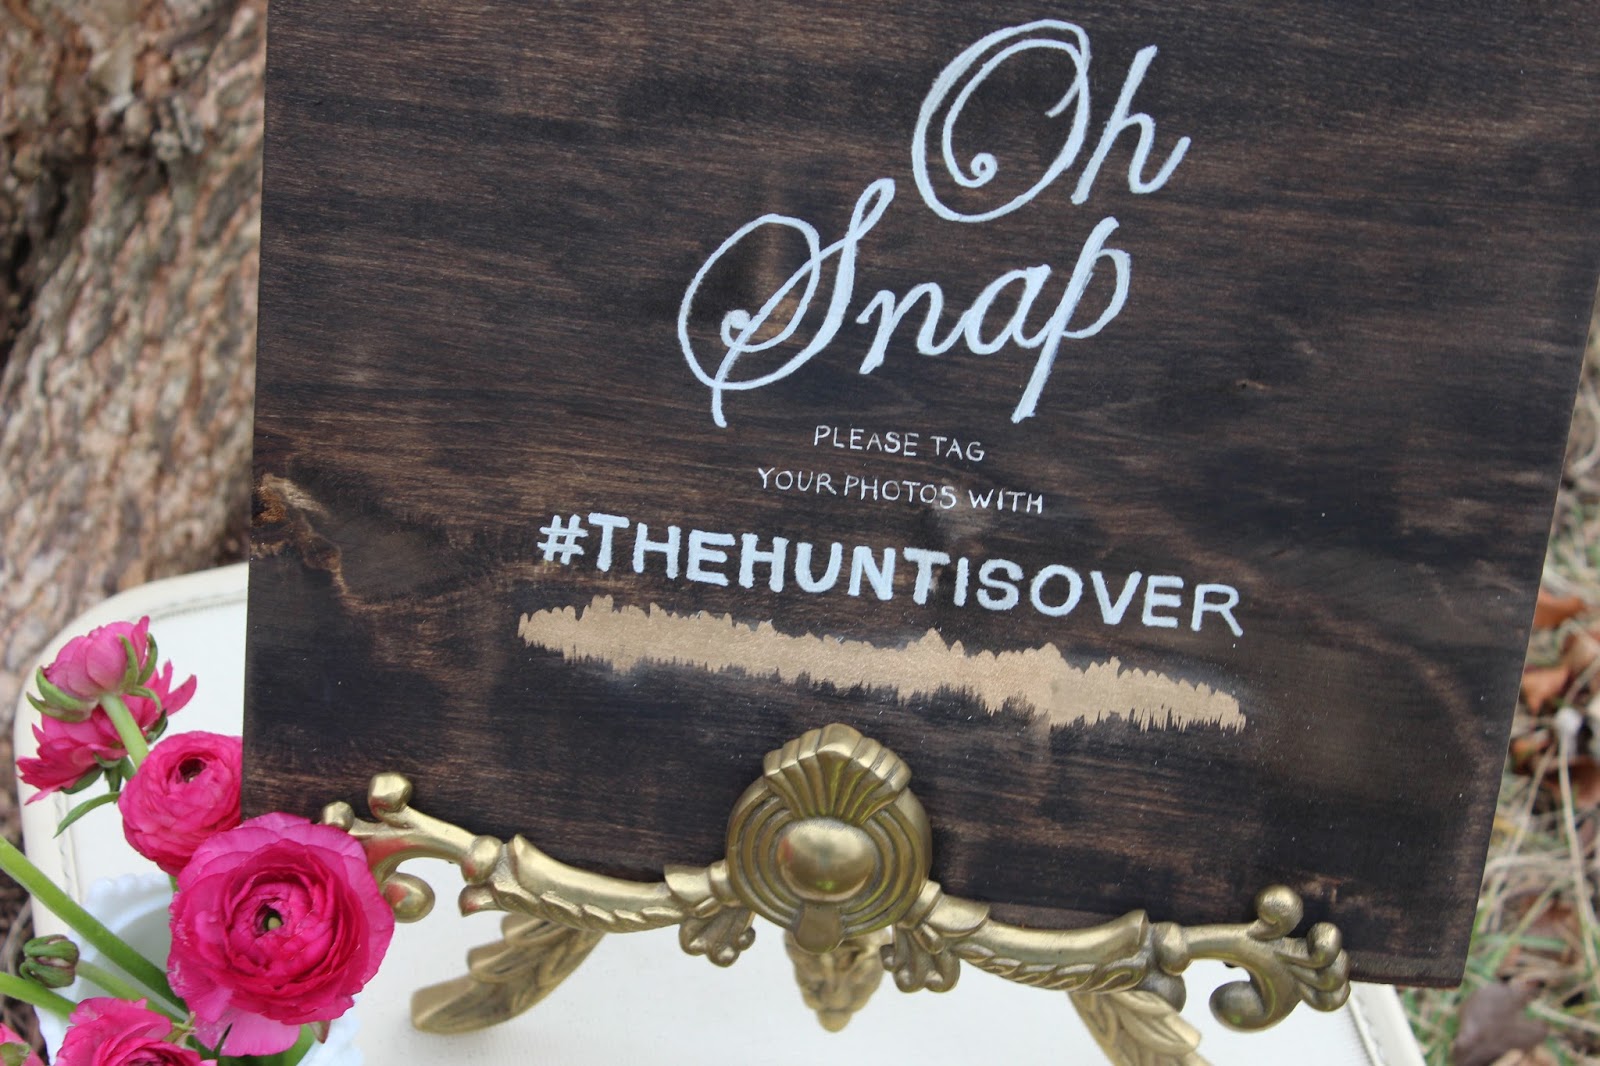
Today, I'm focused on the incorporation of social media elements in your reception design. Everyone knows that in today's day and age social media plays a big role in documenting wedding festivities, from Snapchat to Instagram and Facebook. So, come up with a good hashtag! It's okay if it's corny, as long as it is special to you!
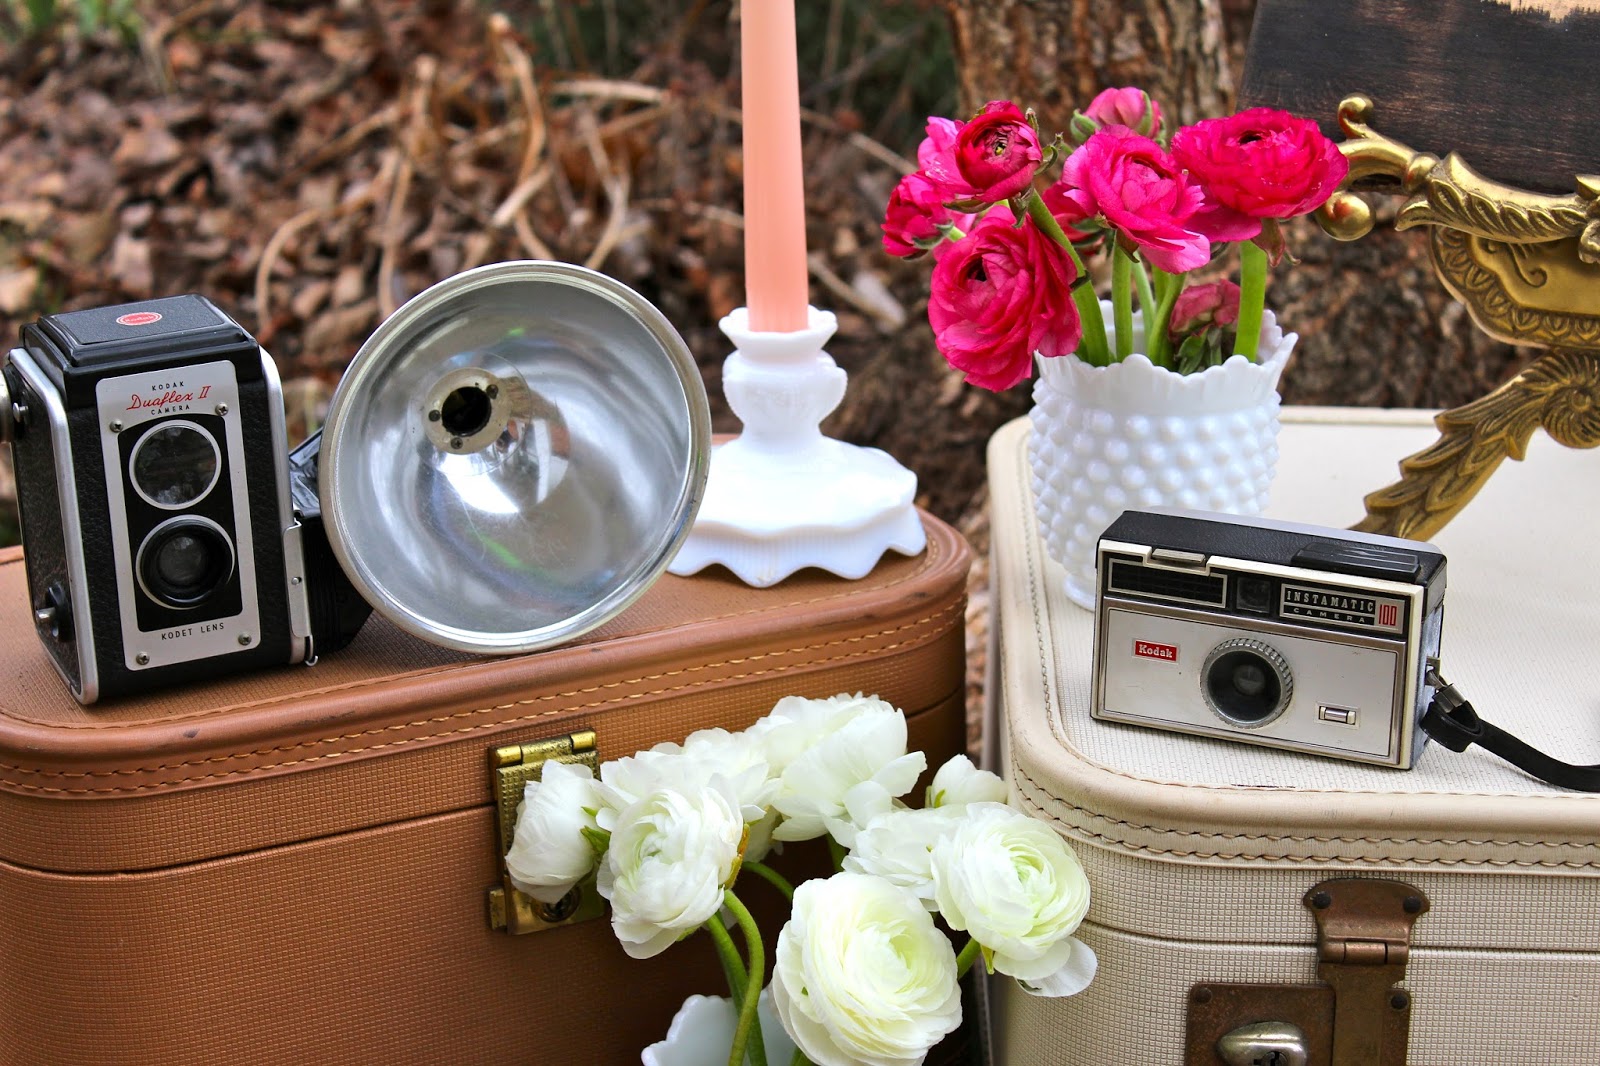
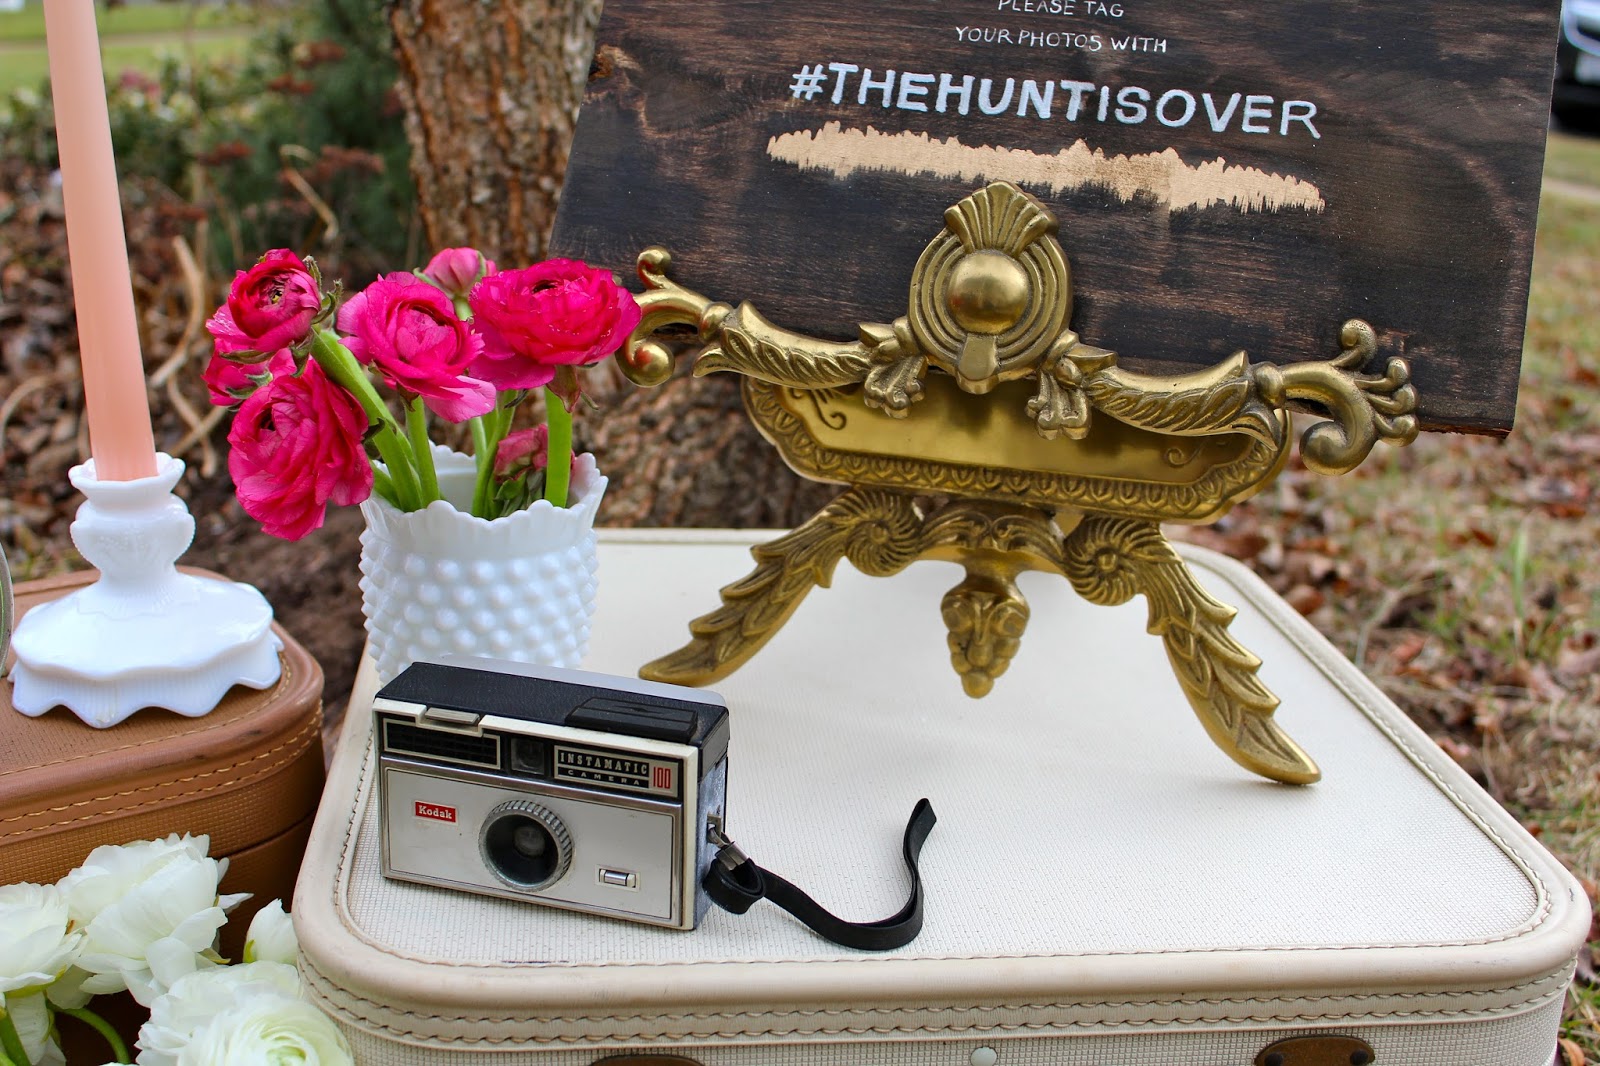
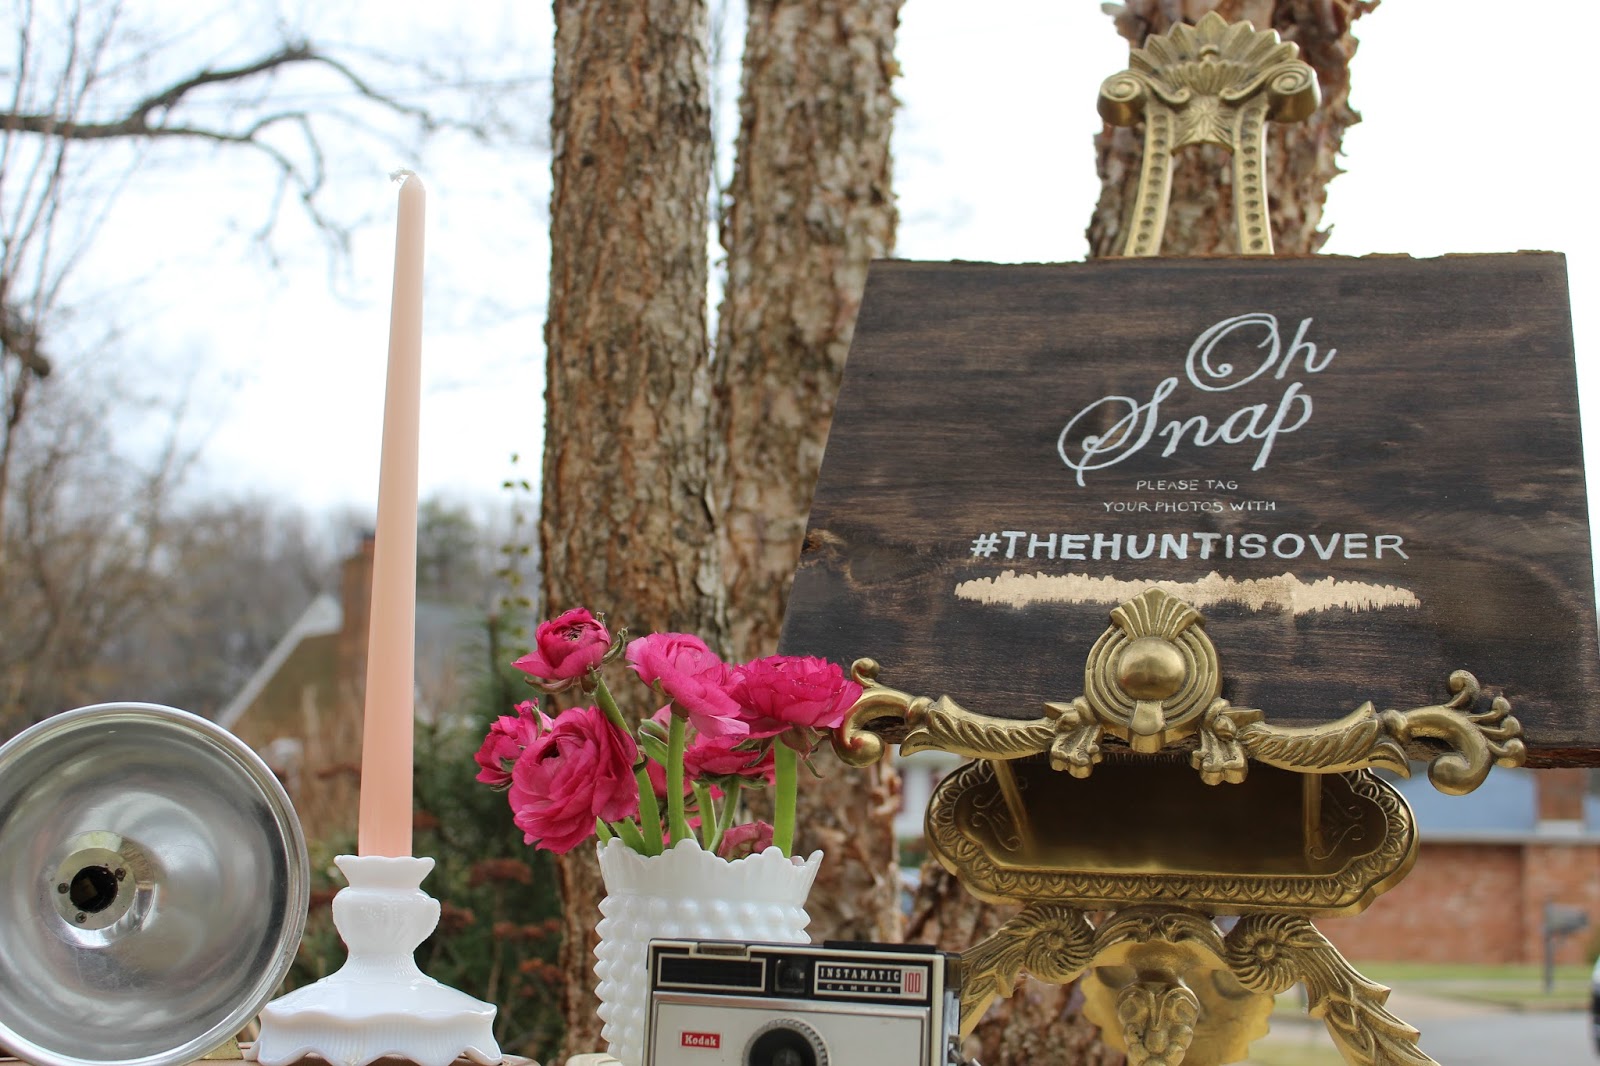
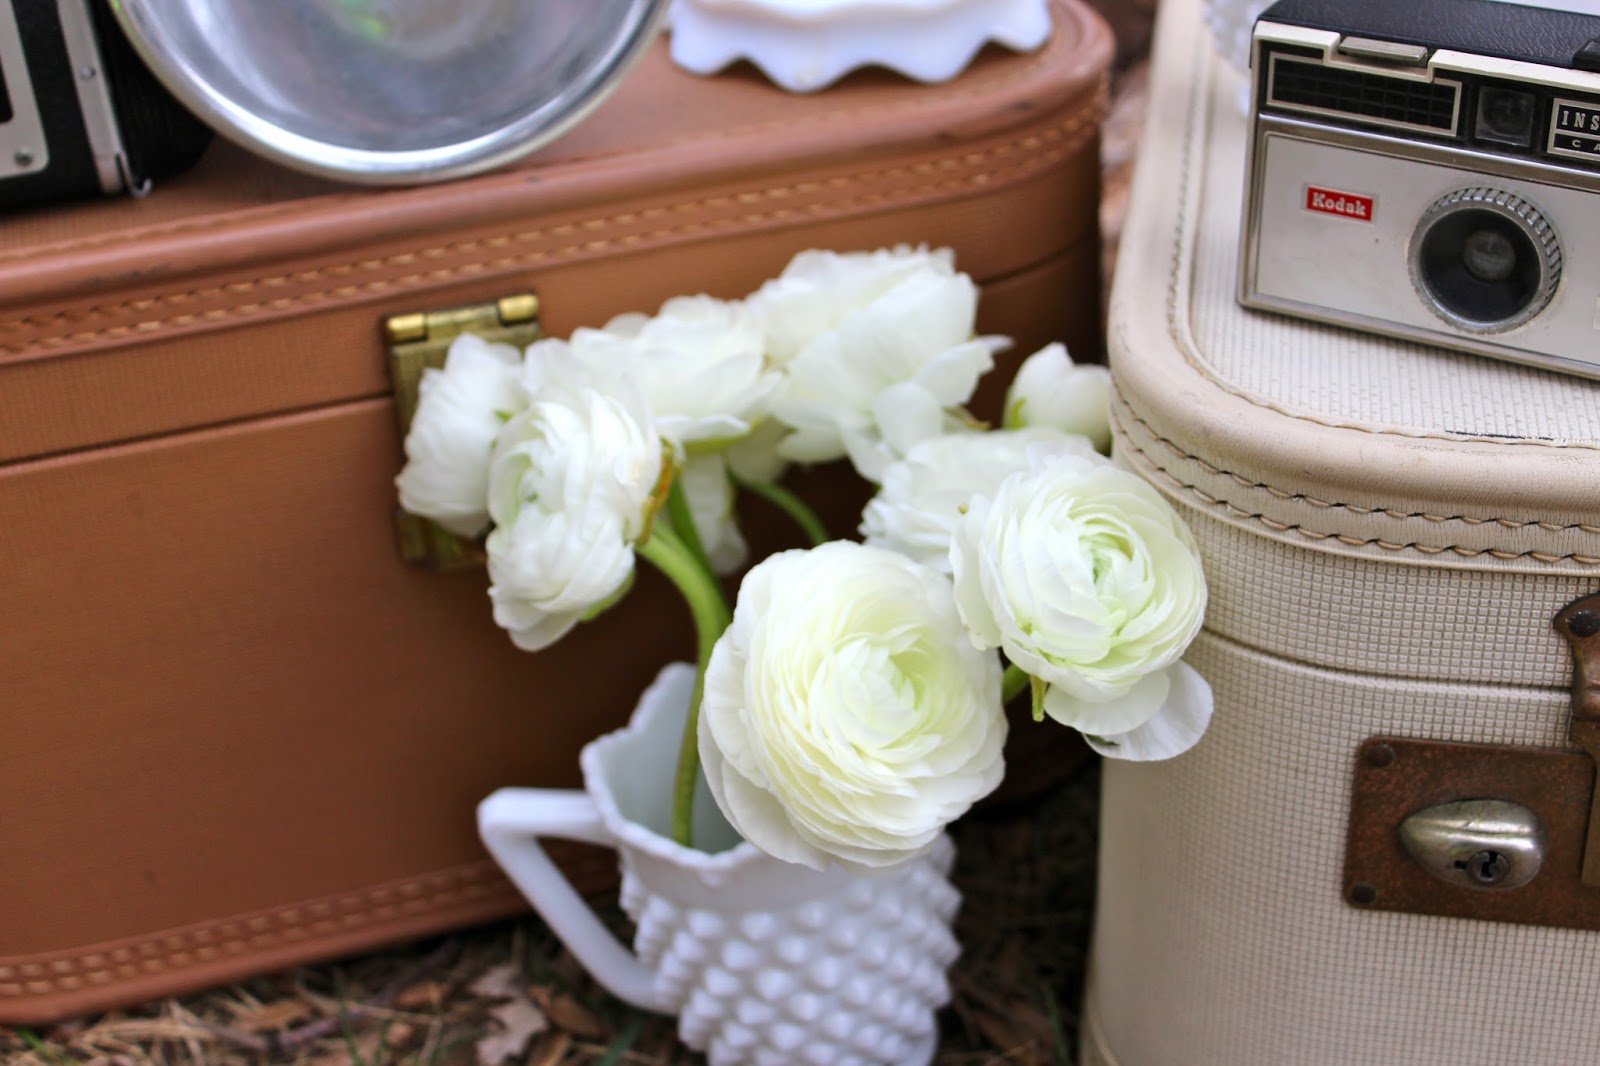
Once you've picked your hashtag, you have to start to think about how you would want to visually capture the attention of your guests so that they remember to incorporate your wedding hashtag in their social media posts. Given that the overall theme for my wedding is rustic/elegant, I thought that a display of vintage cameras, suitcases, small floral arrangements, and a DIY sign (of course) was a creative way to "advertise" my hashtag, see DIY details below.
Wedding Snapchat filters are also a fun and cheap way to incorporate social media! You can find so many great filter designs on Etsy that range anywhere from $10 to $25. Whether you purchase your design or create your own, all you have to do is submit it to Snapchat, pay a nominal fee and viola! All of your tech-savvy guests will love it!
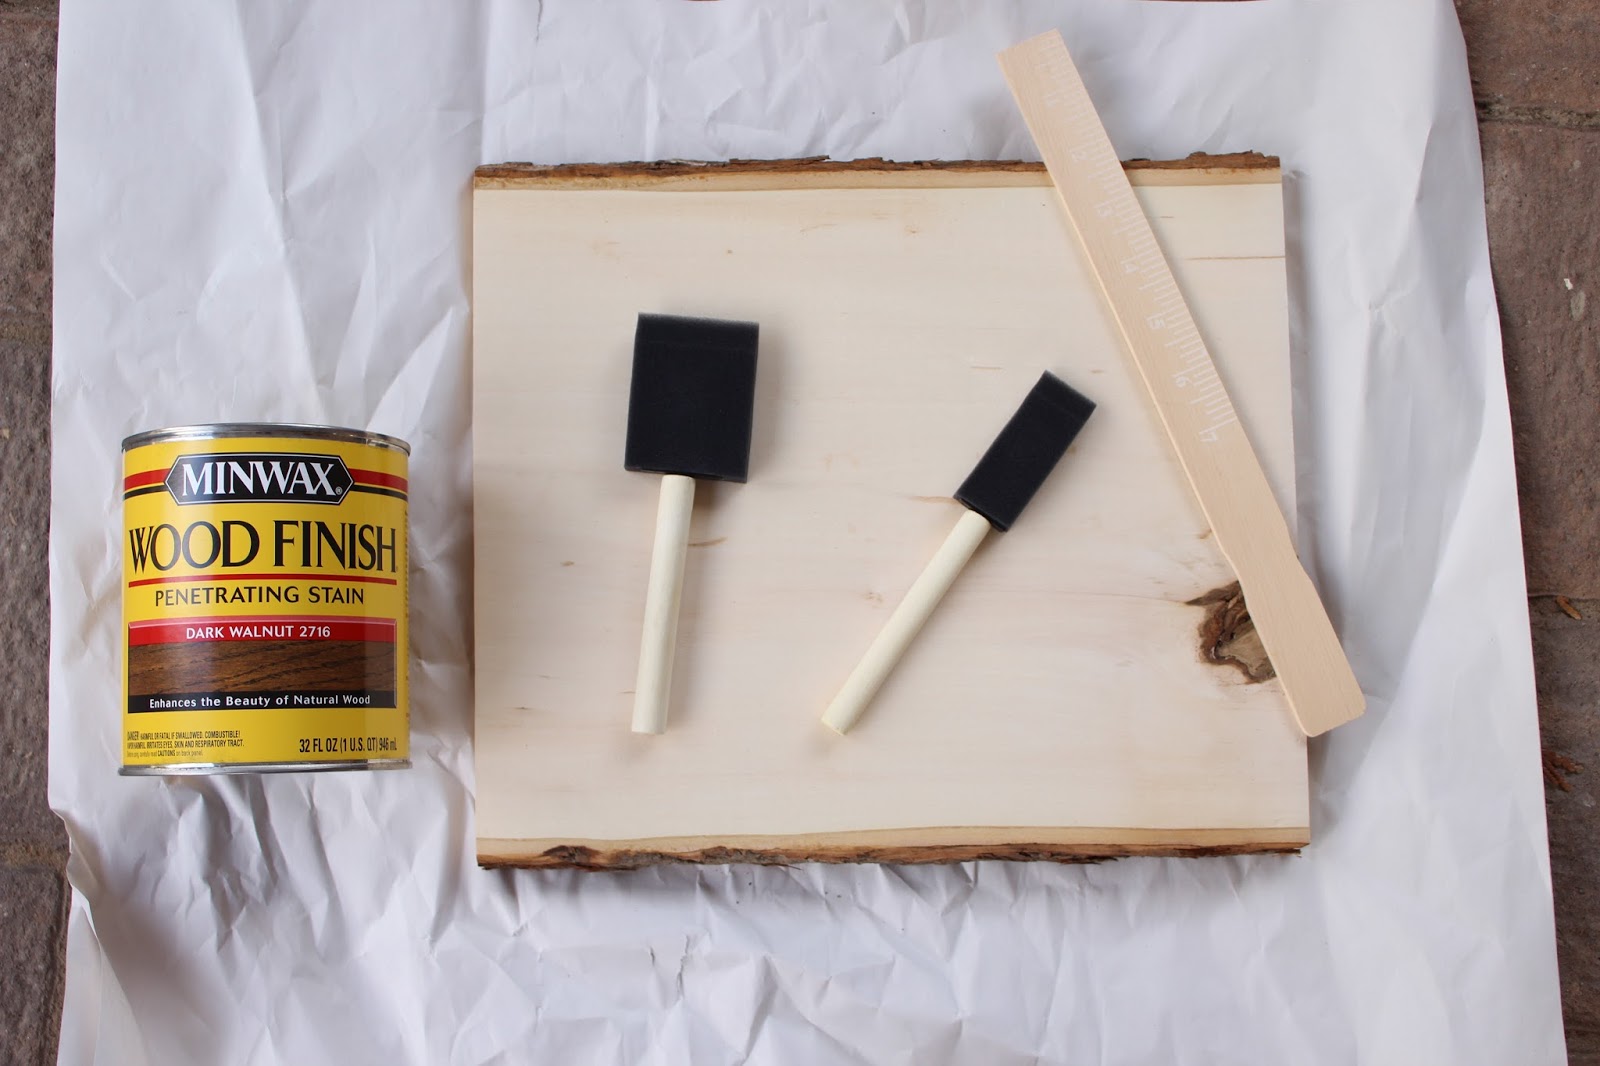
Materials:
Transfer paper
Printer
Pencil or Pen
Tape
Paint Pen
Wood Stain - I used dark walnut
Foam Brush
Wood Slab - mine is from Michael's
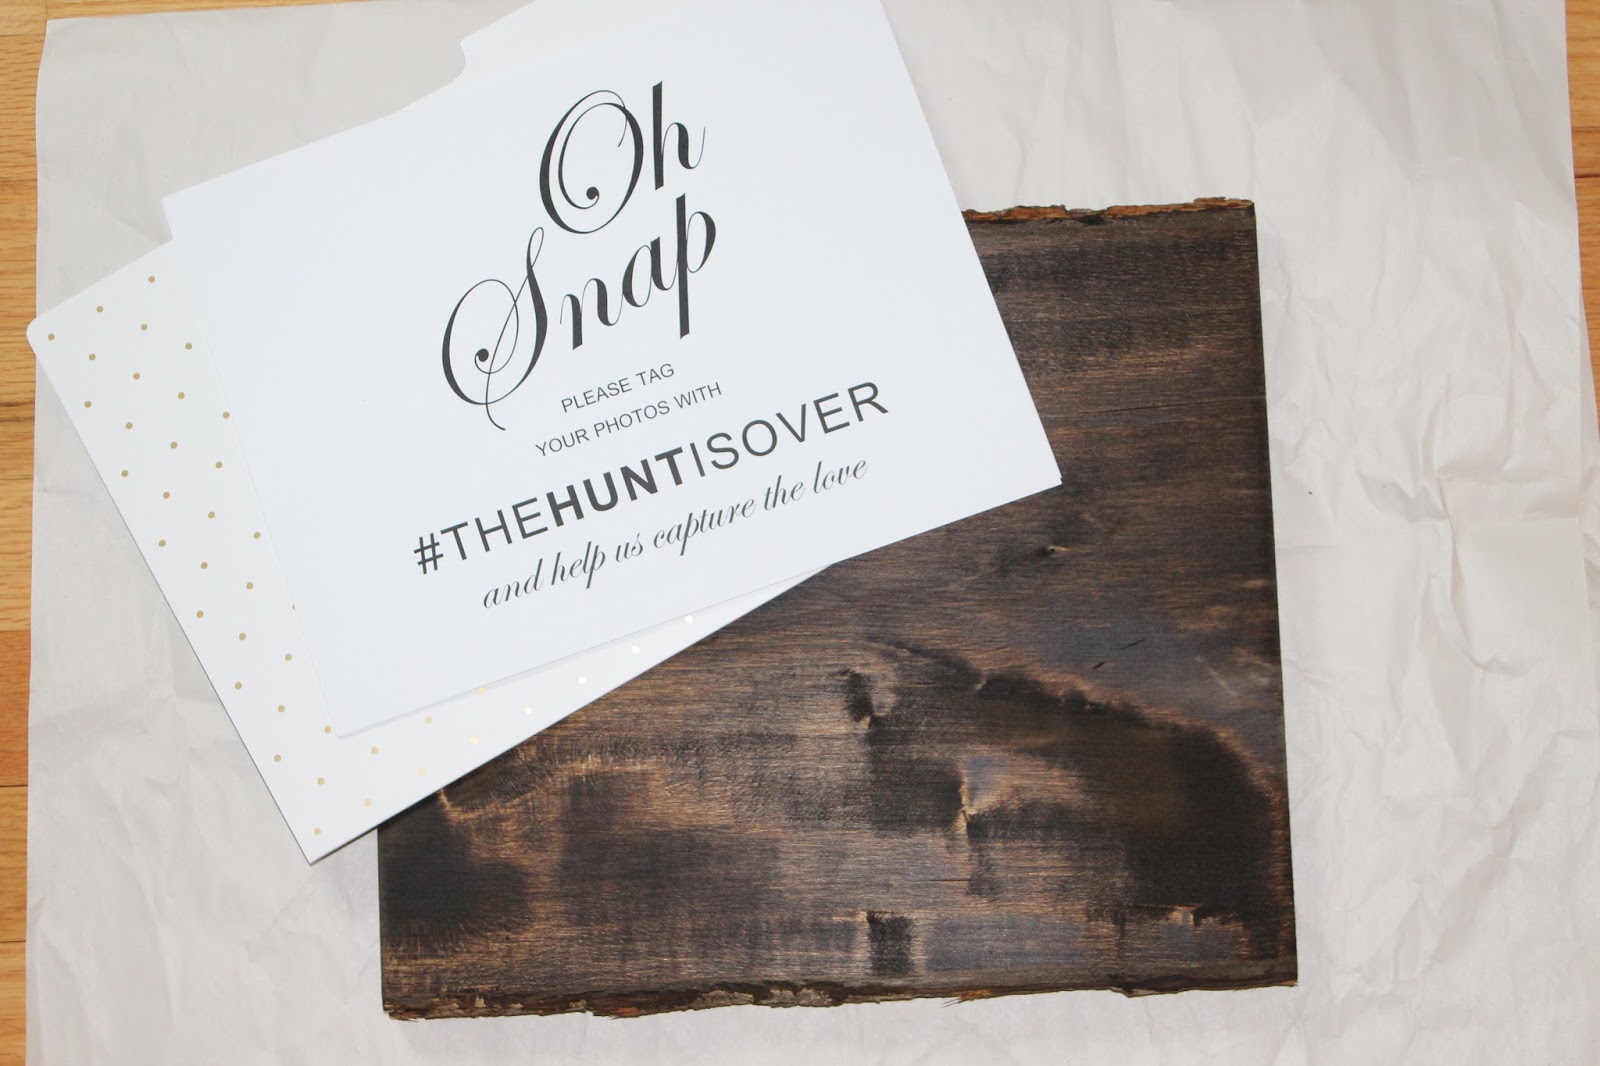
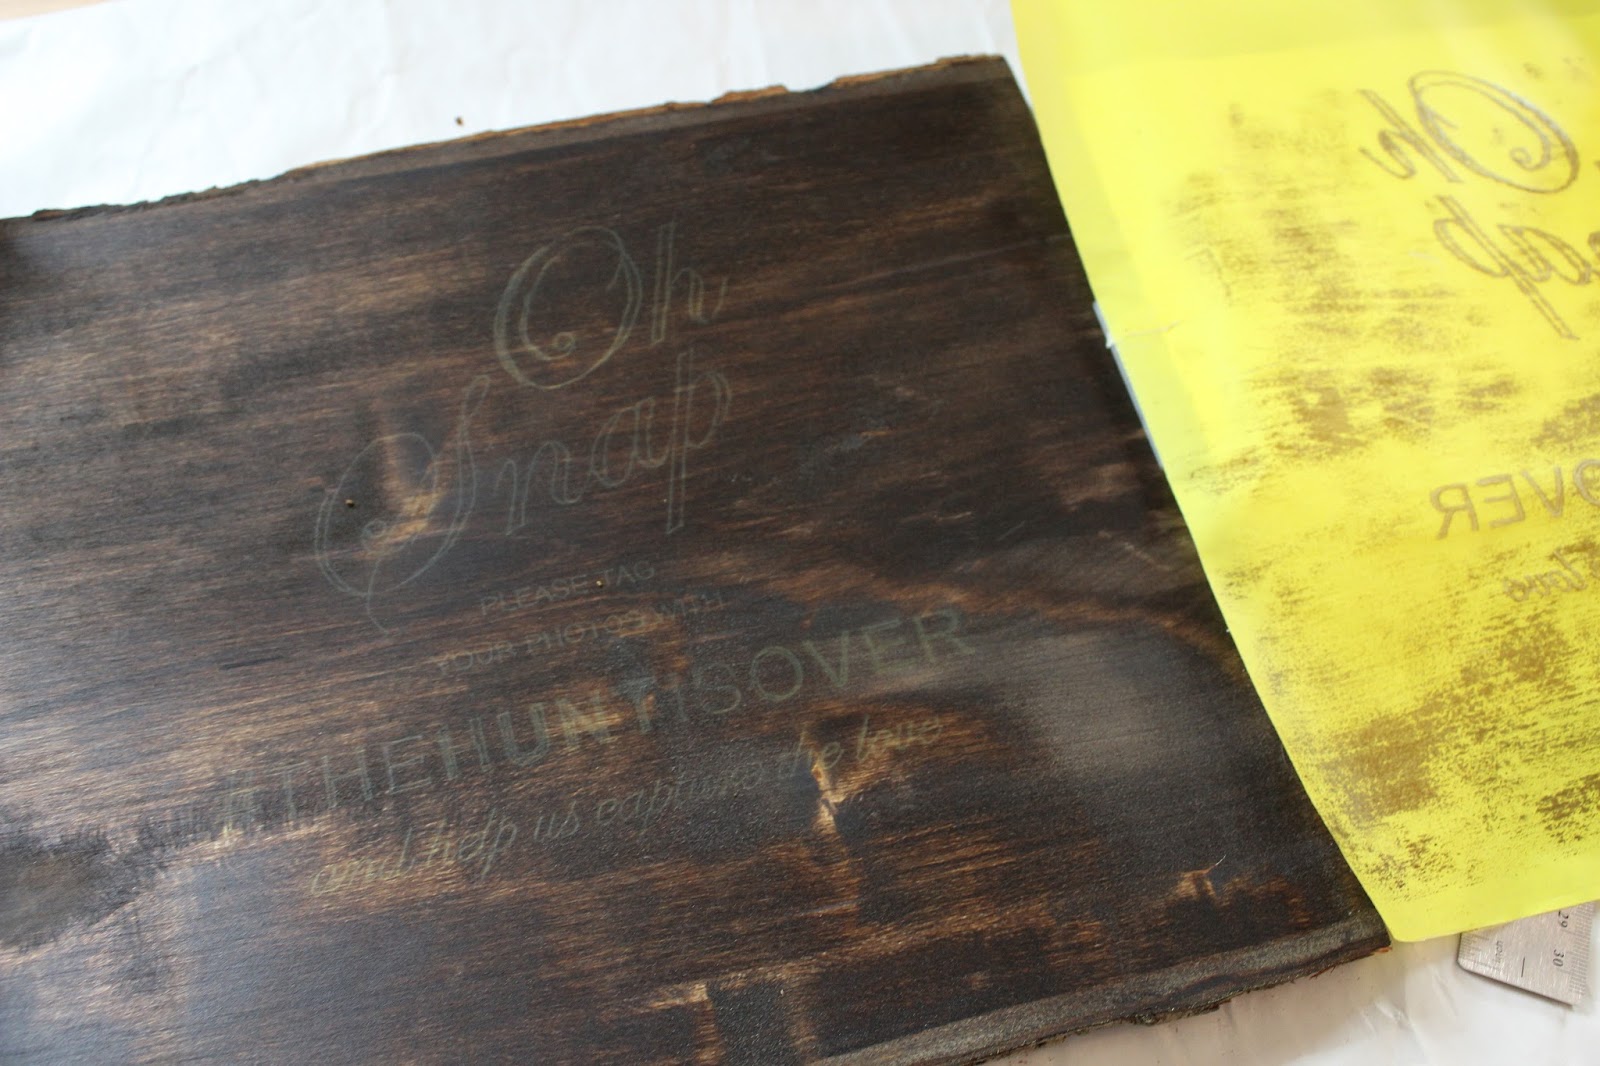
I messed up the "and help us capture the love" part of my sign and ended up just covering it up with some liquid leaf. You can always fix your mistakes!!
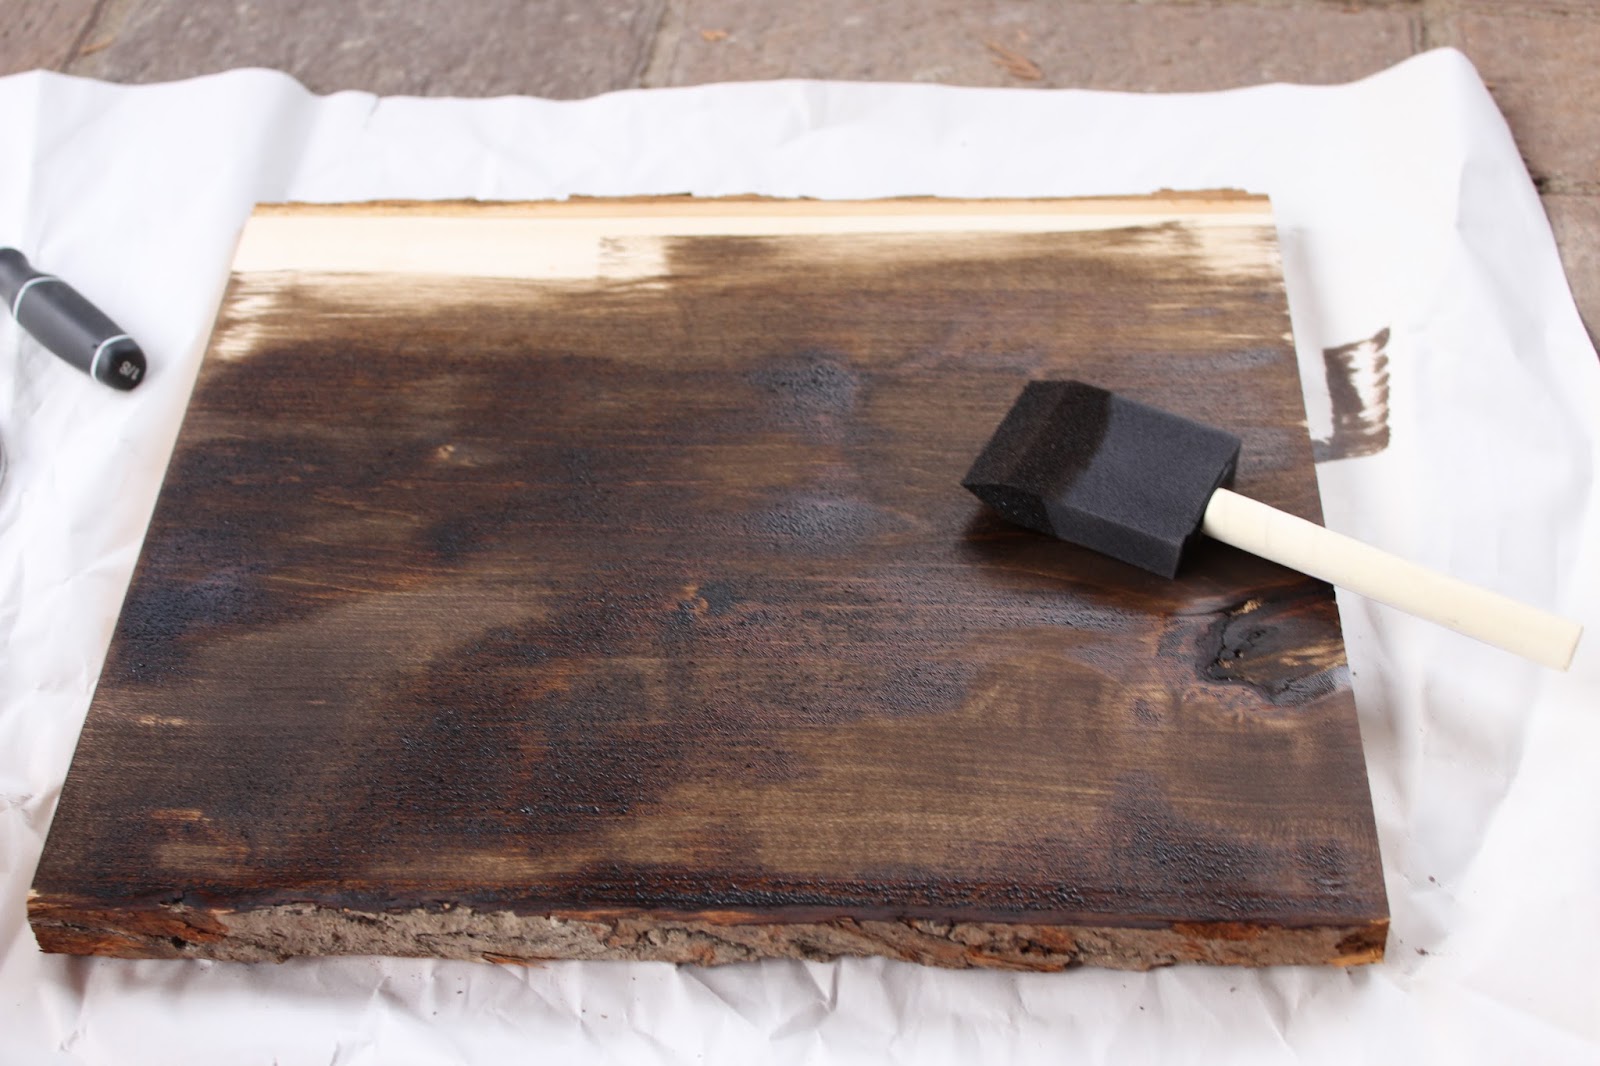
- Stain your wood slab. I would allow for 24 hours of dry time. My wood slab wasn't exactly dry, so I got stain all over my arm and the transfer paper didn't work as well. :( Learn from my mistake.
- Create your sign wording in Microsoft Word or PowerPoint. Print.
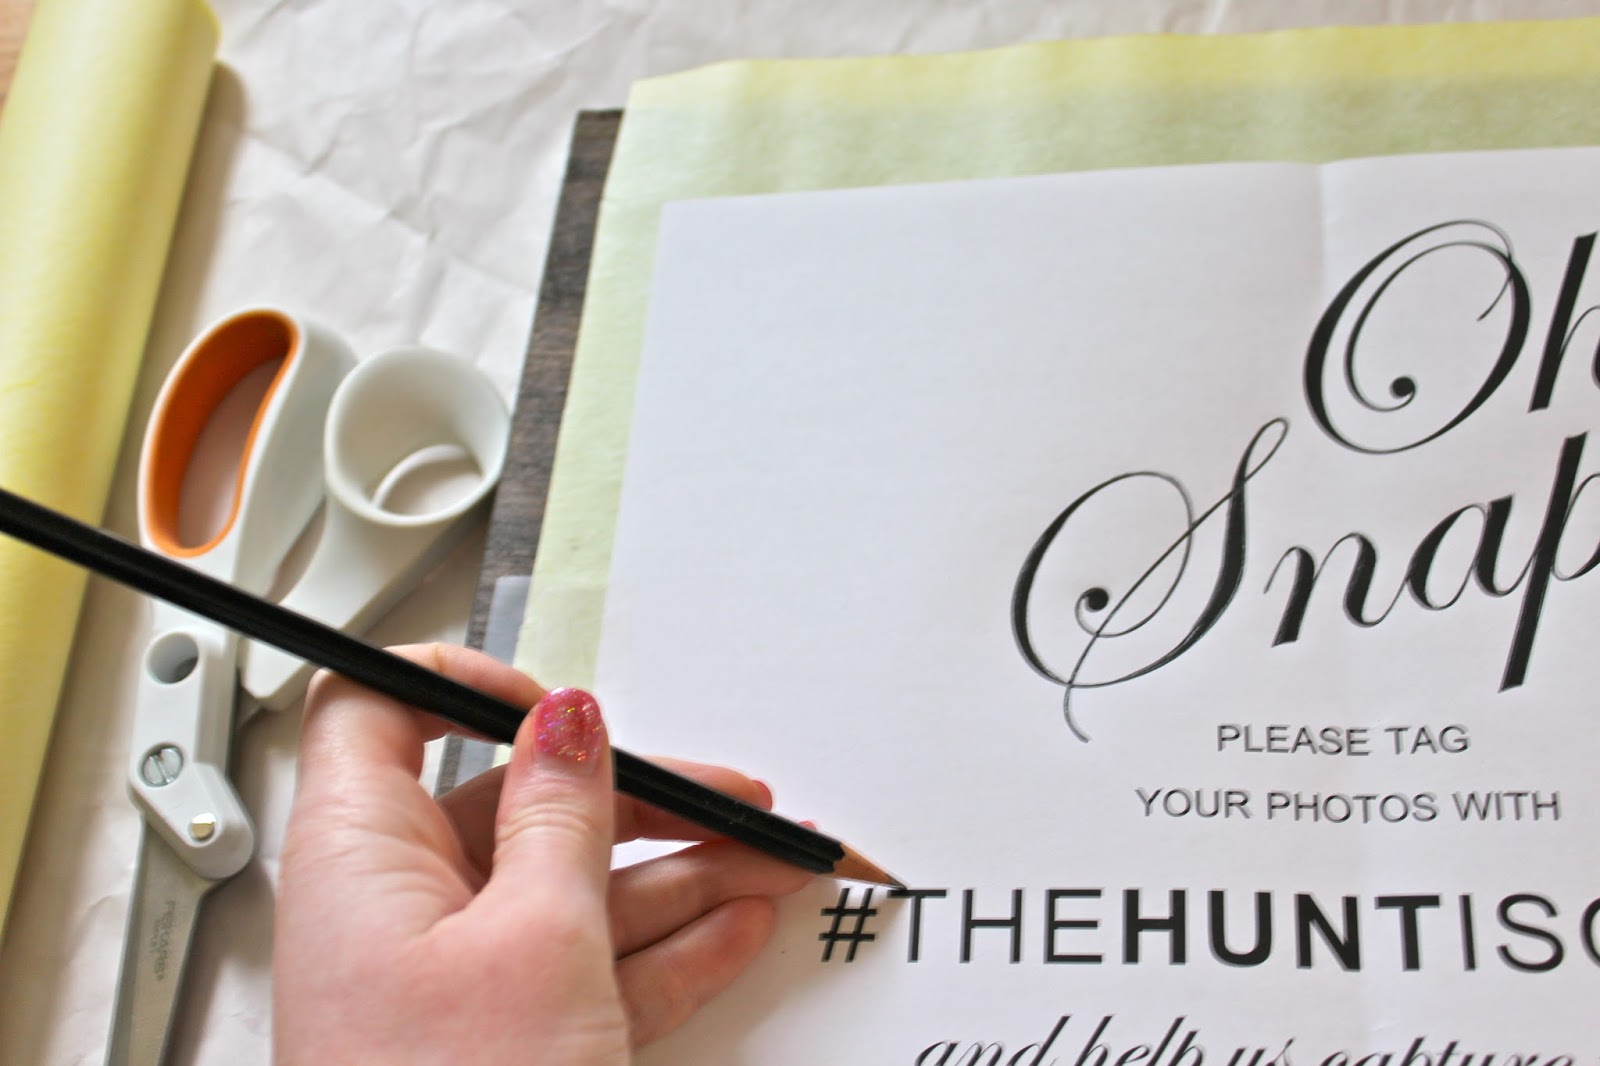
- Cut a piece of transfer paper that fits over the surface of your sign and tape down the corners.
- Place your sign print-out on top of the transfer paper and tape down to secure.
- Trace over the letters with a pencil or pen. Make sure to apply enough pressure so that the transfer paper works properly.
- Remove the transfer paper and begin to trace the letters with your paint pen. (I did 2-3 coats)
You now have a Pinterest-worthy sign! This DIY is quite the forearm workout, so you'll need to pour yourself a glass of wine after. Cheers to being #creative!
Leave a comment