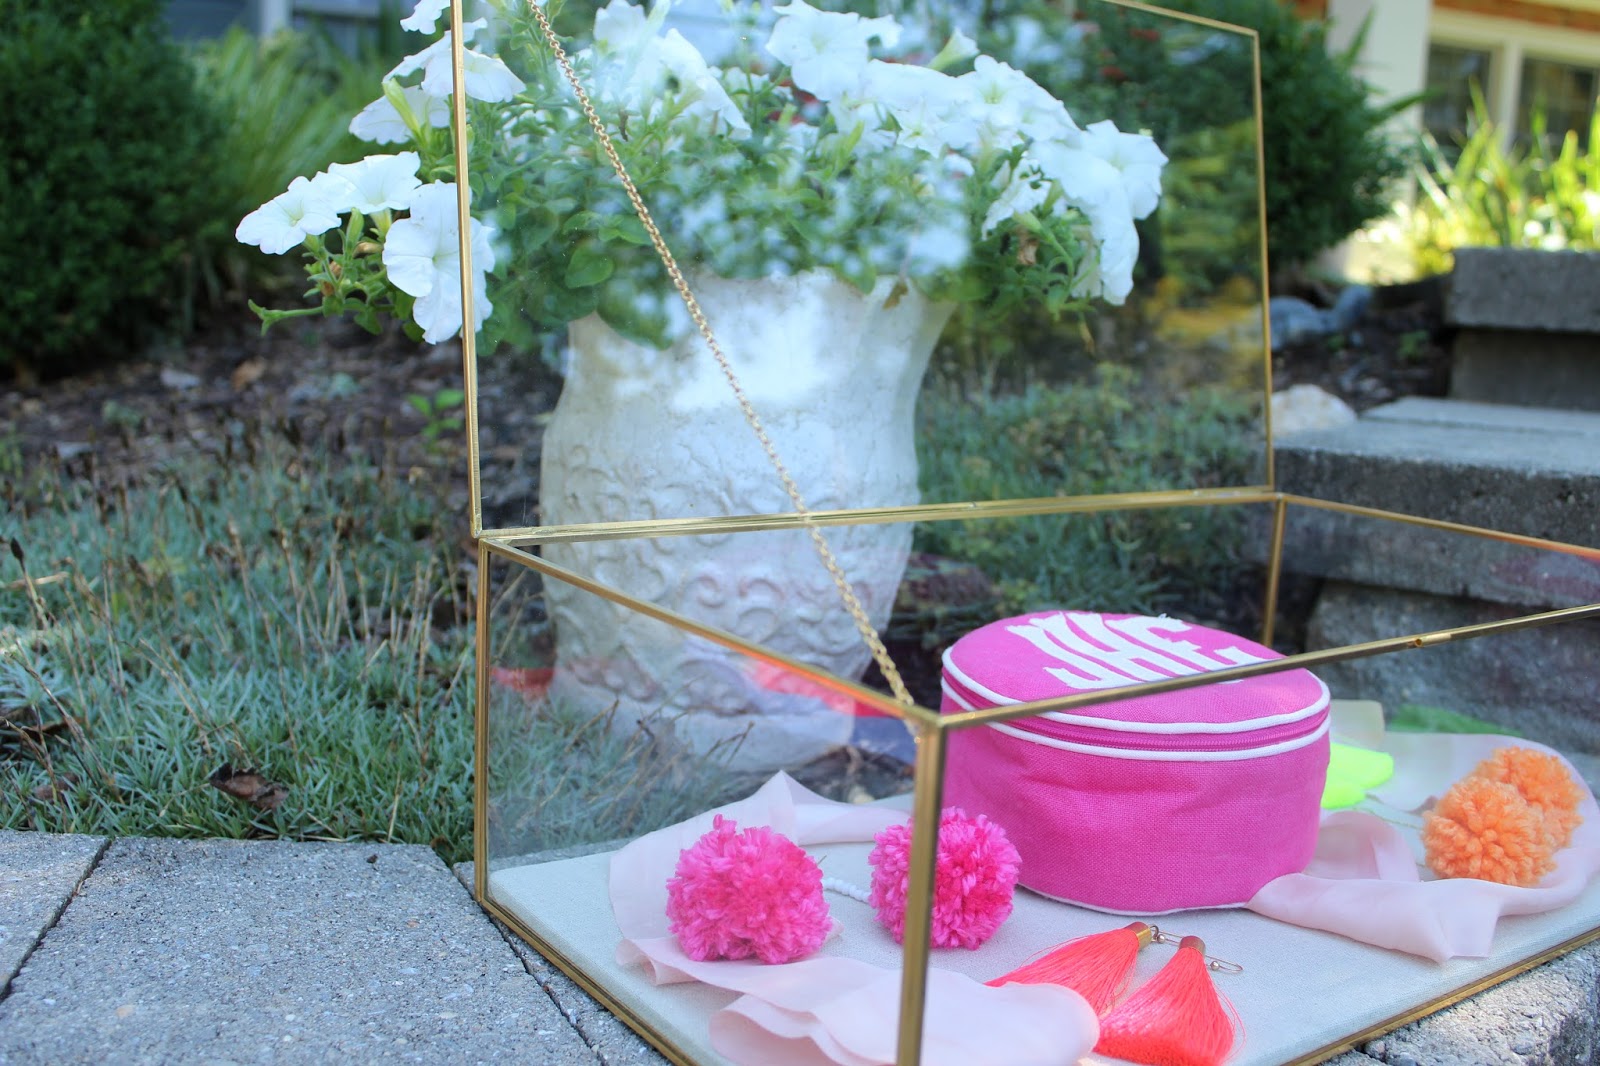
DIY Pom-Pom Earrings


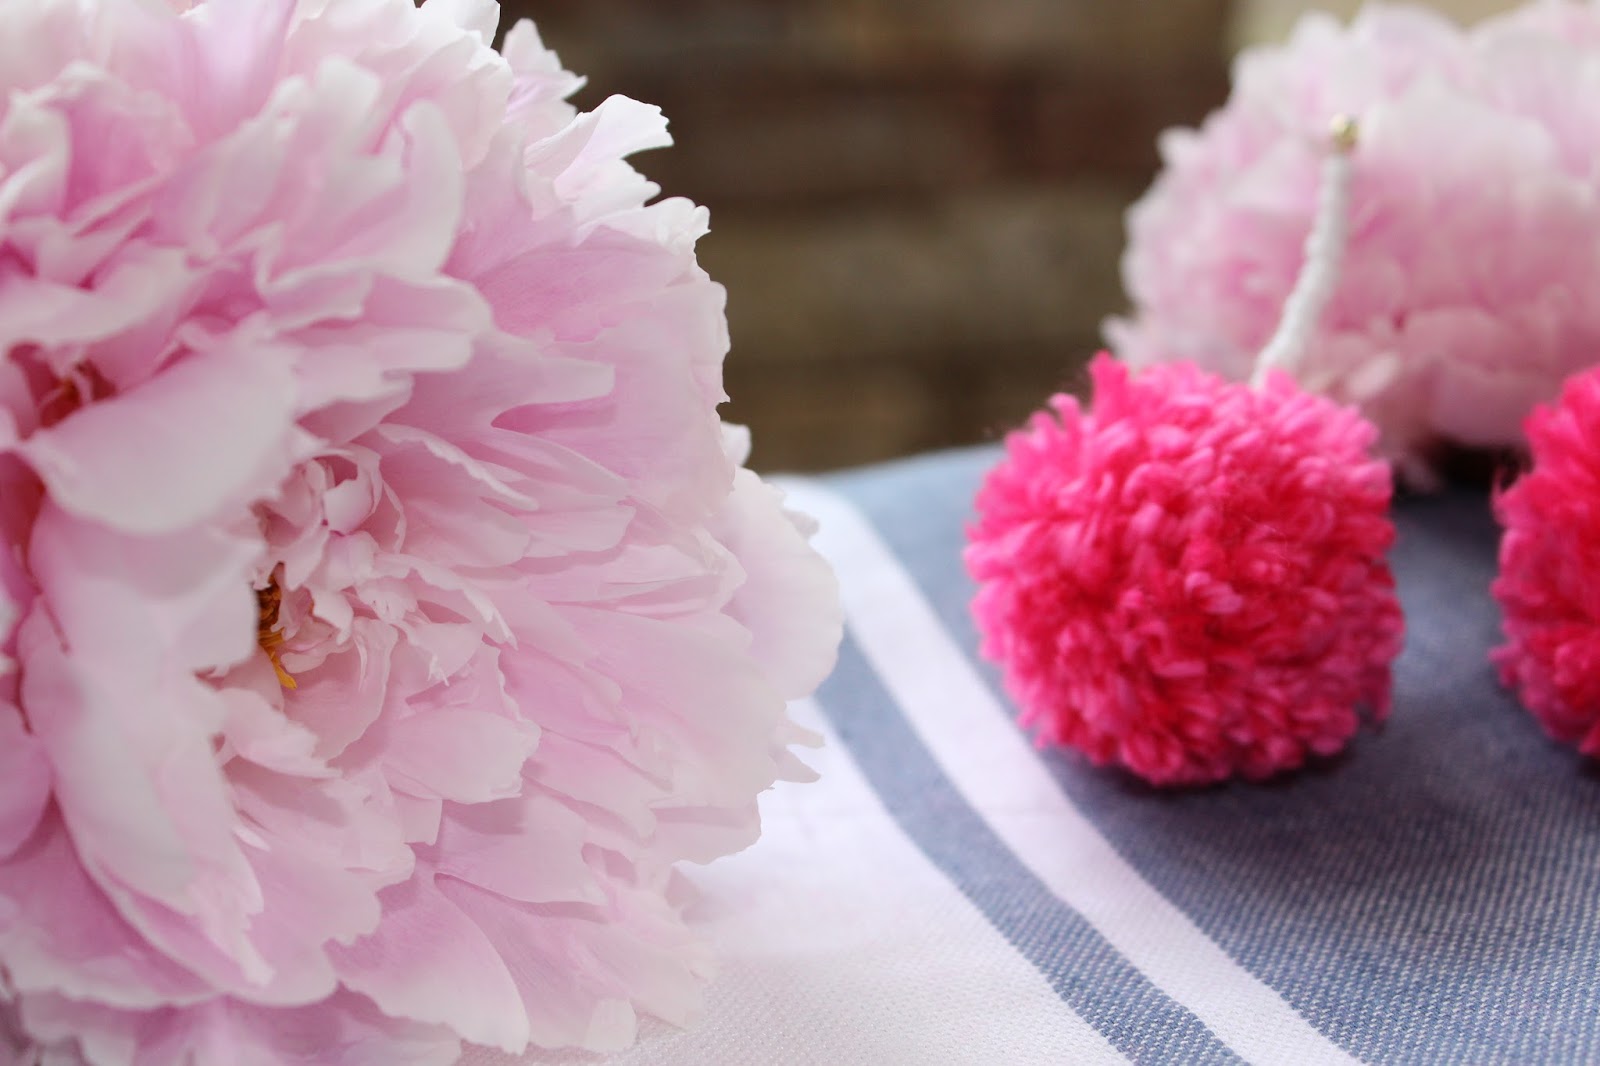
I don't know about you, but I go nuts for all things POM-POM and NEON. Always have, always will. To me, pom-poms are the peonies of earrings (hence my photo pairing). :) They are intricate in their layers and Basic B's obviously love them. I'm always on the hunt for a fun earring and I figured that it was about time for me to DIY some to share. They are so easy to make and will cost you next to nothing. Plus, it's kind of awesome to throw out a humble brag when someone asks you where you got your earrings from and you can simply say "I made them" (insert diva emoji). Enjoy your jewelry making!
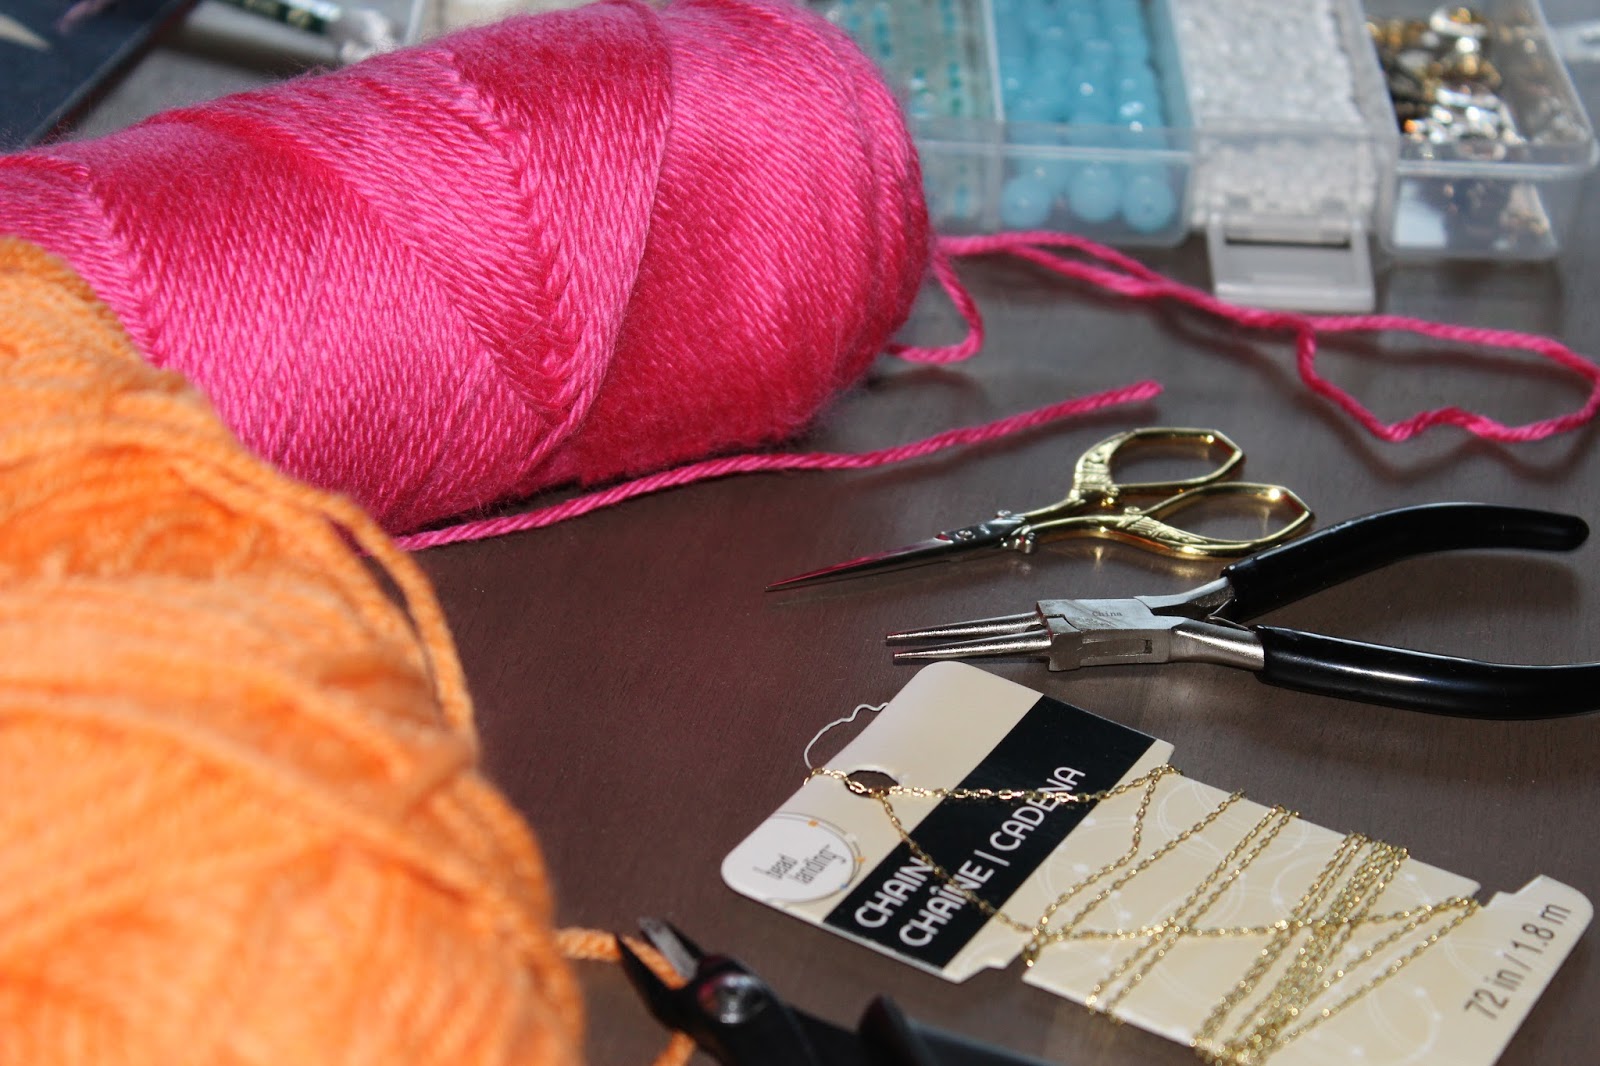
Supplies:
- Yarn
- Beads
- Bead Stringing Wire
- Gold Earring Posts/Fishhook Earring
- Gold Chain
- Pom-Pom Maker
- Scissors
- Nipper Tool
* All beading supplies are from Michaels
How to make the pom-poms: See old post for detail. Make sure you tie the pom-pom together with the Bead Stringing Wire instead of a piece of yarn (about 10" in length to be safe).
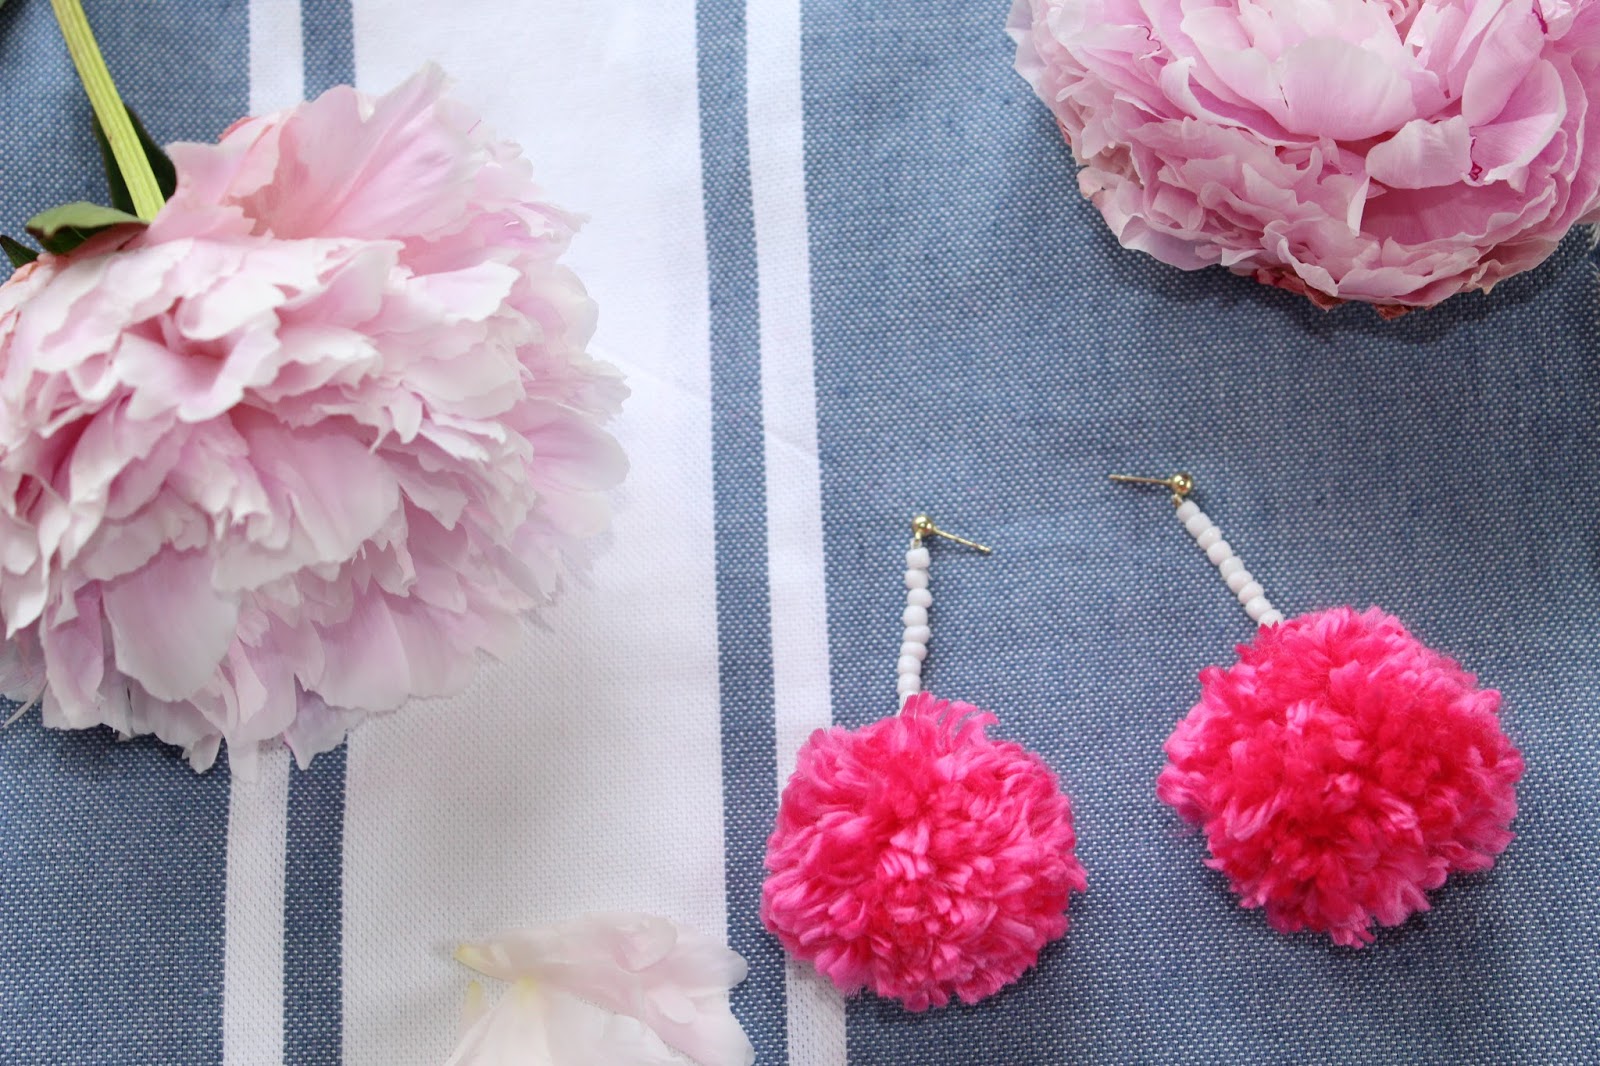
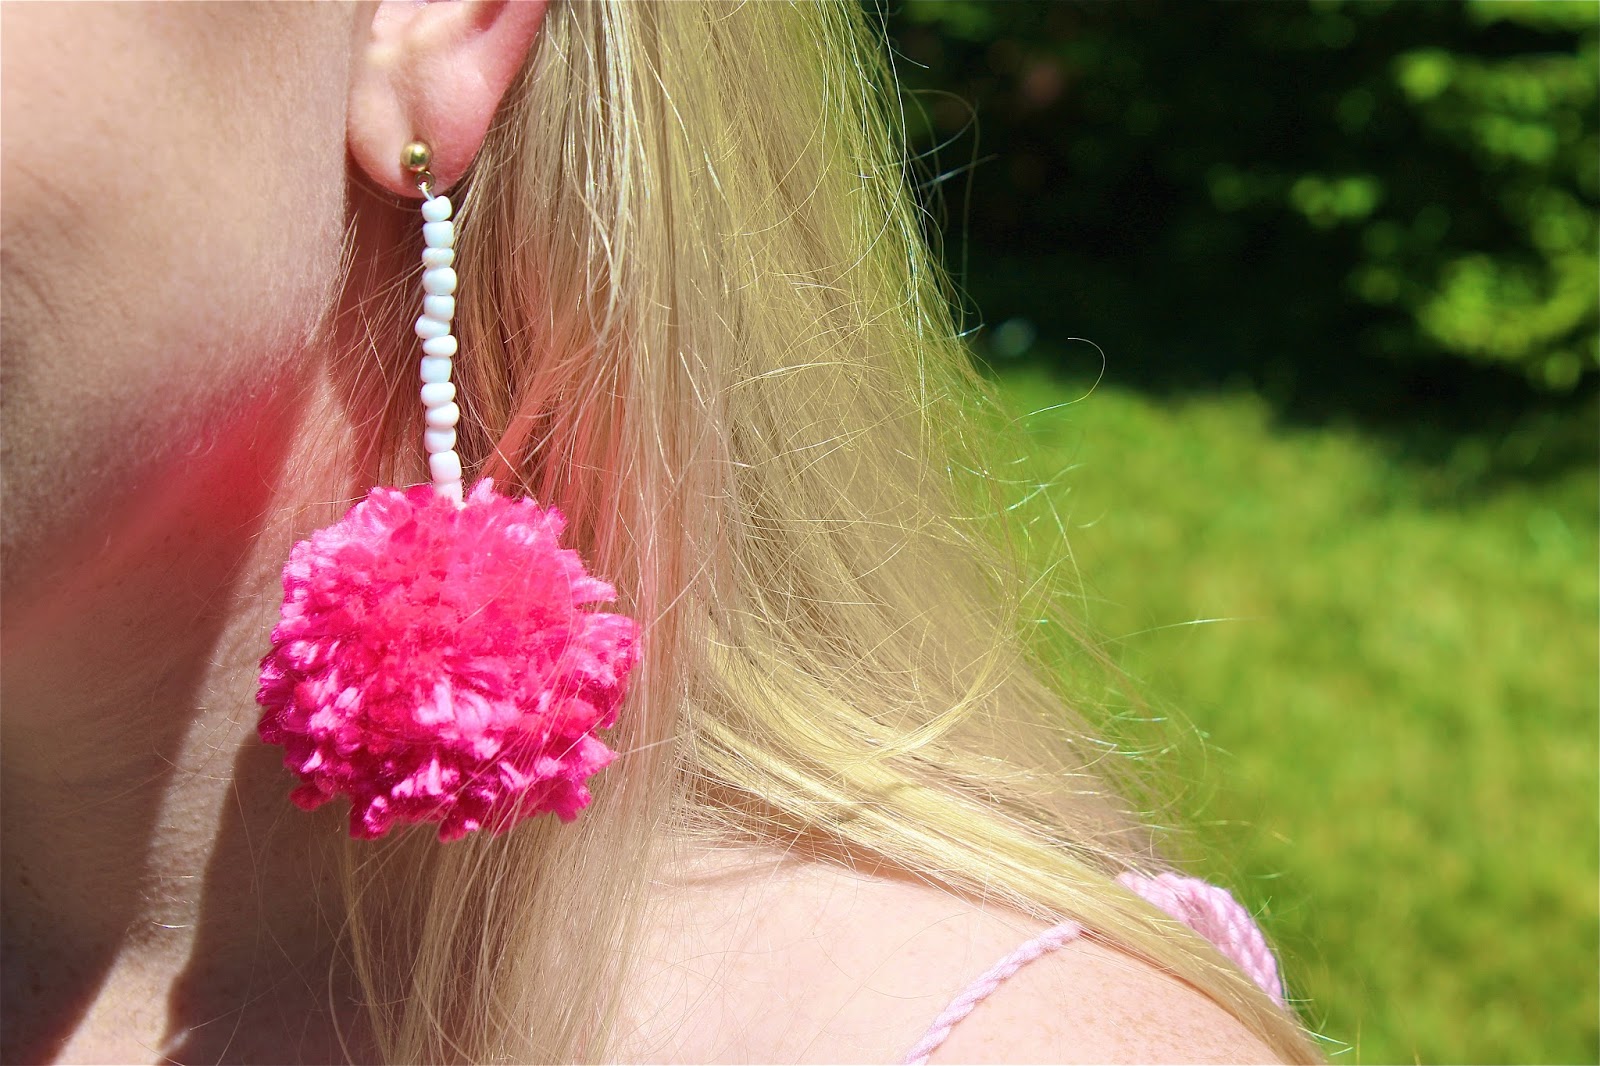
Beaded Pom-Pom Earring
- Once you have tied your pom-pom together with the Bead Stringing Wire, add your beads to one of the strings and continue to add beads until you have reached your desired earring length.
- Then, loop the wire around the ring of the earring post and feed the wire back through all of your beads until you are back at the base (where you started from).
- Lastly, tie a knot and trim the excess wire.
- Fluff your pom-pom and you are set!
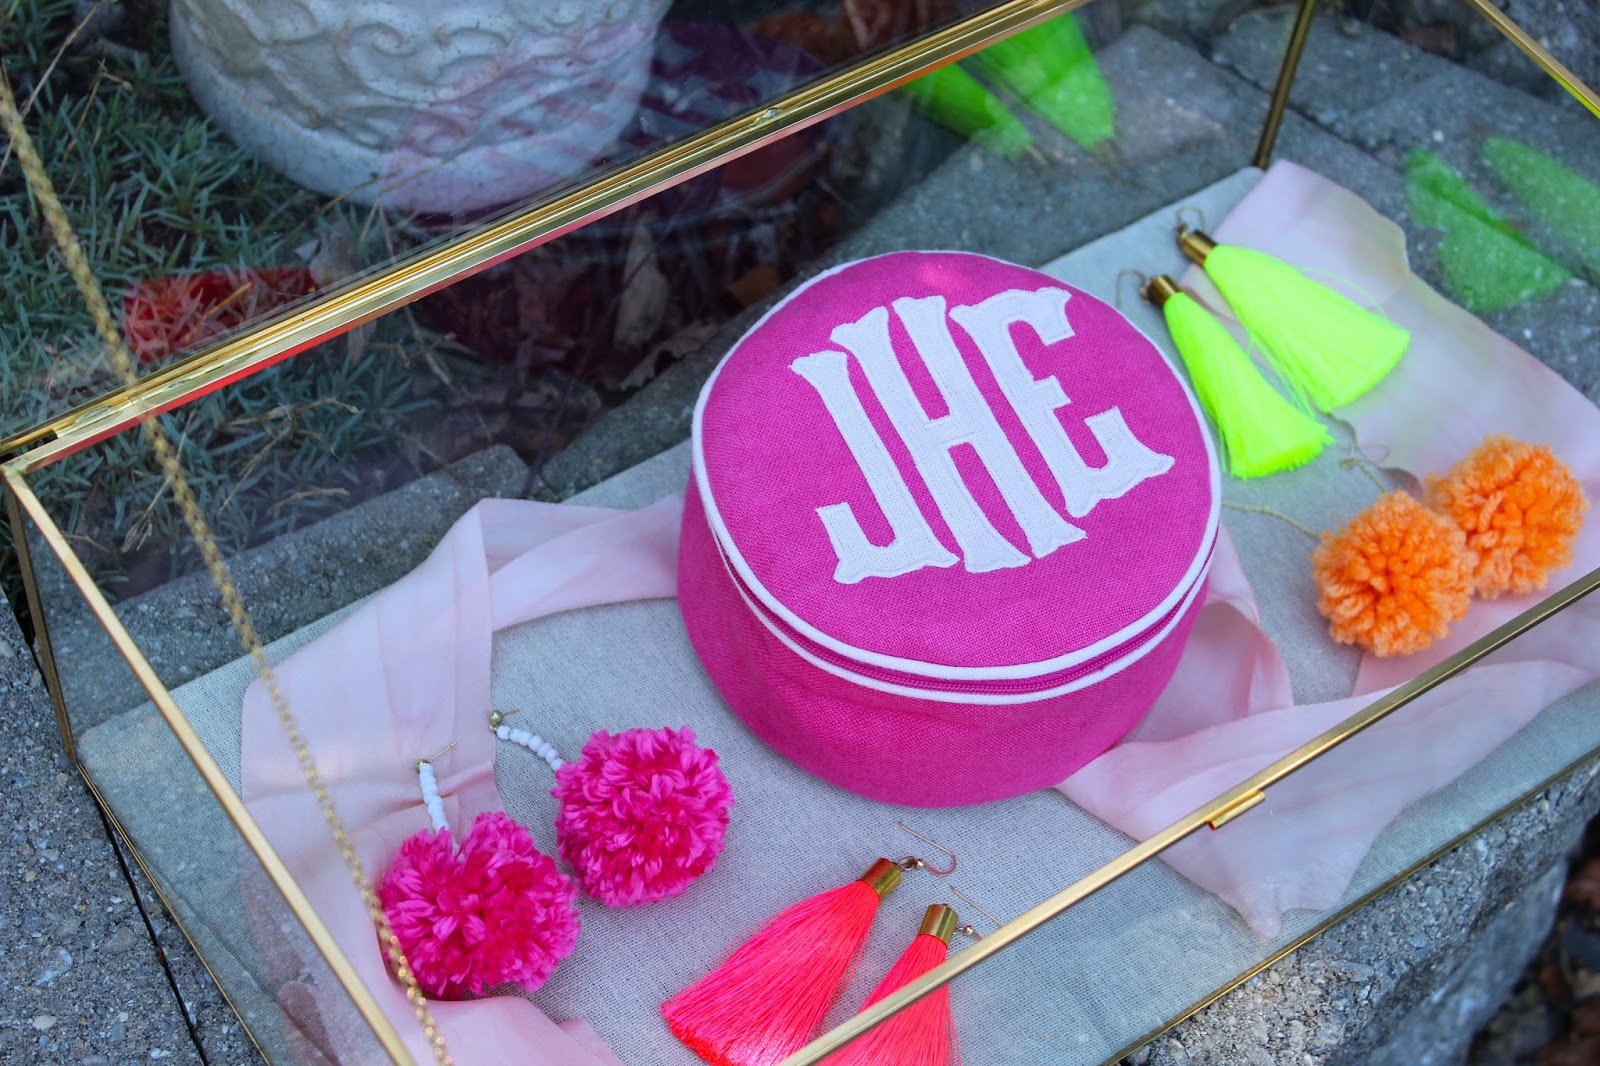
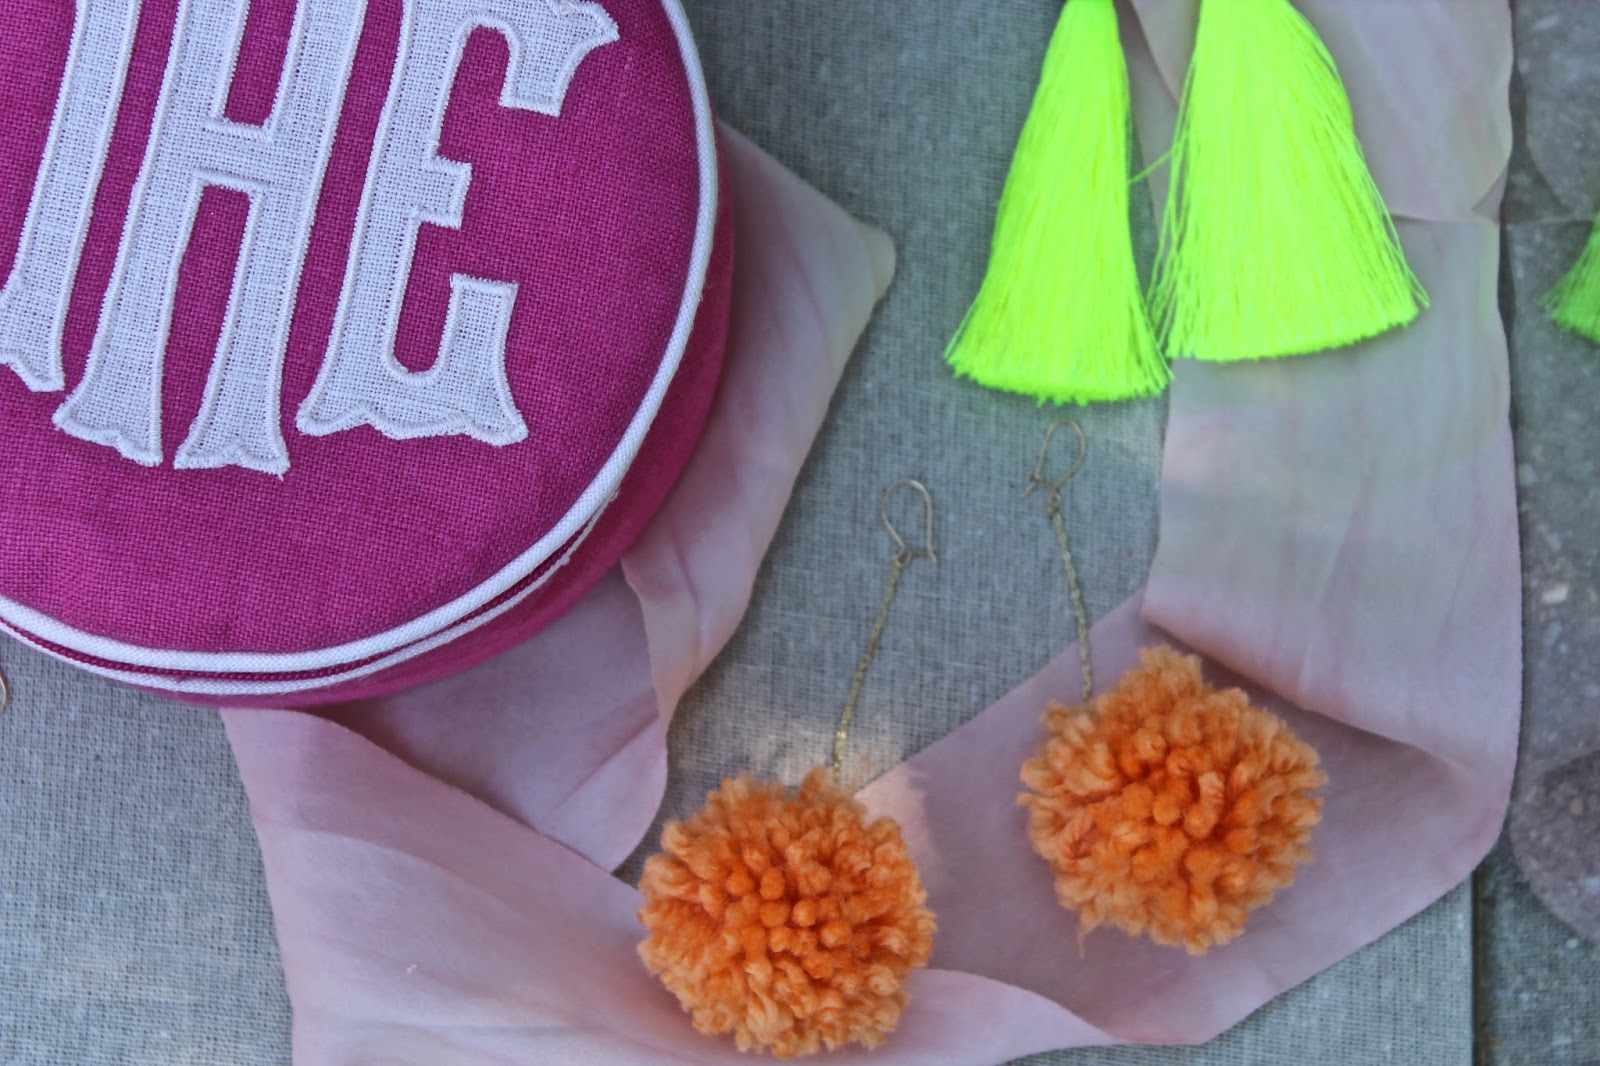
Gold Chain Pom-Pom Earring
- Once you have tied your pom-pom together with the Beaded Stringing Wire, use your Nipper Tool to cut the gold chain to your desired earring length.
- Tie your wire around the last link and knot securely. Trim excess wire.
- Lastly, pull the last link of the top part of the chain over the fishhook earring until it is at the base. Depending on the type of fishhook earring you buy, you may need to use needle nose jewelry pliers to open and close the base hoop in order to attach your chain.
- Fluff your pom-pom and you are set!

Leave a comment