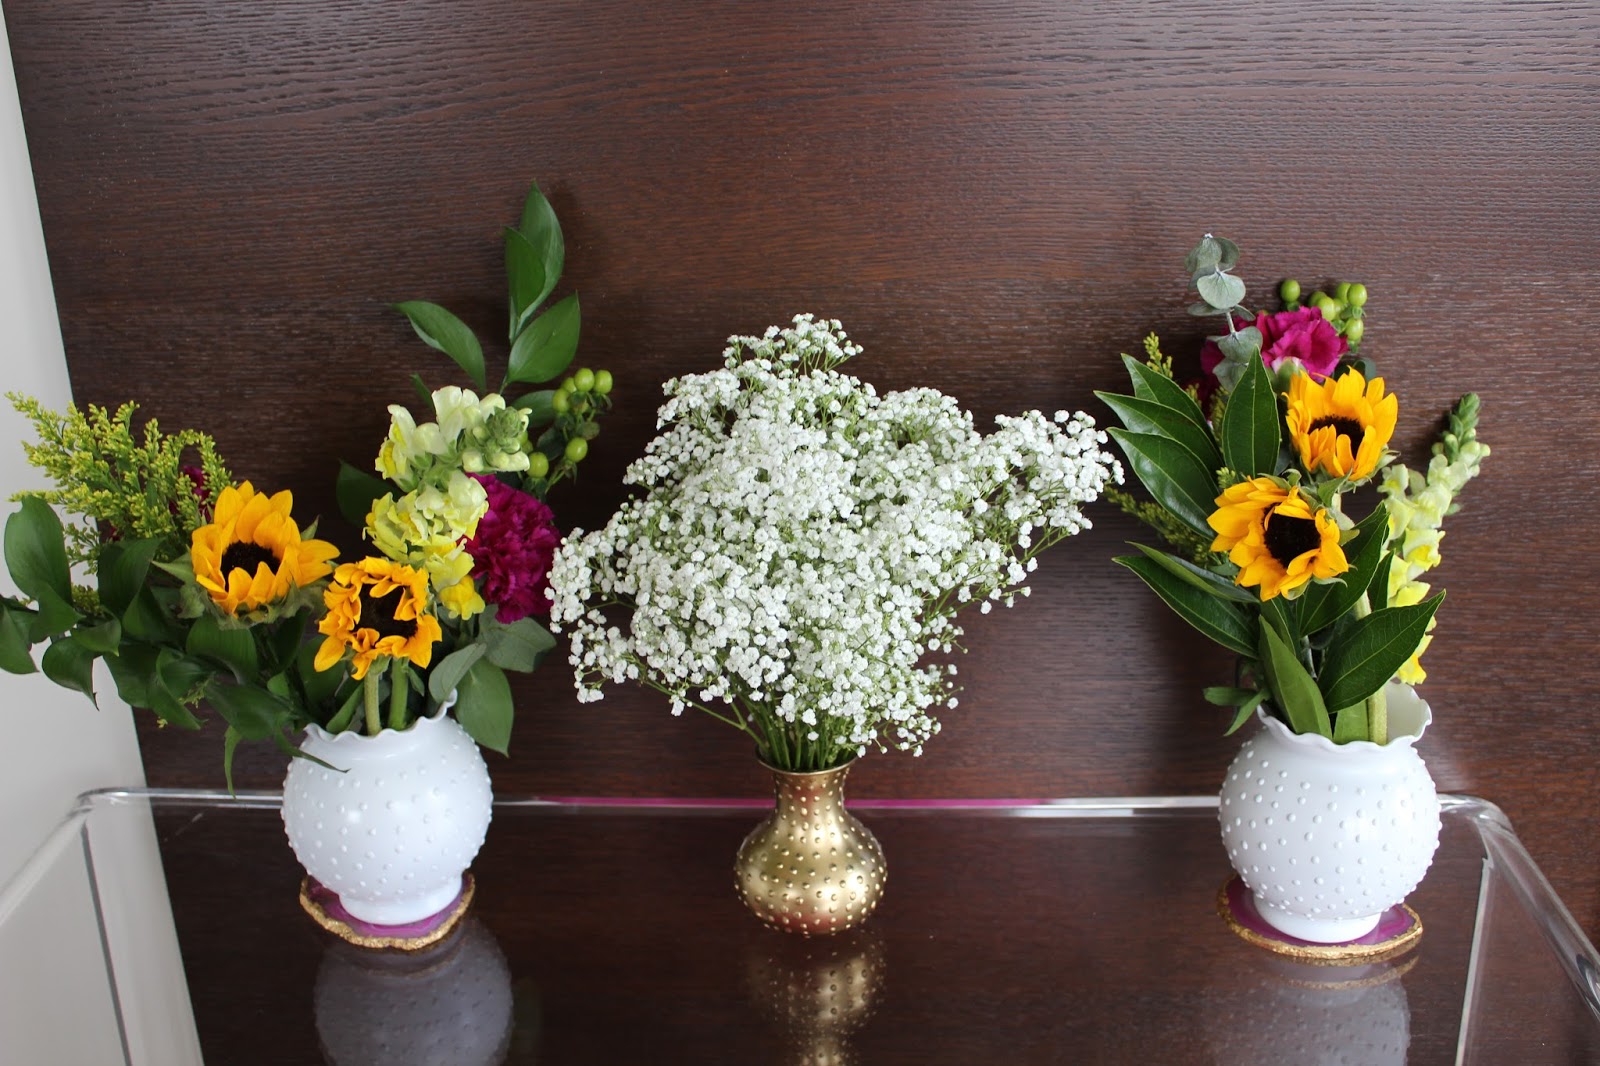
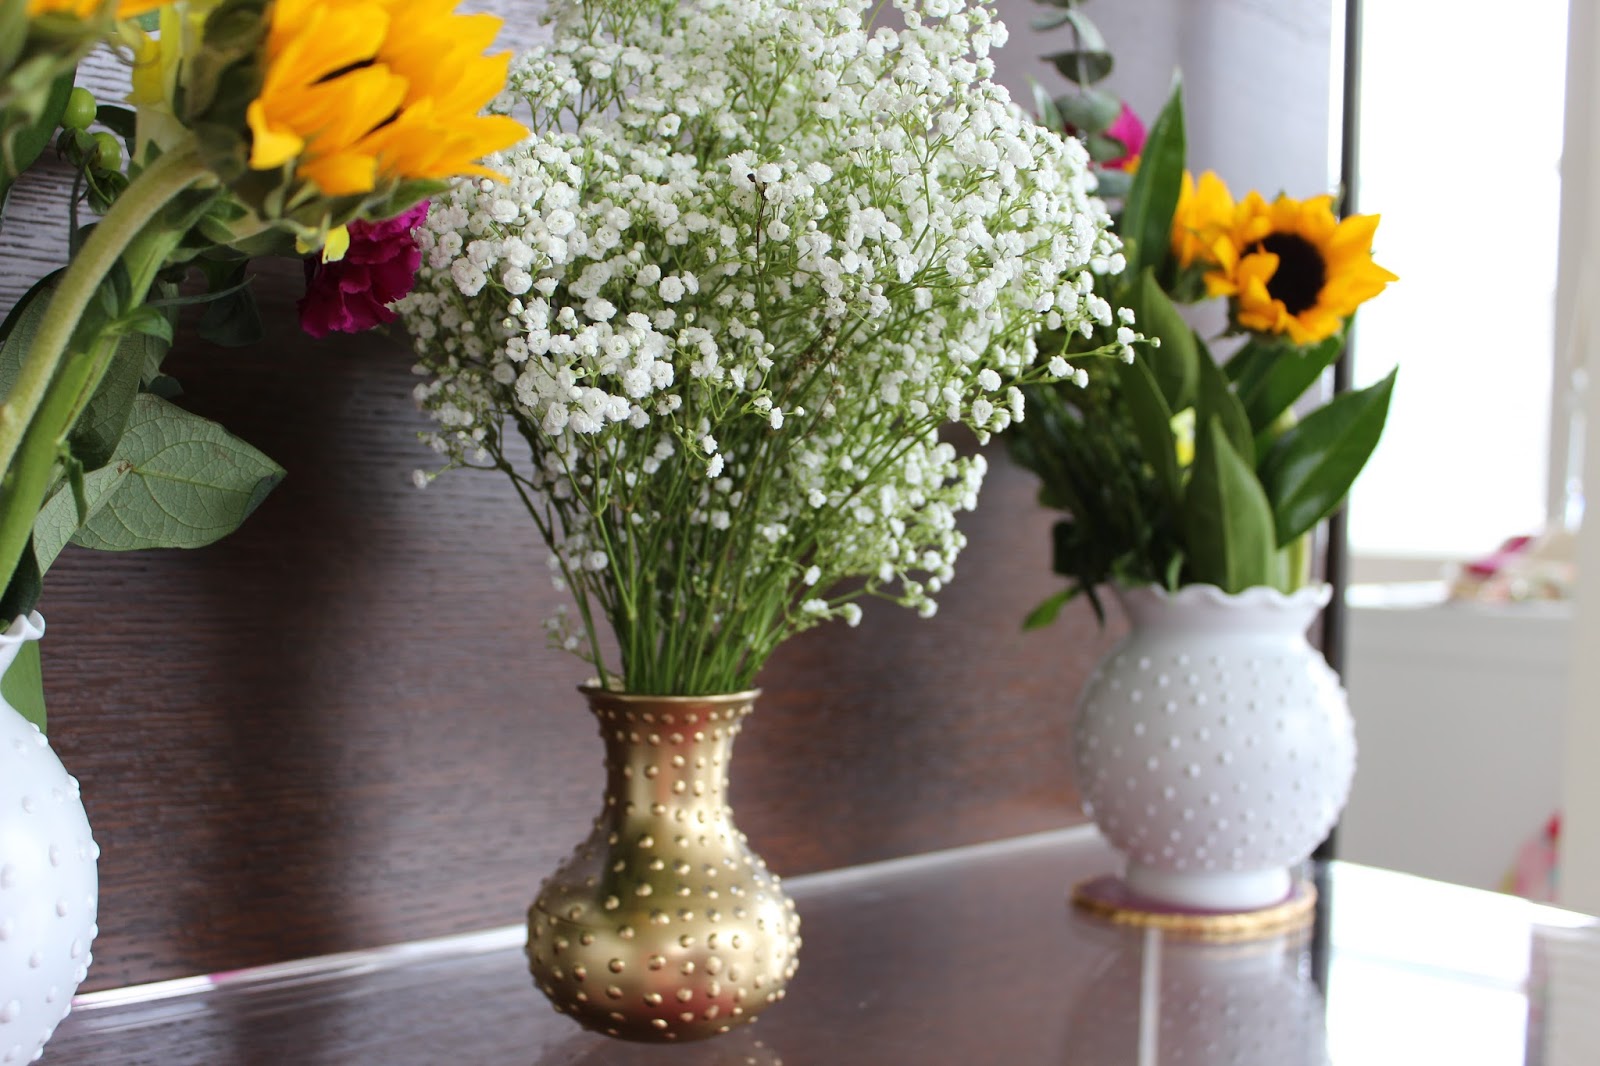
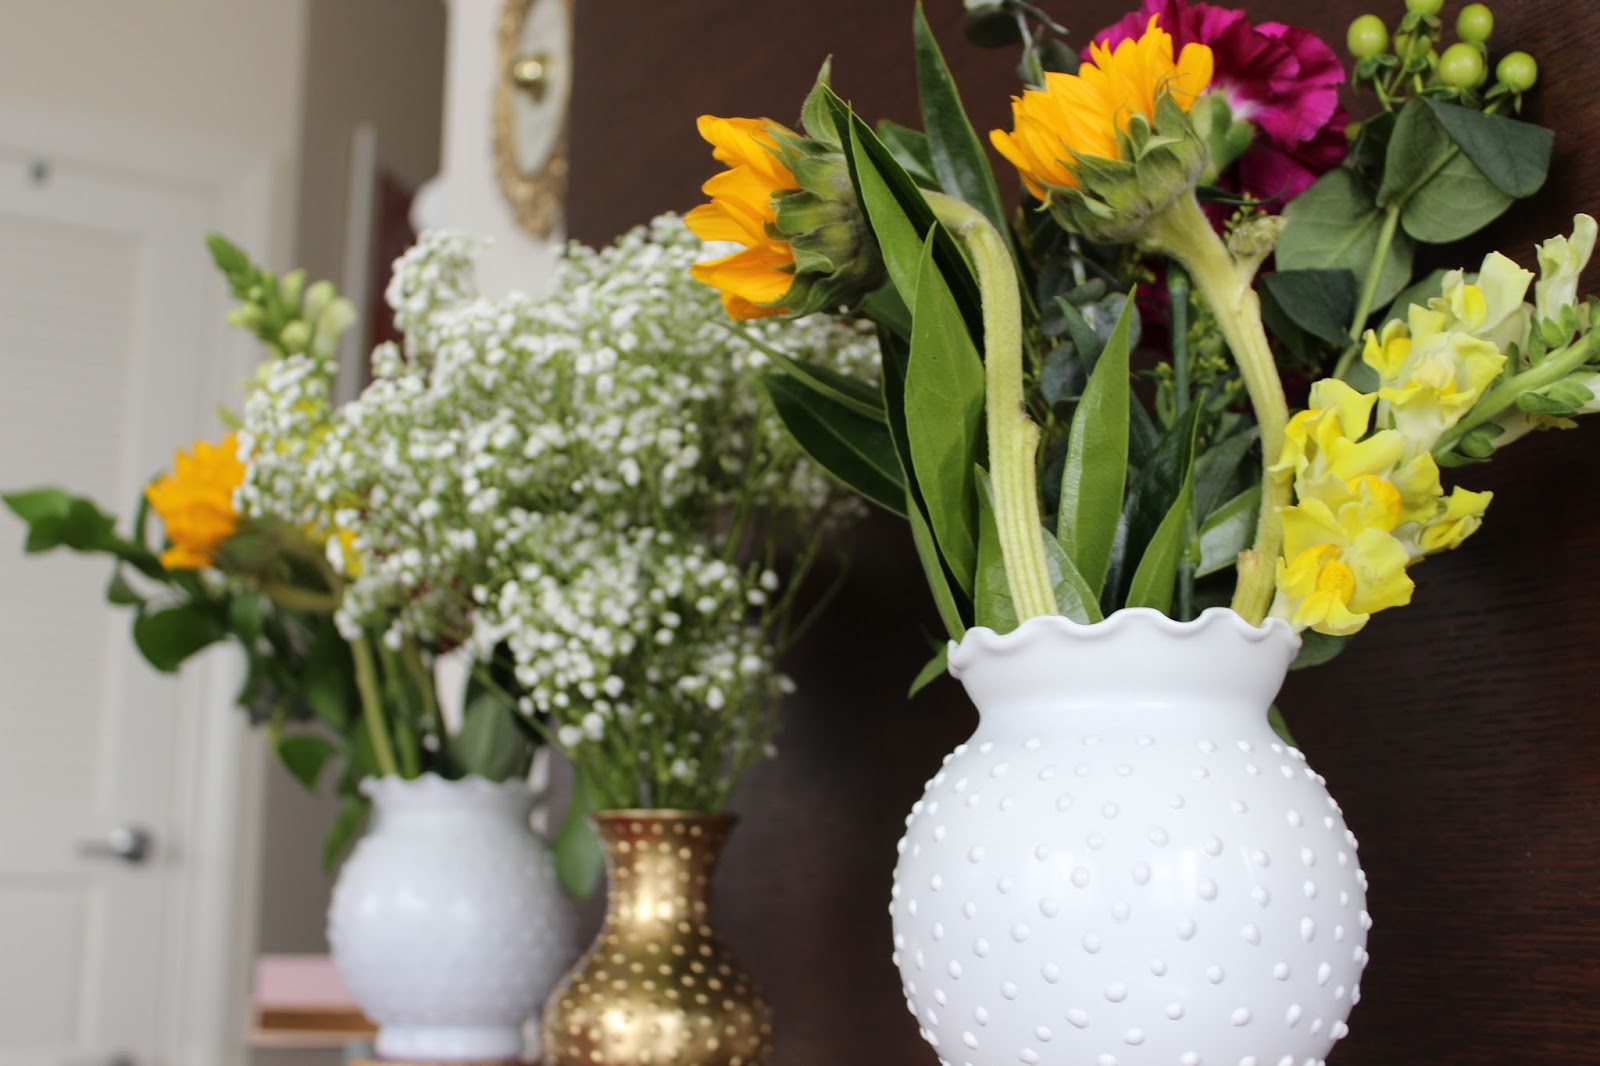
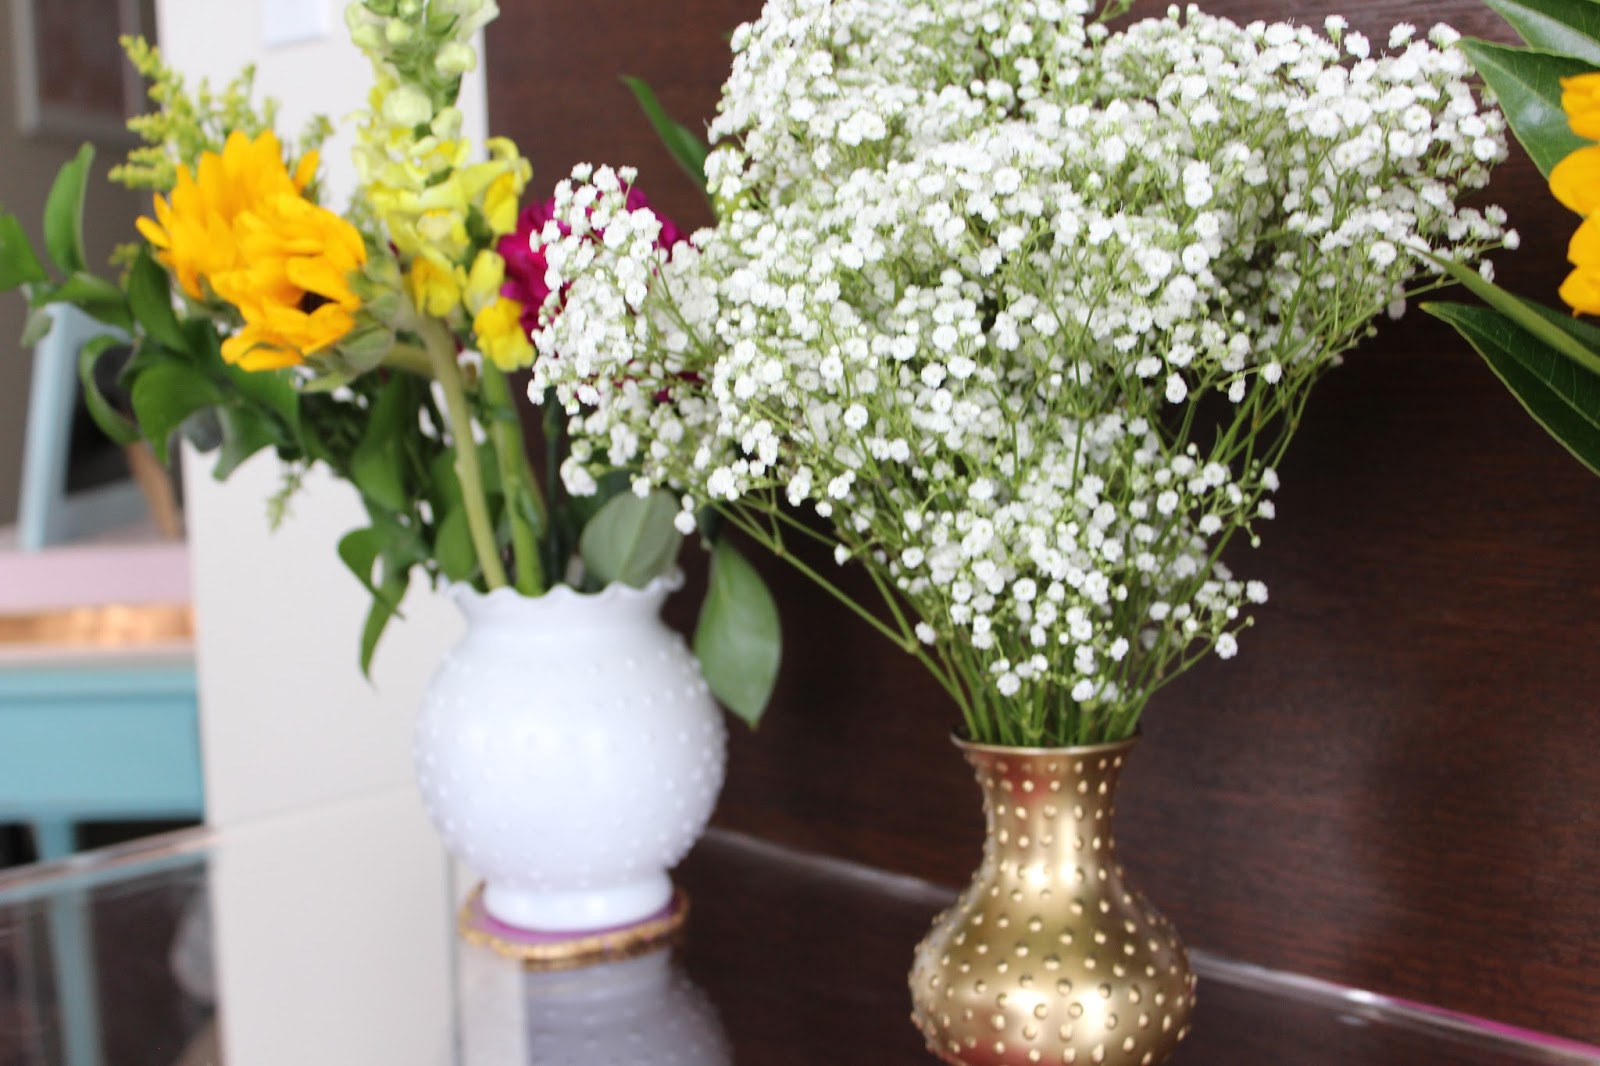
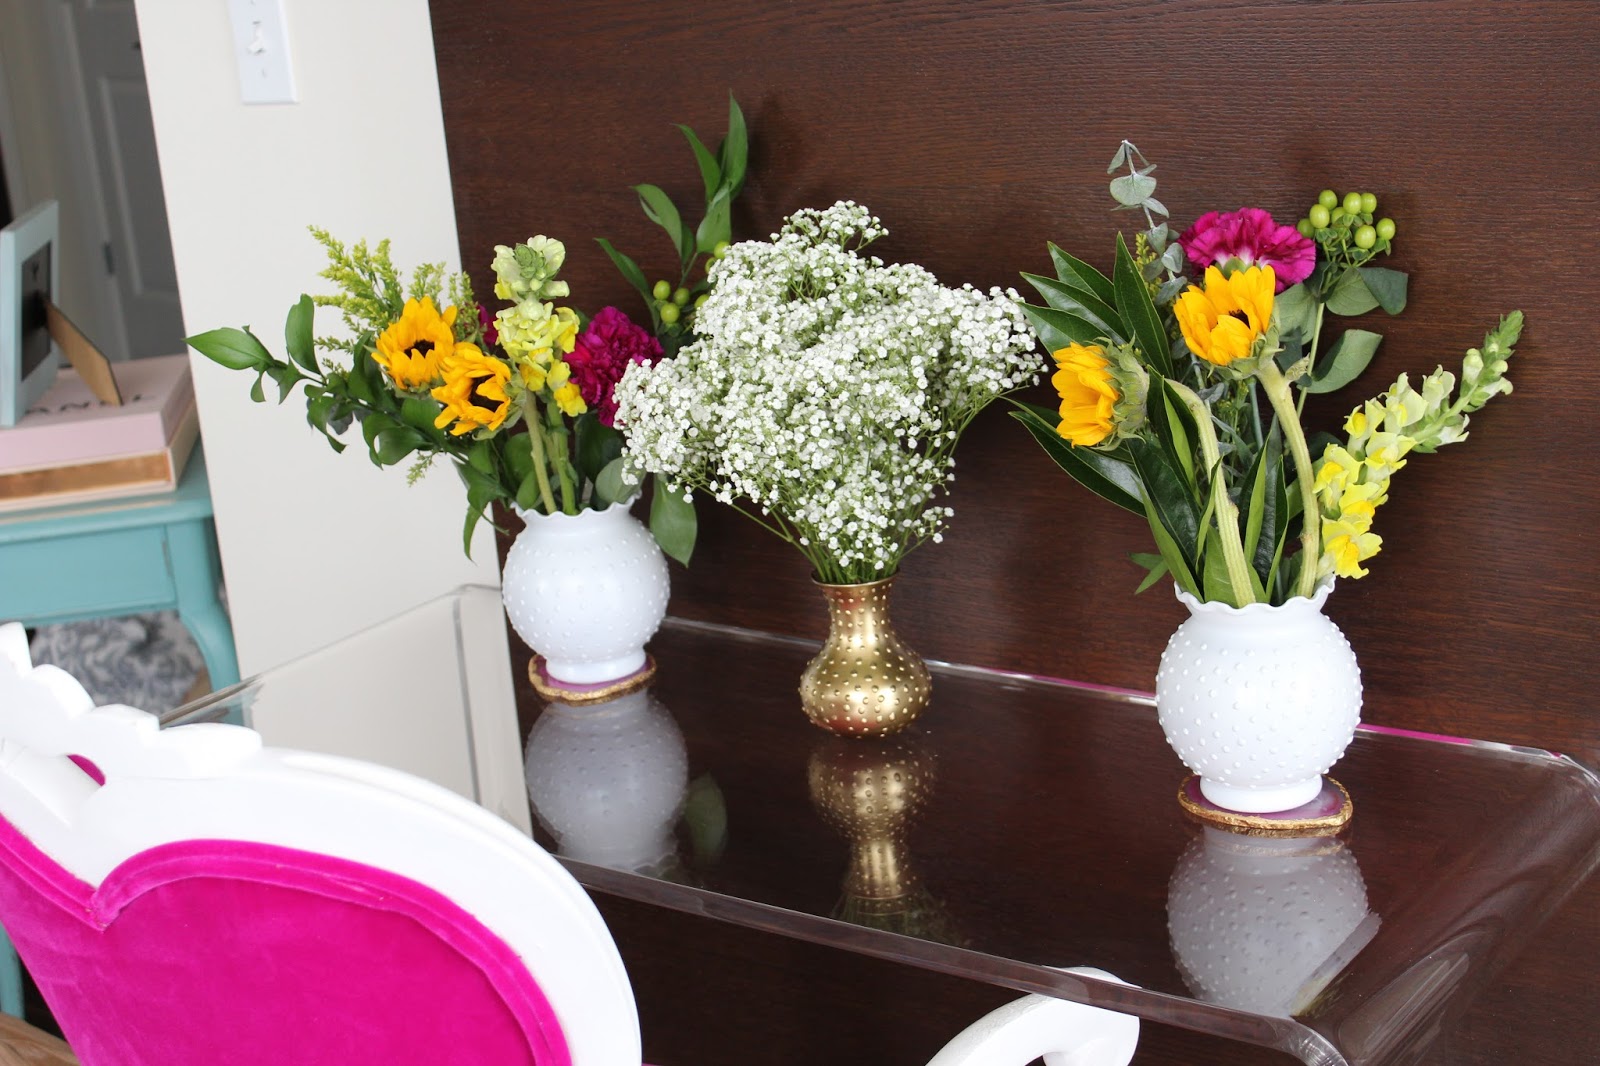
The Milk Glass Effect


I am so excited to share this post with everyone! This is by far one of my favorite projects to date. I have always been a lover of antique milk glass and I figured out a way to replicate the 3-dimensional aspect with liquid glass. The best part about this DIY, on top of it looking like something you picked up at Homegoods, is that the entire project is under $10.
Supplies:
- Liquid glass
- Rubbing alcohol
- Cotton ball
- Spray paint (I used Rust-Oleum White Lacquer and gold)
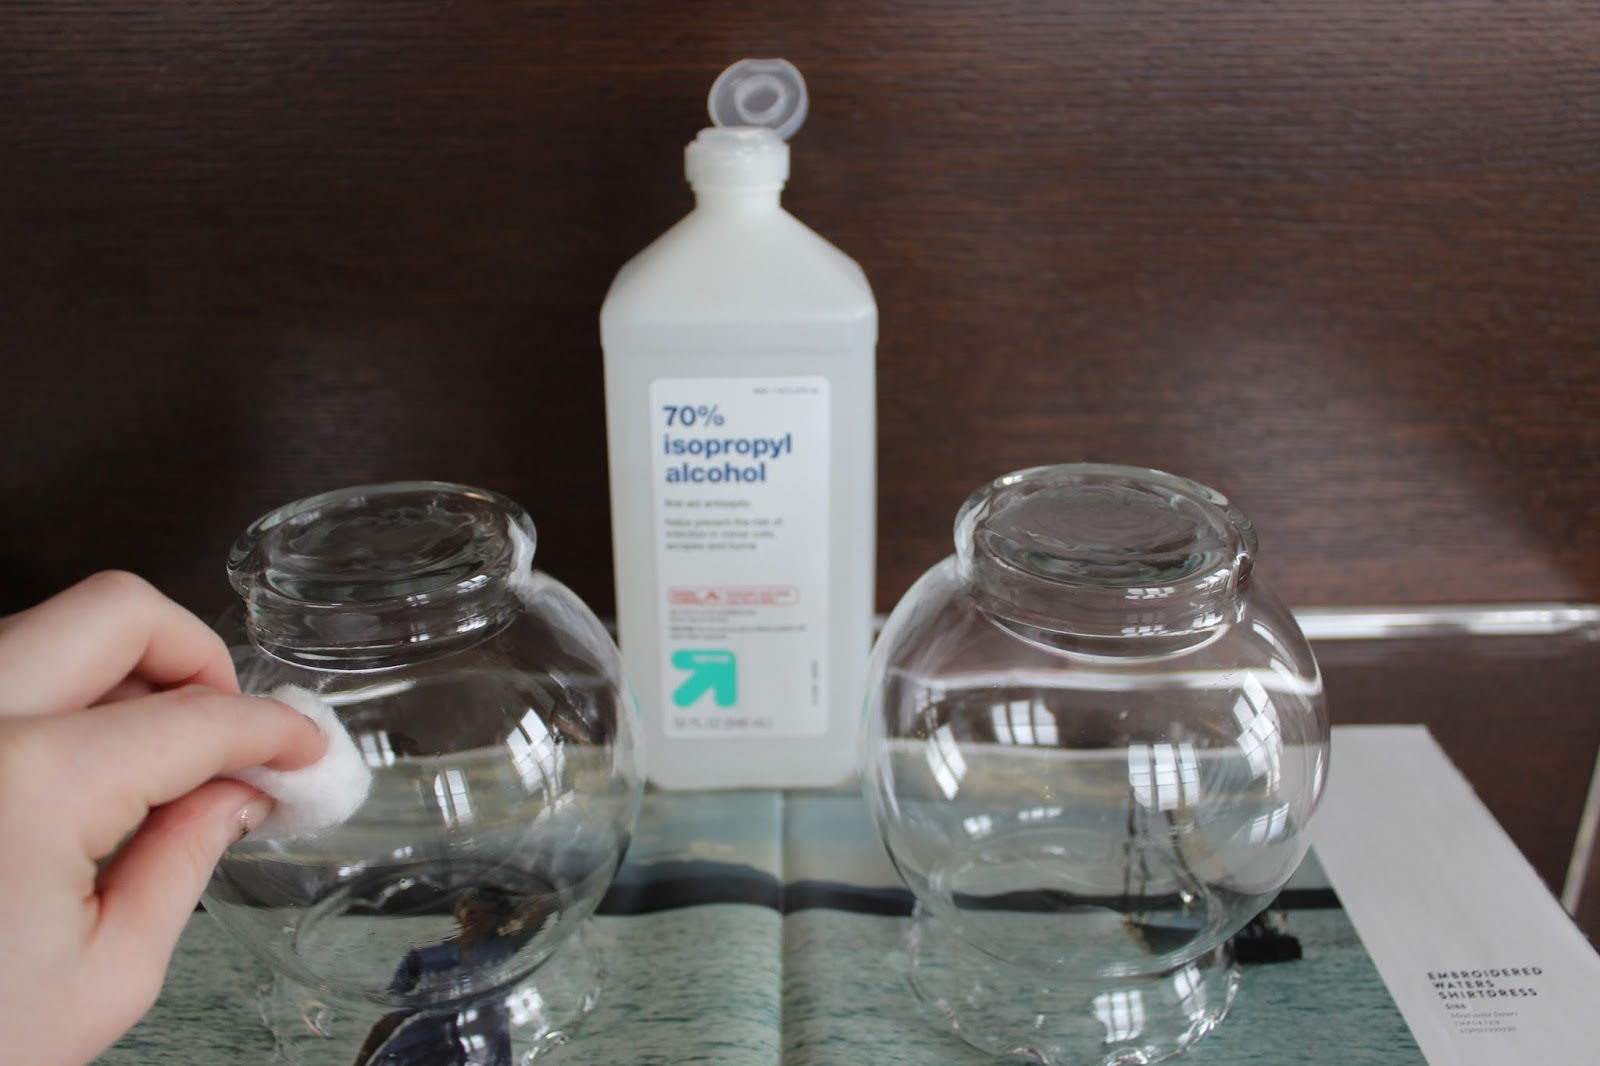
- Glassware of your choice (I bought the two larger vases from the Dollar Tree and the small vase from Michaels)
- Paper plate
- Place your glassware top down on a paper plate.
- In order to remove any smudges and dust from the glassware, soak your cotton ball in rubbing alcohol and rub it around the outside of the vase.
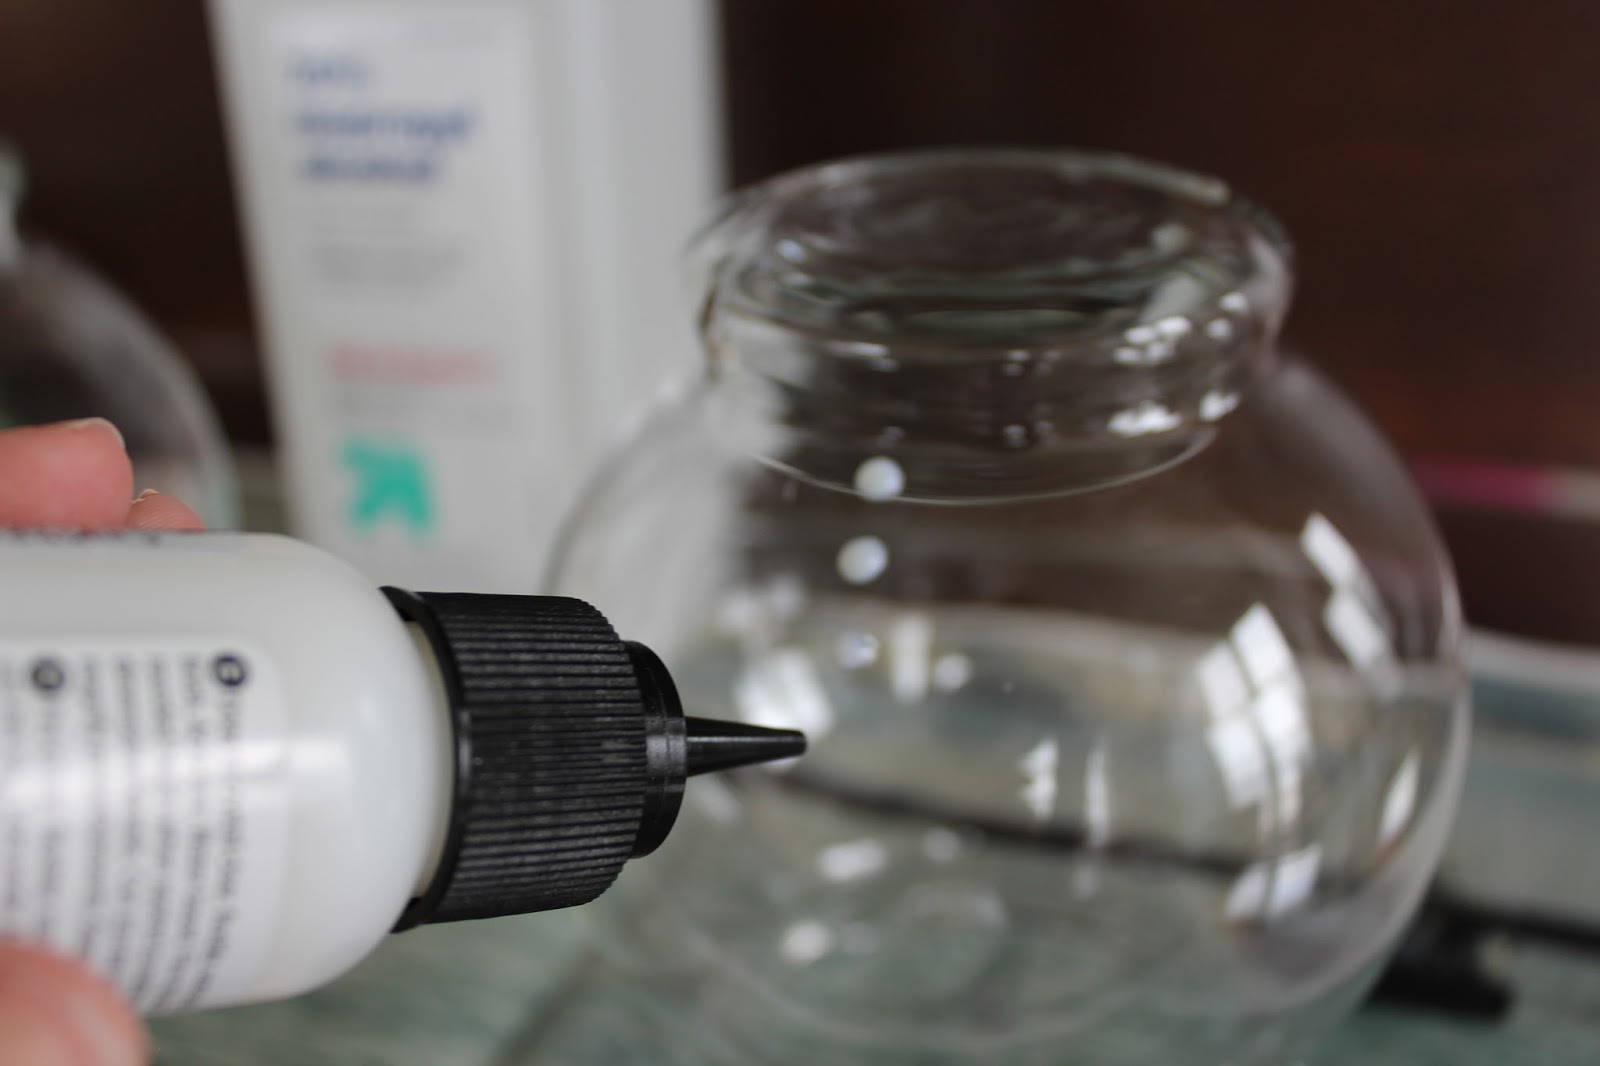
- Open your liquid glass and test it on a separate piece of paper to get a feel for the pressure that you want to apply to get your desired effect.
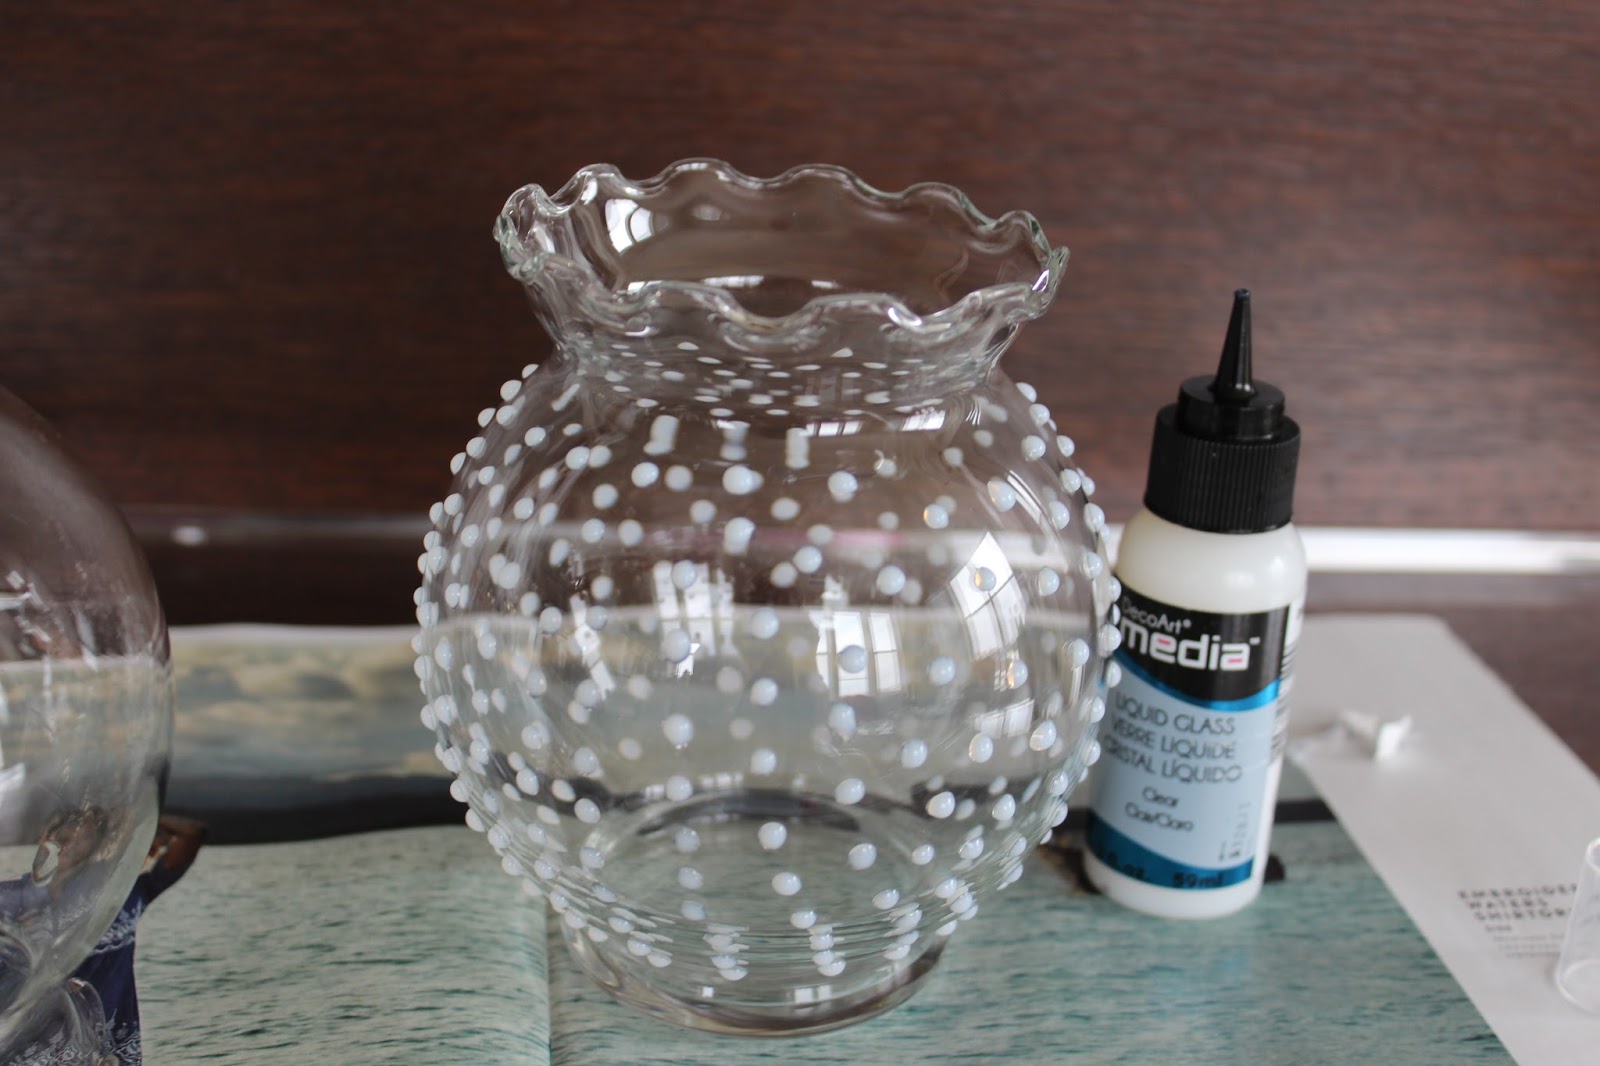
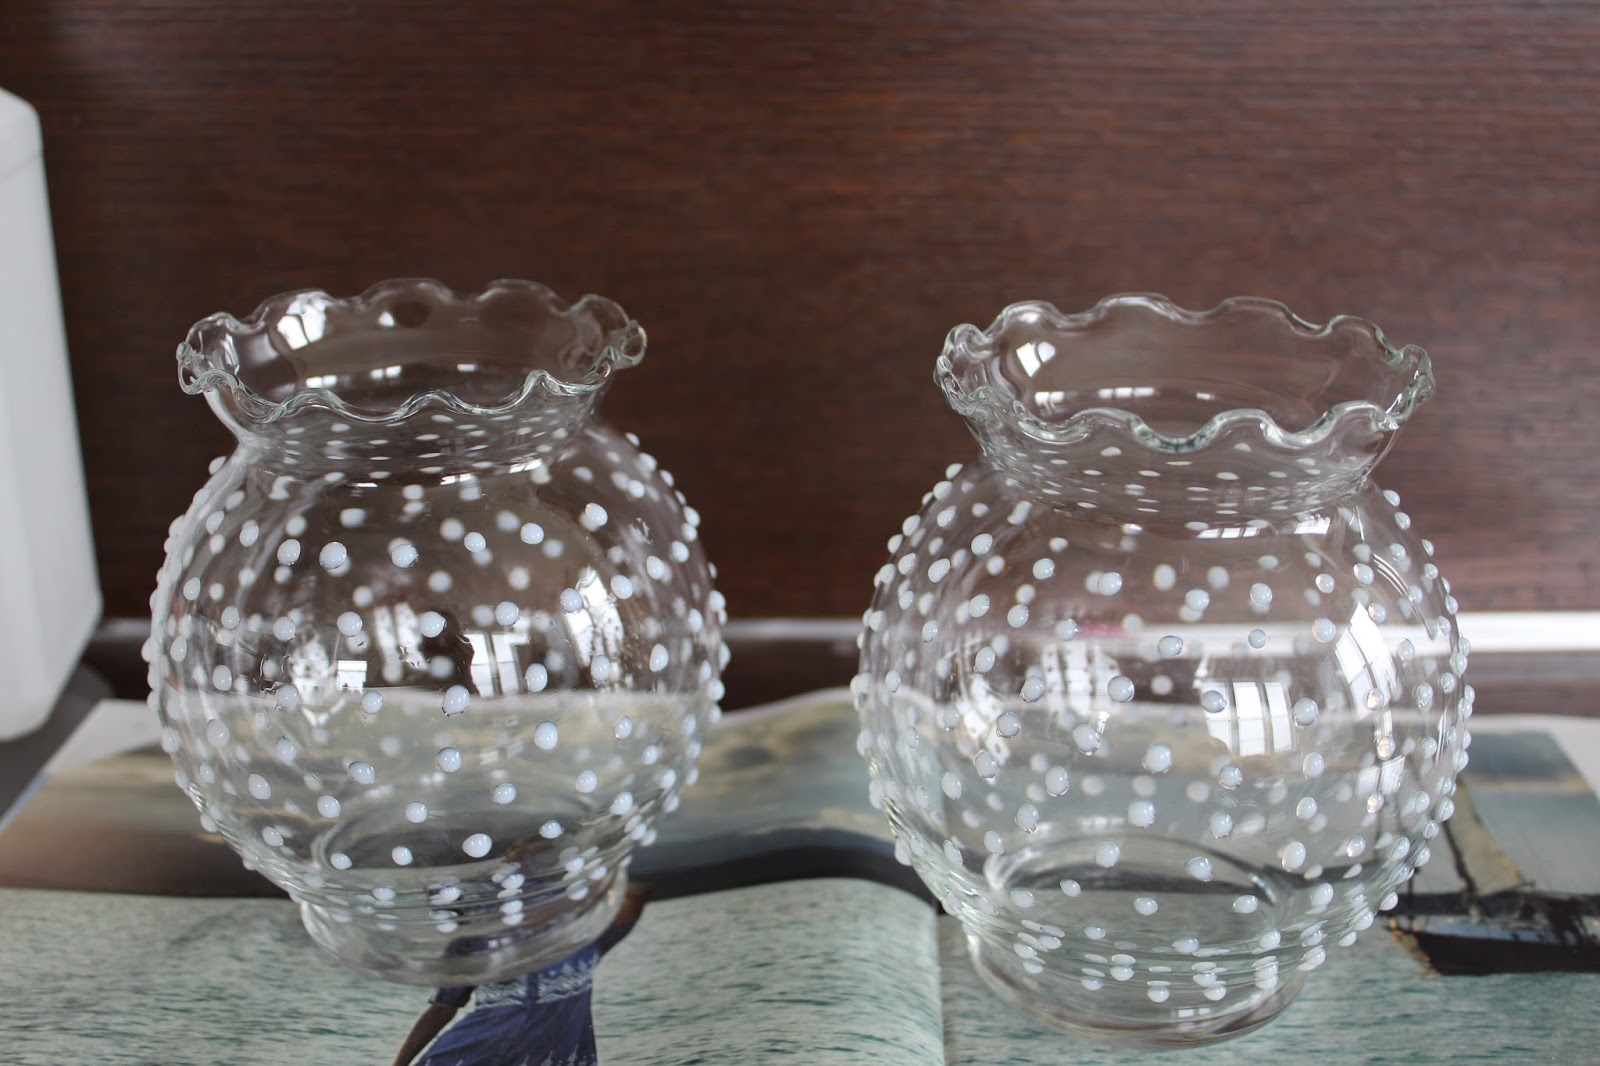
- Start your design. I decided to do polka dots on all of my vases, but you certainly don't have to. For my design, I worked from the top down. Make sure to rotate your paper plate as you move on to different sections. You do not want to touch the glassware until everything is dry.
- Once you are done, let the vase dry for 30 or so minutes. The liquid glass will turn from a milky white to clear when it is fully dry. Depending on how crazy you got with your design, your dry time may take a little longer.
- Start spraying! I did two to three coats of the gold and white lacquer.
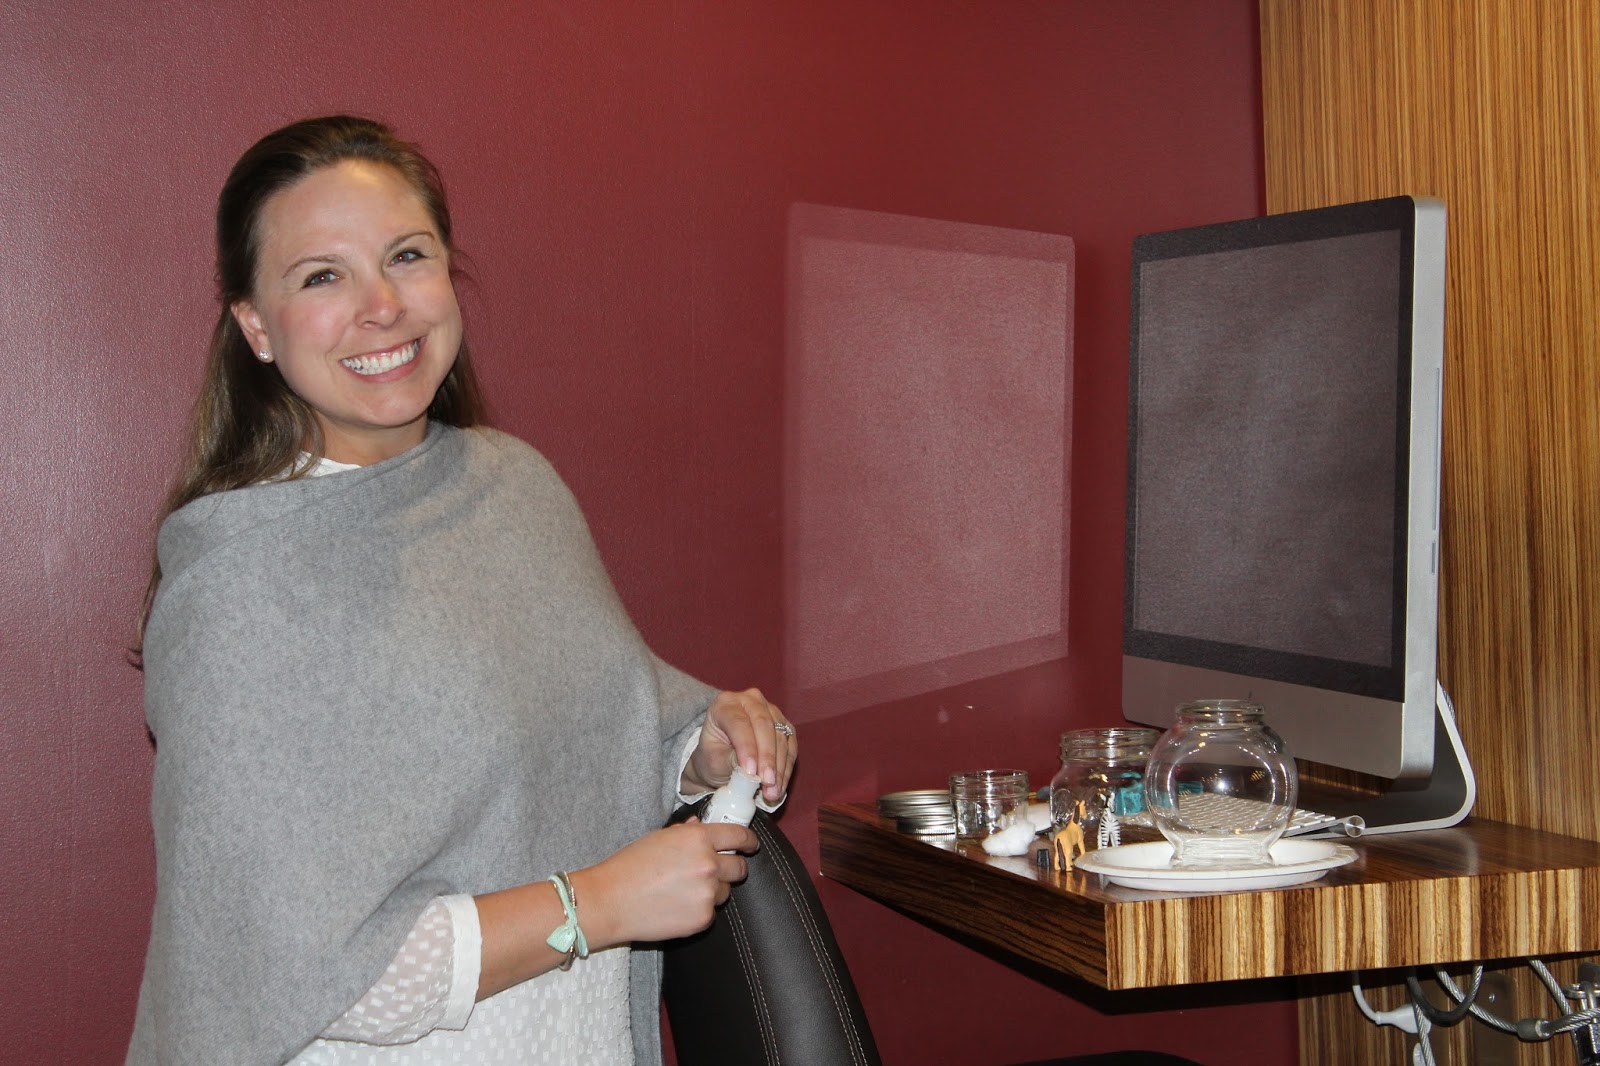
I recently taught my first DIY class. Below are a couple of pictures of my students making their milk glass projects!

Leave a comment